A simple herbal salve is dried herb steeped into a carrier oil, then thickened with beeswax into something you can scoop out of a jar and rub on skin. If you have never made one before, learning how to make a simple herbal salve takes about an hour of active work plus a waiting period for the oil to infuse. The basic ratio is one part beeswax to four parts infused oil.
I will walk you through the process the way I would show a friend in my kitchen: what to gather, how warm to take the oil, how to tell the wax has fully melted, and what a finished batch should feel like on your finger. Nothing here treats anything. This is a craft article about making a topical preparation, so read the safety notes before you start.
Table of Contents
- 1What You Need
- 2The beeswax-to-oil ratio
- 3Step-by-Step: How to Make a Simple Herbal Salve
- 4Step 1: Choose and Prepare the Ingredients
- 5Step 2: Infuse the Carrier Oil for a Simple Herbal Salve
- 6Step 3: Melt the Wax and Combine the Mixture
- 7Step 4: Strain and Cool the Salve
- 8Step 5: Test, Label, and Store It
- 9Common Mistakes
- 10Frequently Asked Questions
- 11How long does a simple homemade herbal salve last?
- 12Can I make herbal salve without beeswax?
- 13What carrier oil is best for a beginner salve?
- 14Can I use fresh herbs instead of dried herbs?
- 15How do I know if my herbal salve has gone bad?
- 16Where should I store a homemade herbal salve?
- 17Conclusion
What You Need
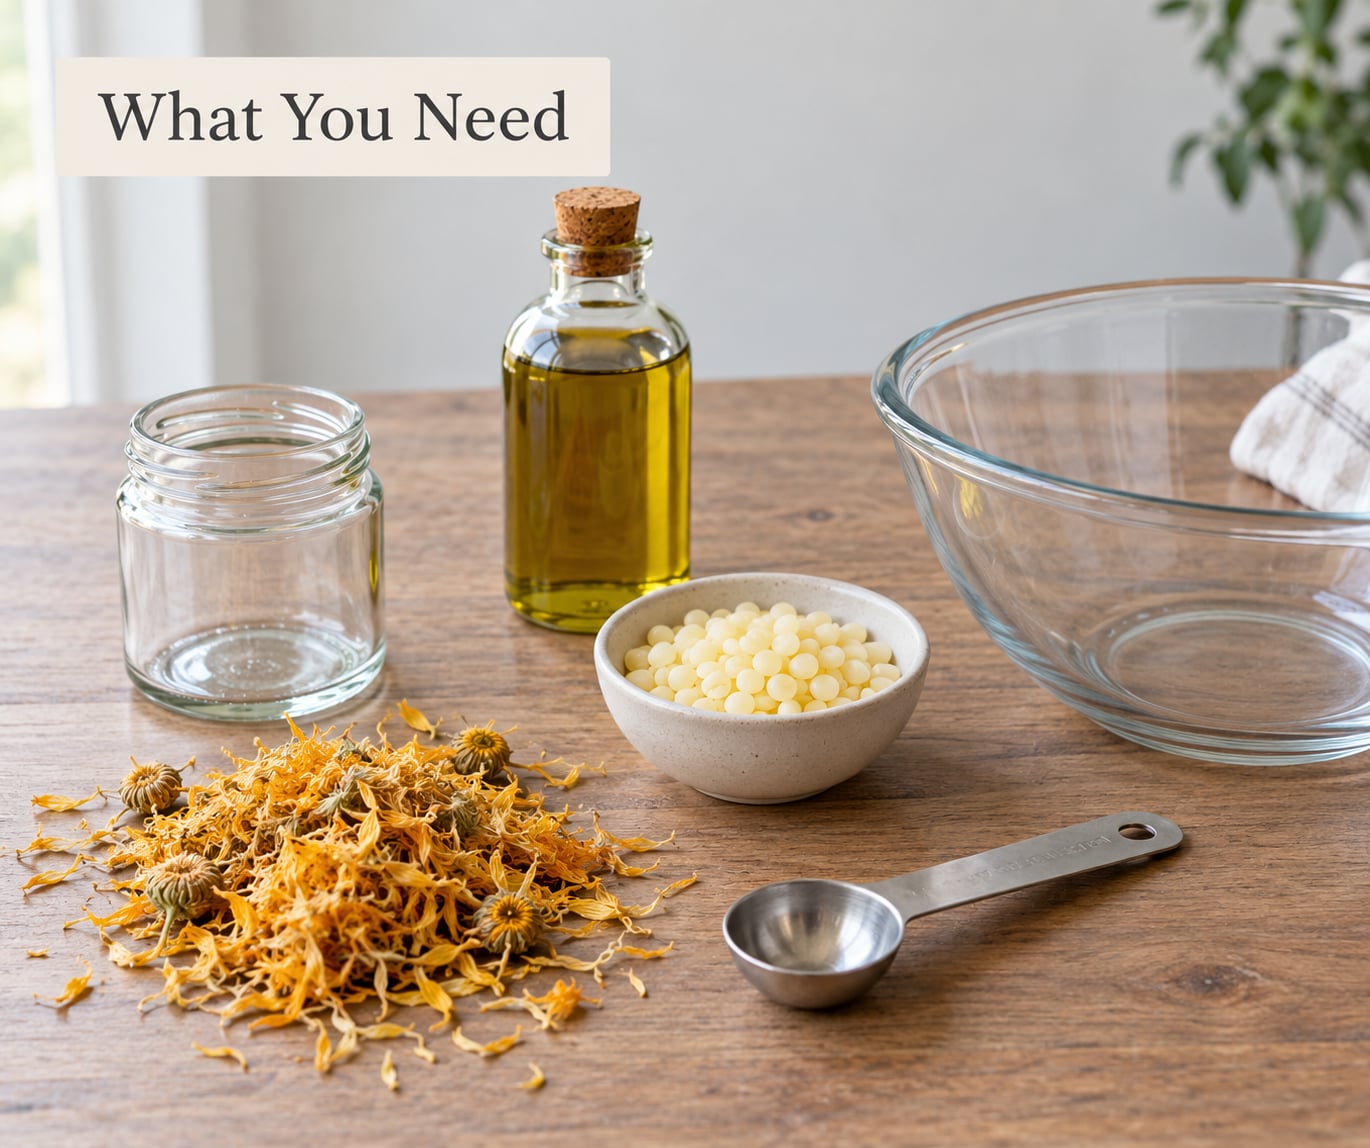
The whole recipe is three ingredients and a handful of tools. Herbs go in first, wax gives it body, and everything else is just handling. Buy or gather the smallest possible amounts on your first run, because a big batch that goes wrong is a lot of wasted oil.
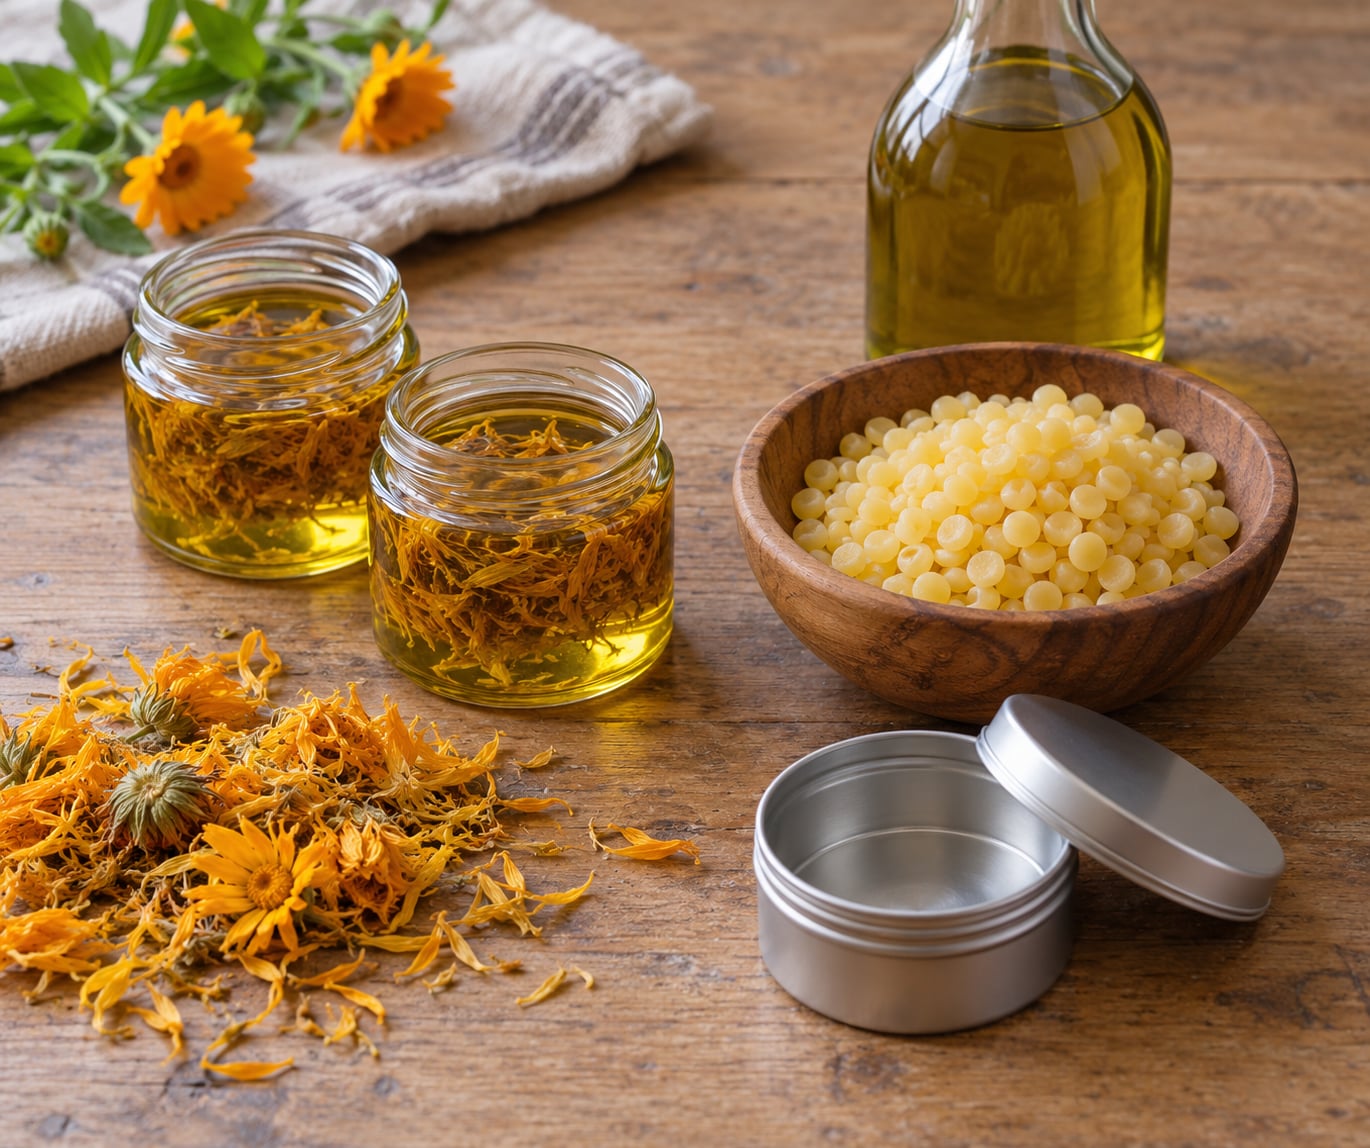
- One well-dried herb. Calendula petals, plantain leaf or dried chickweed all work for a first attempt. Use dried material only, and be certain you know exactly what the plant is.
- A carrier oil. Olive oil is the easiest to find and gives a soft, spreadable result. Jojoba and sweet almond oil are also beginner-friendly.
- Beeswax pellets or shavings. Pellets melt evenly and are less fiddly than a block you have to grate yourself.
- A heat-safe setup. A double boiler, or a heat-safe glass bowl sitting in a pot of water, keeps the temperature under control.
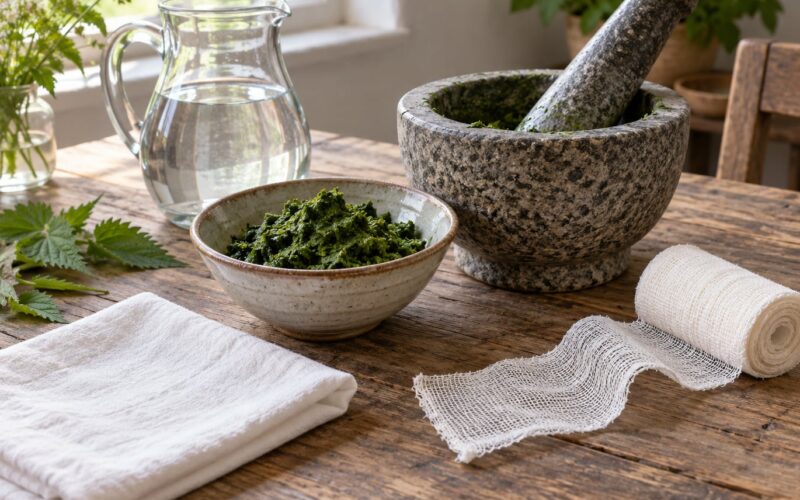
- A fine strainer and a square of cheesecloth for separating plant matter from oil.
- A small glass jar or metal tin for the finished salve, plus a lid.
- A digital scale. Weighing beats measuring by eye and it is the single change that makes results repeatable.
- Masking tape or a label maker for the ingredient list and the date.
For a first small batch, try 14 g of dried herb, 240 ml of carrier oil and 56 g of beeswax. That is roughly a quarter cup of herb, a cup and a half of oil and two ounces of wax, and it fills two or three small jars.
The beeswax-to-oil ratio
Once you have infused oil, the wax ratio decides the texture. More wax gives a firm bar that survives a hot car; more oil gives a soft balm that slumps in summer. Weigh the oil, not the volume, since the oils differ in weight.
| Texture | Ratio | For 60 ml (4 oz) infused oil | Feels like |
|---|---|---|---|
| Soft | 1 wax : 6 oil | 10 g beeswax | A balm that bends easily, may soften in a warm room |
| Standard | 1 wax : 4 oil | 15 g beeswax | Spreadable with a finger, holds its shape in a tin |
| Firm | 1 wax : 3 oil | 20 g beeswax | Closely cut, will not slump in summer heat |
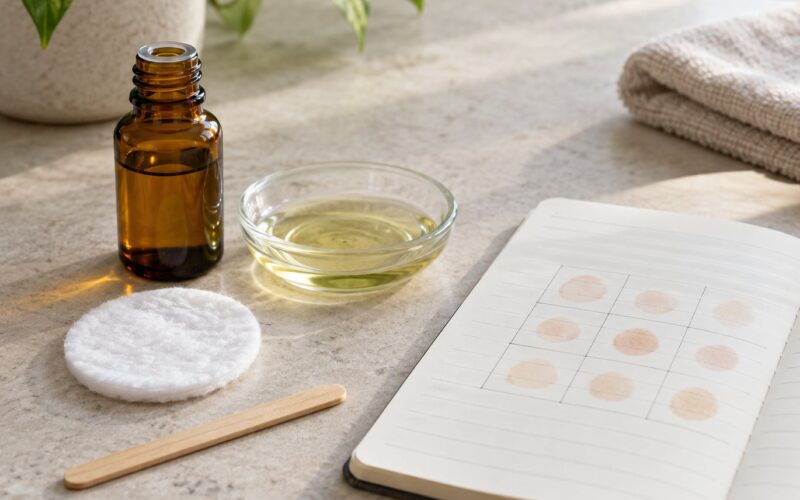
One more thing before you heat anything. Patch test is not optional once a salve is finished: dab a small amount on the inside of your forearm and wait 24 hours. Work on a clear counter, keep the pot away from the gas flame, and open a window, because beeswax smoke and hot wax splashes both hurt.
Step-by-Step: How to Make a Simple Herbal Salve
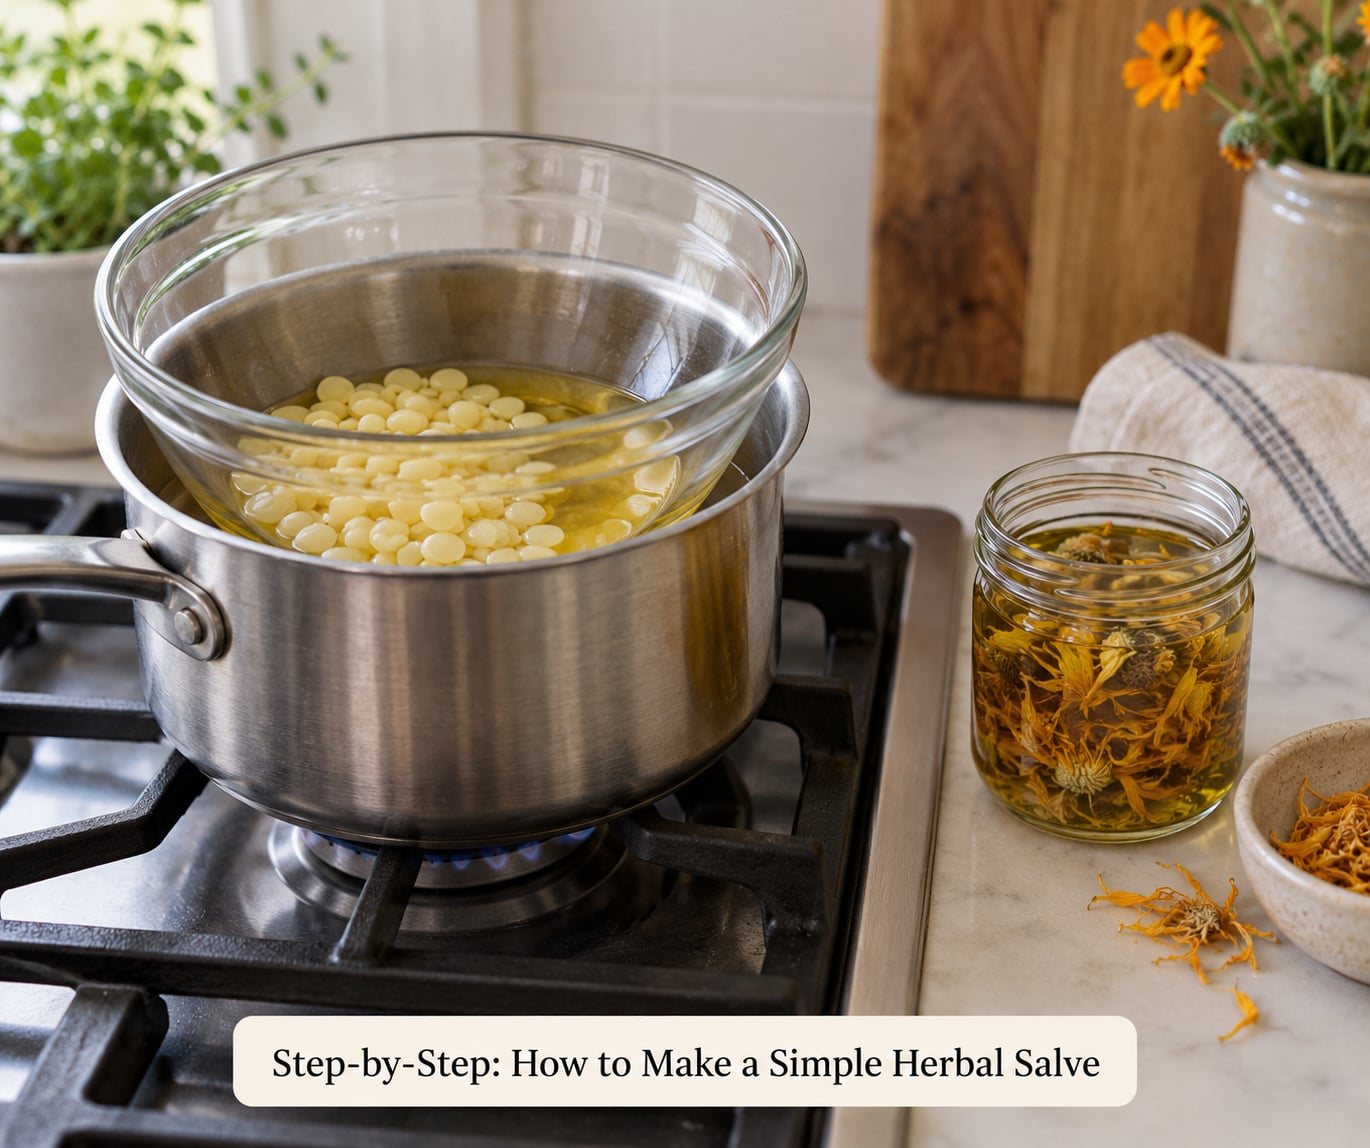
The method has five stages, and the first one is slow. Work through them in order and the salve will come out smooth on the first try.
Step 1: Choose and Prepare the Ingredients
Pick an herb you can identify with certainty, then check that it is dry all the way through. Snip the larger leaves and flowers into small pieces so more surface area touches the oil. A single drop of water trapped in a leaf is the most common reason a jar goes mouldy, so spread the pieces on a clean tray until they feel papery rather than cool.
Skip anything from an unknown patch, roadside or treated lawn, and skip anything you bought loose without a botanical name. Those rules are not fussy extras; they are the difference between a salve and a jar you cannot identify later.
Step 2: Infuse the Carrier Oil for a Simple Herbal Salve
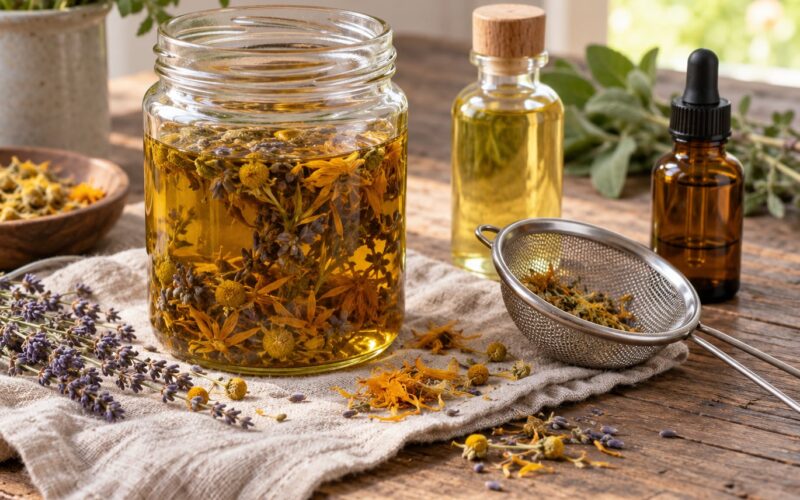
Put the dried herb in a clean glass jar and cover it completely with oil. Let it sit in a sunny windowsill for two to four weeks, shaking the jar a few times a week, or use a cold maceration in a dark cupboard for four to six weeks. If you cannot wait, warm infusion is the shortcut: set the jar in a pan of warm water, keep the oil below 60 C, and leave it for six to eight hours.
How do you know it worked? The oil takes on the colour and smell of the plant, usually a deep golden or green tint for calendula. People on home herbalism forums tend to prefer the cold method because heat slowly breaks down the plant material, though sunlight pulls harder on some pigments. St John’s wort is the famous exception that is deliberately infused in direct sun until the oil turns deep red.
The standard ratio for the infusion is about 1 part dried herb to 5 parts oil by weight. Too little herb and the finished salve is scented oil, too much and the batch gets thin and hard to strain.
Step 3: Melt the Wax and Combine the Mixture
Strain your infused oil first, squeezing the plant matter hard to get every last drop. Almost everyone learning how to make a simple herbal salve rushes this stage, so put a clean bowl next to the jar before you heat anything. Then set the strained oil over barely simmering water, add the weighed beeswax, and stir with a clean spoon or fork until no pellets remain.
Beeswax melts somewhere around 62 to 65 C and it hides well below its smoke point, but a dry pot or a stray splash will still burn you. Keep the water level under the bowl so the base stays warm rather than cooking the mixture from underneath, and never leave it unattended.
Step 4: Strain and Cool the Salve
Pour the warm mixture through cheesecloth or a fine strainer into your clean jar or tin. Push the solids through with the back of a spoon, then let the salve cool undisturbed at room temperature until it is solid to the touch.
A good finished batch is smooth and semi-solid, spreading with a fingertip without cracking or running off the hand. If it looks grainy or seedy, you pushed too hard on the heat or the wax never fully melted. Warm it gently once more and stir until uniform, then cool it again.
Step 5: Test, Label, and Store It
Do the forearm patch test before you use it regularly. Then write the label before the jar goes into a cupboard: herb botanical name, carrier oil, the wax, and the date you made it. Marking the best-before date of the carrier oil itself is a small extra step that tells you when to throw it out.
Store the sealed jar in a cool, dark cupboard away from the sink and the stove. Heat and sunlight age oils faster than anything else, and a tin kept in a hot car in July will not survive.
Common Mistakes
Almost every disappointing first batch comes from one of seven things, and each has a quick fix. Working out how to make a simple herbal salve that people actually keep comes down to avoiding these seven.
- Fresh or unidentified plants. Moisture trapped in fresh leaves encourages mould, and a plant you cannot name is a plant you cannot label. Fix: dry every piece until it is crisp and know the botanical name of your herb.
- Overheating the oil or wax. A smoking pan, a high flame and a dry bowl scorch both. Fix: use a double boiler or warm-water bath, stir constantly, and stay well under the smoke point.
- Skipping the strain. Bits of leaf in the tin look bad and settle into the texture over time. Fix: pass the warm mixture through cheesecloth before it reaches the jar, and squeeze the solids.
- Making too much at once. A half cup of salve that nobody likes is now waste. Fix: start with the small batch above, then double once you know your wax ratio.
- Unlabelled jars. Two dark tins in a drawer look identical a month later. Fix: tape and write the date on the bottom the moment the salve firms.
- Using it on broken skin. Salves belong on minor scrapes and dry or irritated skin, not on deep cuts, puncture wounds, burns, infected skin or anything weeping.
- Ignoring irritation. Stop using a salve the moment skin stings, reddens or itches. Wash it off with mild soap and water.
Add essential oils for scent and you add a real irritation risk, which is a common complaint from people who expected a natural recipe to be gentle on everyone. If a salve is for a baby, a child or anyone with sensitive skin, leave them out entirely.
None of this replaces medical care. For persistent irritation, swelling, spreading redness or any infection, see a doctor or pharmacist, and do the same before putting any homemade preparation on a wound that is not healing on its own.
Frequently Asked Questions
How long does a simple homemade herbal salve last?
A water-free salve keeps for roughly six months to two years, depending almost entirely on your carrier oil. Beeswax resists spoilage on its own, so the oil decides the date. Check the best-before printed on the bottle you used and write that date on the jar. Olive oil and jojoba outlast high-unsaturation oils such as rosehip or sunflower, which turn rancid sooner.
Can I make herbal salve without beeswax?
Yes, though the texture changes. Shea butter, cocoa butter or coconut oil thicken an infused oil into a solid balm, and some people prefer shea because it absorbs quickly. None of them set as hard or hold water back as beeswax, so your batch will be softer and you should keep it in a cool cupboard. Follow the supplier’s directions for the exact butter you use.
What carrier oil is best for a beginner salve?
Olive oil is the easiest starting point because it is widely available, inexpensive and gentle on most skin. Jojoba is a close second since it stays stable for a long time and feels light. Sweet almond oil works well for dry skin, while coconut oil is useful for a firm balm in hot weather. Whatever you choose, use a fresh bottle and write its best-before date on the jar.
Can I use fresh herbs instead of dried herbs?
Dried herbs work far better for salve making. Plantain leaves hold around 80 percent water when fresh, and that water sits in the finished salve where mould can start. Fresh material also dilutes the oil and makes the batch thinner and shorter-lived. If you only have fresh plants, dry them fully on a tray for several days until they are crisp before they go anywhere near the jar.
How do I know if my herbal salve has gone bad?
Trust your nose first. A rancid salve smells sharp, stale or faintly like old paint instead of the herb you put in. Other warning signs are a watery layer separating at the top, a grey or fuzzy film, a swollen or leaking jar, or a texture that changed after it set. Oil that separates can often be reheated and stirred back together, but mould means binning the whole batch.
Where should I store a homemade herbal salve?
Keep it sealed in a small glass or metal container in a cool, dark cupboard, away from the stove and out of direct sunlight. Heat is the fastest way to spoil a salve, so a bedside table is better than a windowsill. Label each tin with the ingredients and the date it was made, and use a spoon rather than dipping wet fingers so you do not introduce water or bacteria.
Conclusion
Start smaller than you think: about 14 g of dried calendula, 240 ml of olive oil and 56 g of beeswax, which is the standard one-to-four wax-to-oil ratio. Identify your plant, keep the heat low, strain properly and let the jar cool undisturbed before you touch it.
Then patch test, label the jar with the ingredients and the date, and store it somewhere cool and dark. If skin becomes irritated, wash the salve off and stop using it, and talk to a doctor or pharmacist about persistent irritation, severe reactions or any ingredient you are unsure of.