An herbal infused oil is carrier oil that has been steeped with dried herbs, flowers, roots or bark so the plant’s oil-soluble compounds move into the fat, then strained out. The short version of how to make an herbal infused oil: combine fully dried plant material and carrier oil in a clean jar, then let time or gentle heat do the work. Most beginners start with a cold infusion that takes two to six weeks.
Cold infusion gives you the cleanest result and needs no equipment. Warm infusion takes a couple of hours and suits tough roots, bark and seeds, but heat costs you some of the delicate aromatic compounds. That trade-off is the only real decision you make up front, and everything after it is method.
A beginner batch takes about ten minutes of hands-on work, then the jar sits on a shelf. This guide is informational and not medical advice, and anything you make at home is a cosmetic or culinary preparation, not a treatment.
Table of Contents
- 1What You Need
- 2Step-by-Step: How to Make an Herbal Infused Oil
- 3Choose the infusion method
- 4Prepare and combine the ingredients
- 5Infuse the herbal material
- 6Strain, label, and store the oil
- 7Common Mistakes
- 8Frequently Asked Questions
- 9What is the easiest way to make an herbal infused oil at home?
- 10Should I use fresh herbs or dried herbs for an infused oil?
- 11How long should an herbal oil infuse before it is strained?
- 12How do I know if homemade infused oil has gone bad?
- 13Can an herbal infused oil be used directly on the skin?
- 14Can I make herbal infused oil without heating it?
What You Need
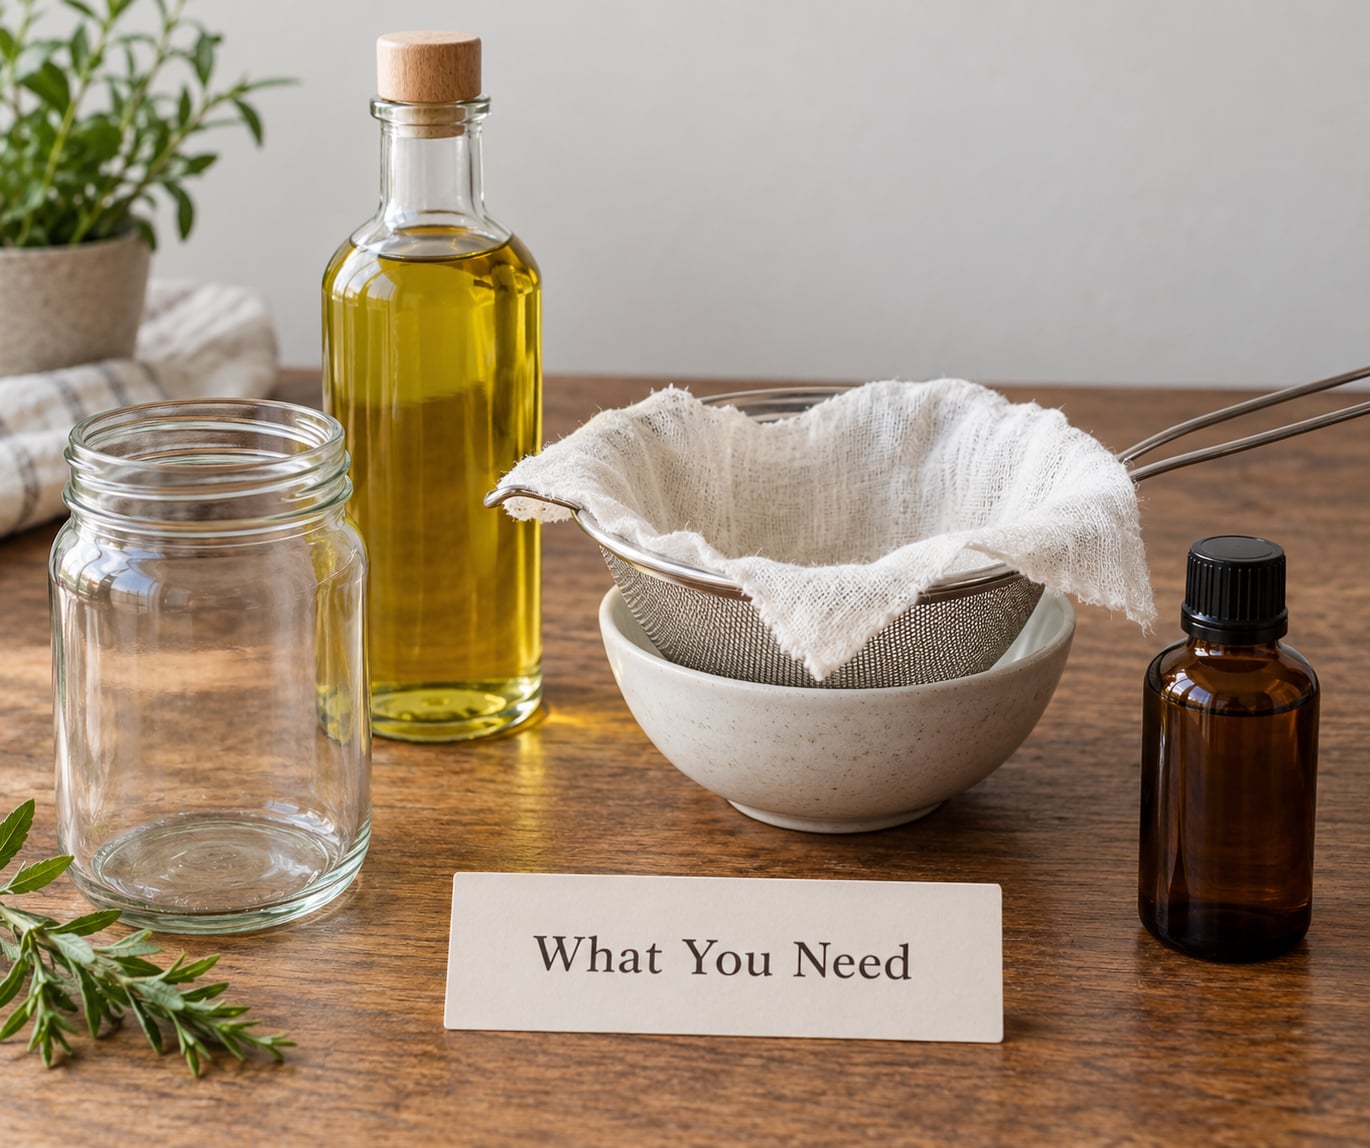
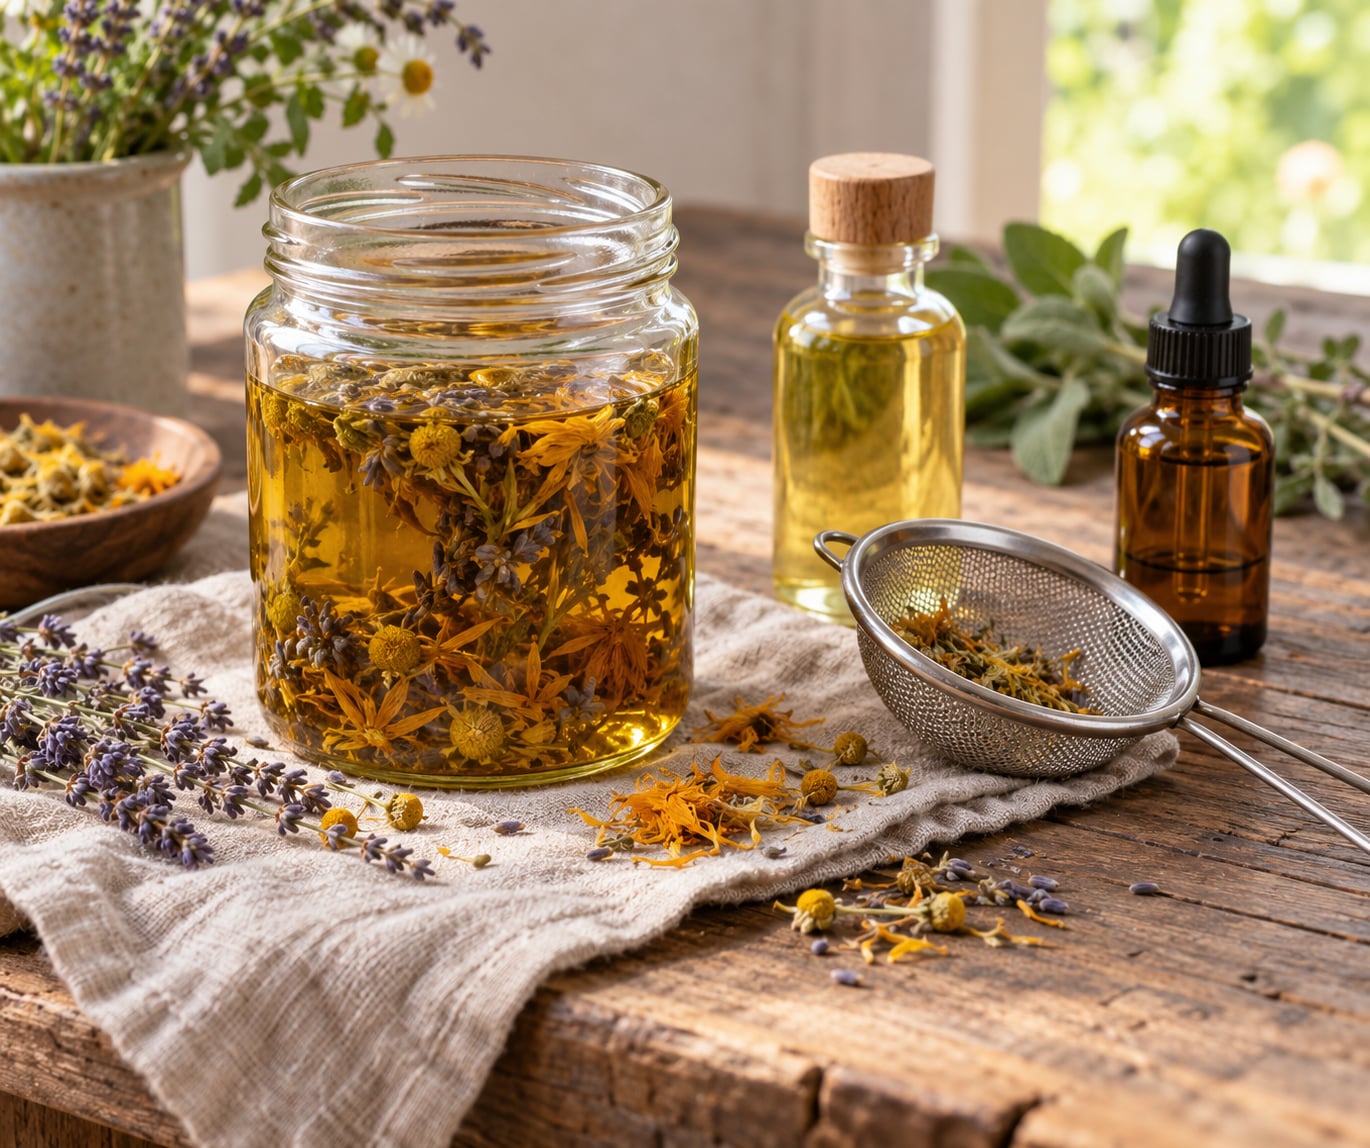
You need very little: a clean dry glass jar, a carrier oil, fully dried plant material, and a way to filter. Everything else is optional convenience. A small batch is about half a cup of dried herb to two and a half cups of oil, which makes enough for several uses before the oil starts to smell tired.
- Glass jar with a tight lid. Mason jar or a screw-top cosmetic jar. Wash it, dry it, and let it air-dry completely.
- Carrier oil. Enough to cover the plant material by a centimetre or so after it settles.
- Fully dried botanicals. Leaves, flowers, roots or bark, brittle and dry with no soft centre when you snap a stem.
- Filter. Fine-mesh strainer lined with muslin or cheesecloth, or a nut milk bag for a finer job.
- Labels and a pen. You will want to know what is in the bottle and when it was made.
- Dark glass storage bottles. Amber or cobalt glass slows oxidation once the oil is strained.
- Optional: a double boiler or slow cooker, a probe thermometer, a dehydrator or food dehydrator for drying herbs, and gloves if you are working with irritating material such as comfrey or St John’s wort sap.
For a carrier oil, match the fat to the use. Olive, avocado and grapeseed oils work for cooking and for body oils; jojoba, sweet almond, sunflower and fractionated coconut are lighter choices for facial and hair use; shea, moringa and baobab seed oil suit richer body preparations. Olive and grapeseed have shorter shelf lives than jojoba, which behaves more like a wax than a true oil and resists rancidity well.
If you are making oil to eat, stay with oils you would happily cook in. If you are making it for skin, avoid anything you have not used on skin before, and keep the ingredient list short.
Step-by-Step: How to Make an Herbal Infused Oil
Choose the infusion method
| Method | Time | Temperature | Equipment | Indicative shelf life |
|---|---|---|---|---|
| Cold, countertop | 2 to 6 weeks | Cool, dark cupboard | Jar only | 6 to 12 months |
| Cold, refrigerator | 4 to 12 weeks | About 4C | Jar only | 6 to 12 months |
| Warm, double boiler | 2 to 4 hours | Under 110F / 43C | Bowl, pot, thermometer | 3 to 6 months |
| Solar or folk method | 2 to 4 weeks | Sun-warmed shelf | Jar, sunny window | Up to 12 months |
The refrigerator is a real option rather than a compromise. Herbalists report that a cold infusion in the fridge roughly doubles the time, so plan six to twelve weeks instead of two to six. The solar method works the same way through passive warmth, and it is the traditional folk approach in many traditions including African oil infusion, where heat from the sun is the only “equipment” available.
Warm infusion gets a different drawback: every degree above 110F / 43C starts pushing the most aromatic compounds out of the oil, and heat also accelerates oxidation afterwards. There is no evidence either method produces a medicinal result; the difference is how much plant material ends up in the fat.
Prepare and combine the ingredients
Dryness is the whole game. Water trapped under oil creates a warm, low-acid, oxygen-free pocket where mould and bacteria can settle in, so everything that goes into the jar must be bone dry.
- Check the botanicals. Snap a stem. If it bends instead of snapping, it is not dry enough. Discard anything with a soft centre, a musty smell or visible fuzz.
- Clean and dry the jar. Wash with hot soapy water, rinse, and dry it in the oven or leave it inverted overnight. Water on the walls is enough to start mould.
- Measure by ratio. Use roughly 1 part dried herb to 5 parts oil by weight, 1:4 for wilted material, and 1:3 for fresh material.
- Fill the jar about halfway. That leaves headroom for the plant material to swell and expand as it takes up oil.
- Pour the oil over the top. Every piece must stay submerged. A clean spoon or chopstick presses down stragglers; herb floating above the oil line goes mouldy.
- Cap and label. Write the botanical name, plant part, carrier oil, method and start date on masking tape or a jar label.
If you only have fresh material, do not use the slow method. Either wilt it for 12 to 24 hours until limp and dry to the touch, or use the warm method with the lid set slightly ajar so steam can escape.
Infuse the herbal material
Set the jar in a dark cupboard out of sunlight and shake it once or twice a week until the oil takes on the herb’s colour and smell. Two weeks gets you a usable oil for fresh material and four to six weeks suits dried material, roots and bark. Stop when the aroma matches the dried herb in your hand.
For a warm infusion, set a bowl over barely simmering water, add the herbs and oil, and keep the temperature under 110F / 43C with a probe thermometer for two to four hours. Do not let the oil touch the water, and never heat it on a stove directly or in a microwave.
Cloudiness, floating sediment and a faint haze are normal and mean nothing on their own. Smell the jar before you use it: a rancid, sour, chemical or fermented smell, visible fuzz, or pink, green or black discoloration means discard the whole batch without tasting it.
Strain, label, and store the oil
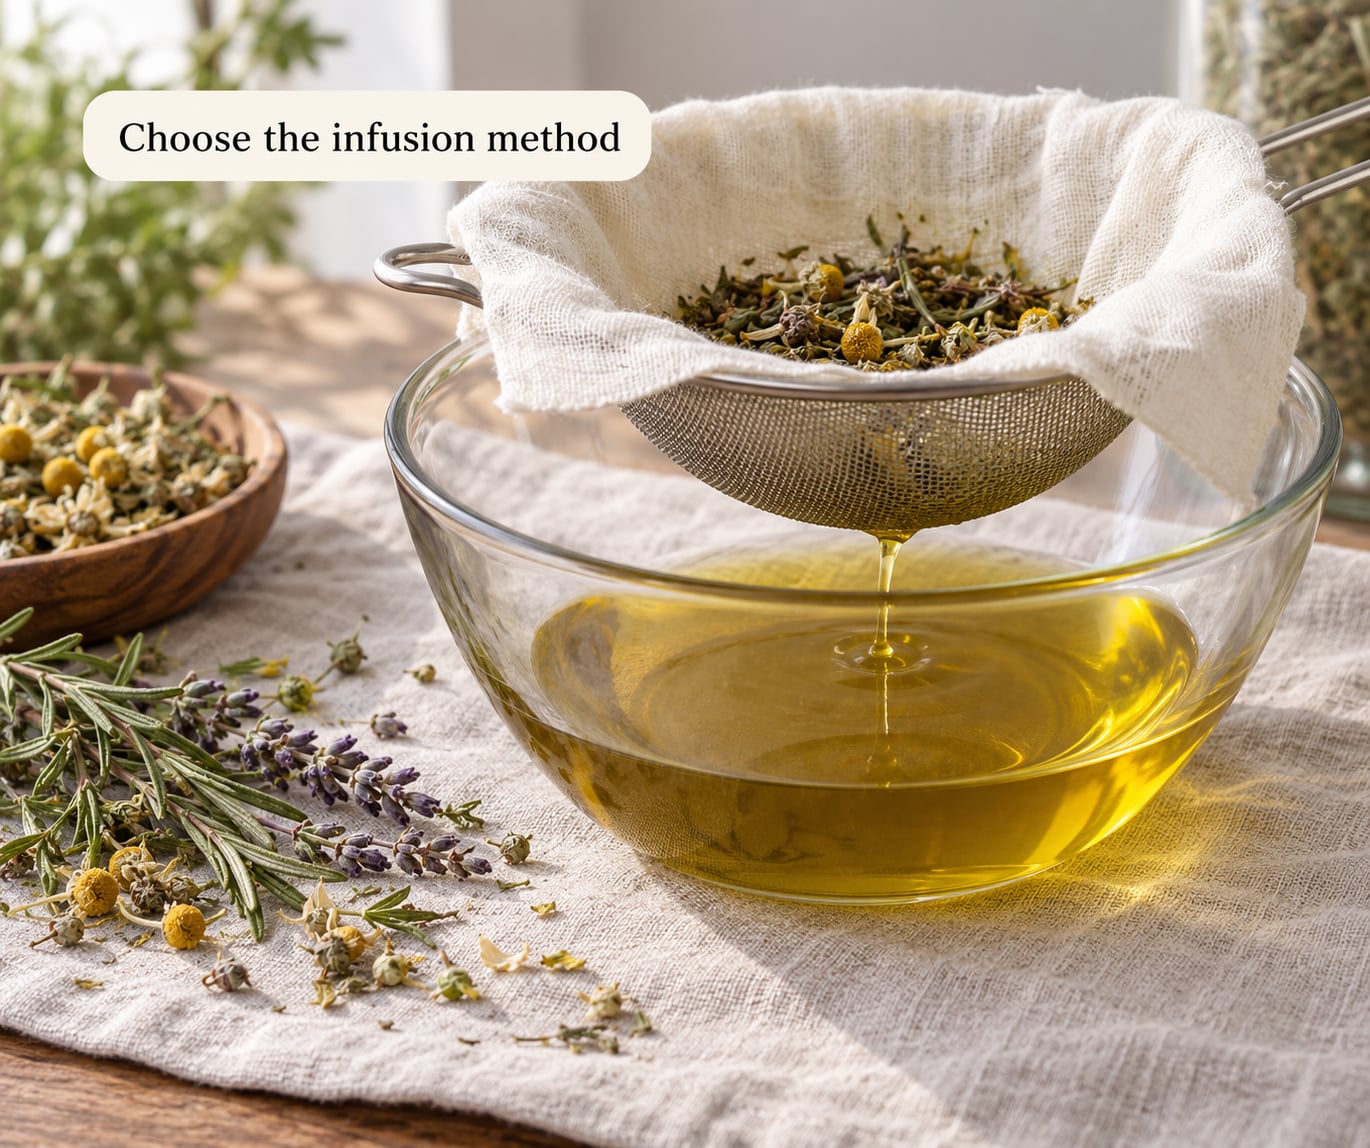
Pour the contents through muslin or a nut milk bag and press gently, without squeezing hard enough to force water from the plant tissue back into the oil. Any water you squeeze in is exactly the contaminant you spent the infusion avoiding.
Decant into dark glass bottles, leaving a little headspace, and label each one with the botanical name, plant part, carrier oil, method and date. Store in a cool dark cupboard away from the stove and window. Refrigeration is optional for a dried-herb cold infusion, and worth doing for anything made with fresh material or warm method oil.
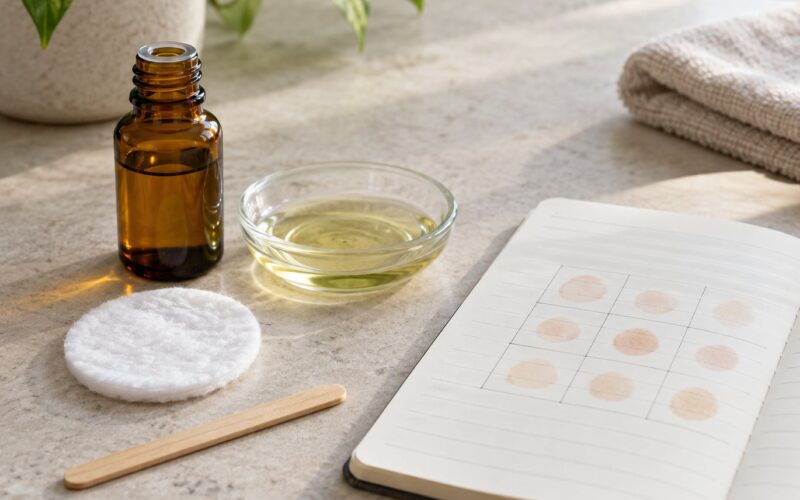
Before each use, smell it and look at it. If you are making something meant to go on skin, start from a reputable cosmetic formula and keep the process proportionate to what you are making; a home infusion is not a substitute for a formulated and tested product. Patch test on a small area and wait 24 hours.
Common Mistakes
Almost every failed batch traces back to one of these, and all of them are fixable.
- Using fresh or damp herbs in a slow infusion. Fix: dry fully, wilt for 12 to 24 hours, or switch to the warm method with the lid ajar. Never store fresh garlic or onion pieces in oil at room temperature; food-safety guidance consistently treats that as a botulism risk.
- Overheating the oil. Fix: keep it under 110F / 43C in a double boiler and use a thermometer instead of guessing. Direct stovetop heat scorches the oil and drives off the aromatics.
- Letting plant material break the surface. Fix: top the jar up with oil, or use a weight. Exposed material dries out and moulds in the air pocket.
- Damp or unsterilised equipment. Fix: wash and fully dry jars and strainers before use. Residue from a previous batch is enough to spoil a new one.
- Storing it warm or in the light. Fix: a cool dark cupboard, and the refrigerator if the batch used fresh material or heat. Light and warmth both drive rancidity.
- Treating homemade oil as medicine. Fix: use it as a cosmetic or culinary preparation. For any health concern, talk to a doctor or pharmacist rather than a jar on a shelf.
- Using it on broken or irritated skin. Fix: keep it off open wounds, eczema flares and recently shaved or peeled skin, and patch test first.
A few plants carry their own cautions for topical use. Arnica is for external use only and should not be applied to broken skin, St John’s wort can make skin photosensitive, and rue and some citrus oils are phototoxic in sunlight. If a plant has a known caution, follow a reputable cosmetic or herbal reference rather than improvising.
Frequently Asked Questions
What is the easiest way to make an herbal infused oil at home?
The easiest method is a cold infusion. Fill a clean, completely dry glass jar halfway with fully dried herbs, pour in enough carrier oil to cover everything by a centimetre, seal it and leave it in a dark cupboard for two to six weeks. Shake it once or twice a week. Strain it through muslin, bottle it in dark glass and label it with the date. No equipment beyond a jar and a strainer.
Should I use fresh herbs or dried herbs for an infused oil?
Dried, for almost every slow method. Water carried in fresh plant material is the single biggest spoiler of homemade infused oil, because trapped moisture under oil gives mould and bacteria a low-acid, oxygen-free place to grow. If you only have fresh herbs, wilt them for 12 to 24 hours, or use the warm method with the lid slightly ajar so moisture can escape as steam.
How long should an herbal oil infuse before it is strained?
A countertop cold infusion usually needs two to six weeks, with four to six weeks suiting dried material and roots. A refrigerator infusion runs cooler and roughly doubles the time, so allow six to twelve weeks. A warm double boiler infusion takes two to four hours under 110F / 43C. You are done when the oil smells like the dried herb rather than like plain oil.
How do I know if homemade infused oil has gone bad?
Use your nose before anything else. A rancid, sour, bitter, chemical or fermented smell means discard the batch, and visible mould, pink or green discoloration or a fizzy, swollen jar means the same. Cloudiness, floating sediment and colour changes from the herbs are normal on their own. When in doubt, throw it out; oil is cheap and the risk is not worth it.
Can an herbal infused oil be used directly on the skin?
Many can, provided every ingredient is one you already tolerate on skin. Keep the recipe short, avoid known sensitising or photosensitive plants such as arnica for broken skin, rue and some citrus oils, and never apply an infusion to open wounds or irritated eczema. Patch test a small area and wait 24 hours. For a product meant to stay on skin, follow a reputable cosmetic formula rather than improvising.
Can I make herbal infused oil without heating it?
Yes, and cold infusion is the method most herbalists reach for first. It costs nothing, needs no thermometer and preserves the volatile aromatic compounds that heat drives off. The trade-off is time: two to six weeks at room temperature, or six to twelve weeks in the refrigerator, against a few hours for a warm infusion. Choose cold for leaves and flowers, warm for dense roots, bark and seeds.
If you only keep one thing from how to make an herbal infused oil, keep it dry: start with a jar of fully dried herbs and a cold infusion this week, then do nothing else complicated until you have one good batch on a shelf. Once the routine is familiar, the second and third batches take no thought at all.