Learning how to press and preserve plant specimens takes less equipment than most people expect. Lay your material between sheets of absorbent paper inside a rigid press, apply steady pressure, change the paper every 24 to 48 hours, and give it two to four weeks to dry. Mount the dried plant on archival sheet, write a proper label, and store it flat in a dry, pest-free cabinet.
The fiddly part is not the pressing. It is the paperwork and the patience in the middle, and the two things that ruin a specimen are pressing wet material and taking it out of the press before it is truly dry.
This guide covers the full process for students, teachers, field collectors, gardeners and anyone documenting traditional plant use, including the parts that are usually skipped: building a press from scrap cardboard, testing for dryness, splitting oversized leaves, and storing a home collection without a formal herbarium cabinet.
Table of Contents
- 1What You Need
- 2Step-by-Step
- 3How to Choose and Prepare the Plant Material
- 4How to Press the Specimen
- 5How to Mount and Label the Dried Plant
- 6How to Store and Protect the Finished Specimen
- 7Common Mistakes
- 8Frequently Asked Questions
- 9How long does it take to press and dry a plant specimen?
- 10Can I press leaves, flowers, fruits, and roots together?
- 11What is the best way to prevent mold during plant pressing?
- 12How should a fragile or very large specimen be handled?
- 13Do pressed plant specimens stay useful for plant identification?
- 14What information should the specimen label include?
- 15Final Checklist
What You Need
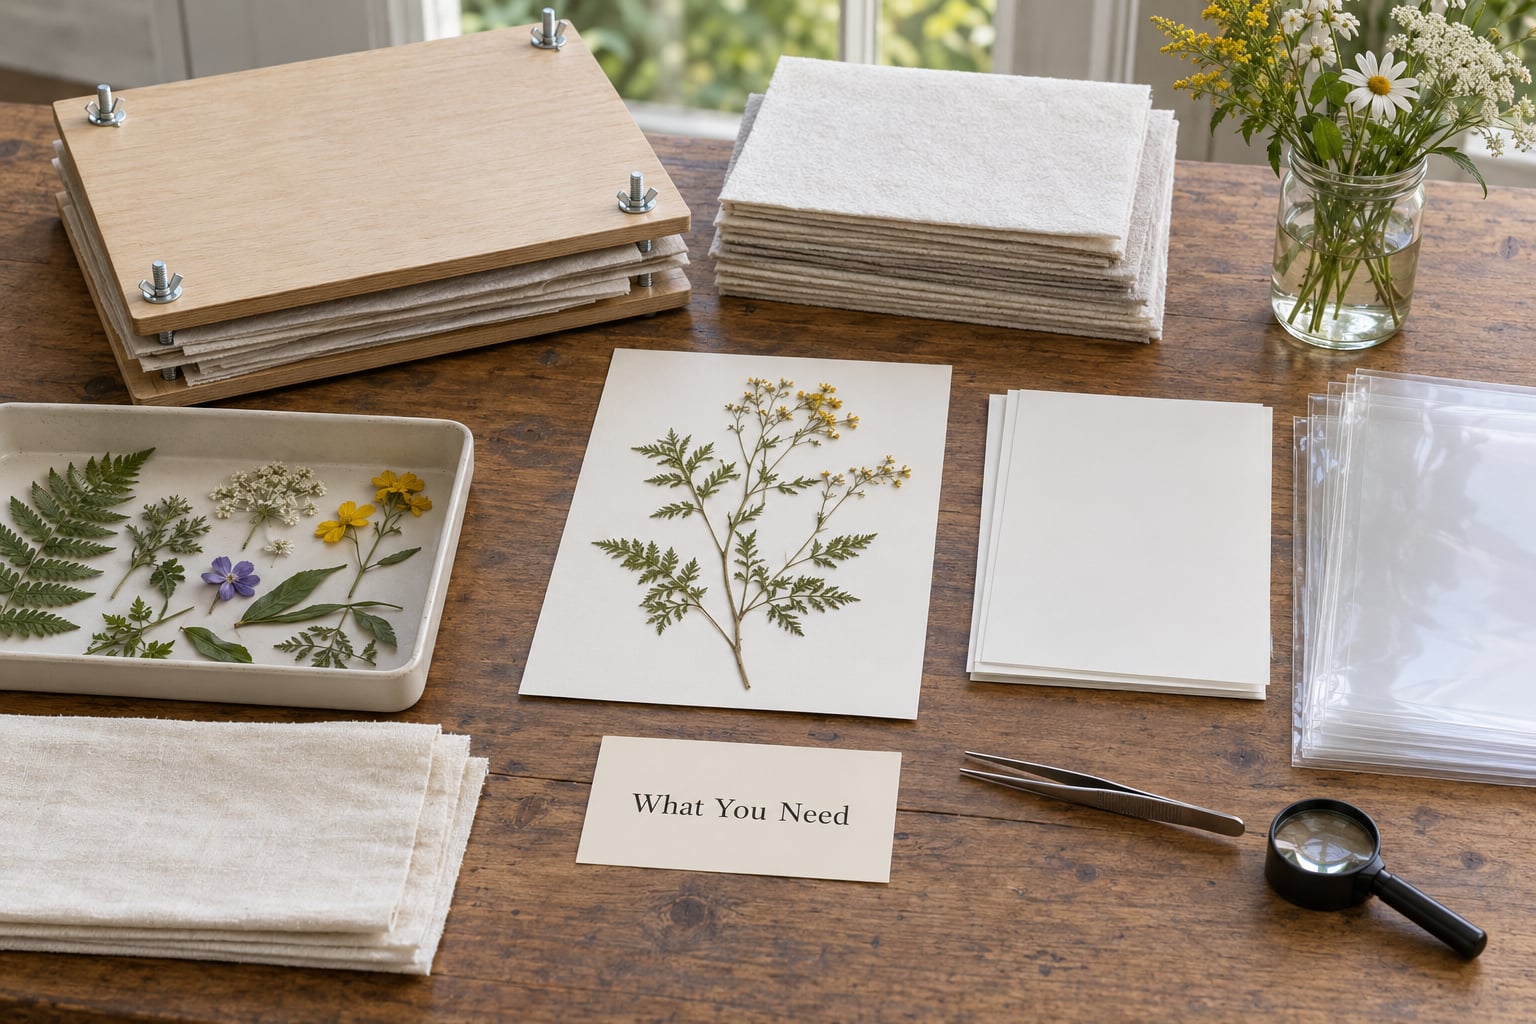
Gather everything before you collect, because a press run does not pause while you drive back for supplies.
- Pressing boards — two stiff boards larger than your specimen. Corrugated cardboard offcuts around 50 by 80 cm are what many home collectors use, and they work well enough for a collection that lives in a closet rather than a university cabinet.
- Ventilated corrugated cardboard — cut into squares the size of your sheets, with slots or holes so air can move through the stack. Solid unventilated cardboard traps moisture and moulds the plant.
- Absorbent paper — blotting paper is ideal. Newspaper works, especially in the field, but the ink can transfer to pale petals, so put plain sheets either side of anything light-coloured.
- Pressure — heavy books, a strap, or a stack of bricks. Start light.
- Mounting sheet — acid-free archival paper, or 30 by 41 cm bristol board if you want standard herbarium dimensions.
- Adhesive — archival glue dots, gummed linen tape, or narrow strips of archival tape for straps and stems.
- Labels and pencil — archival ink or a soft pencil. Never ballpoint or felt tip on a sheet you may keep for decades.
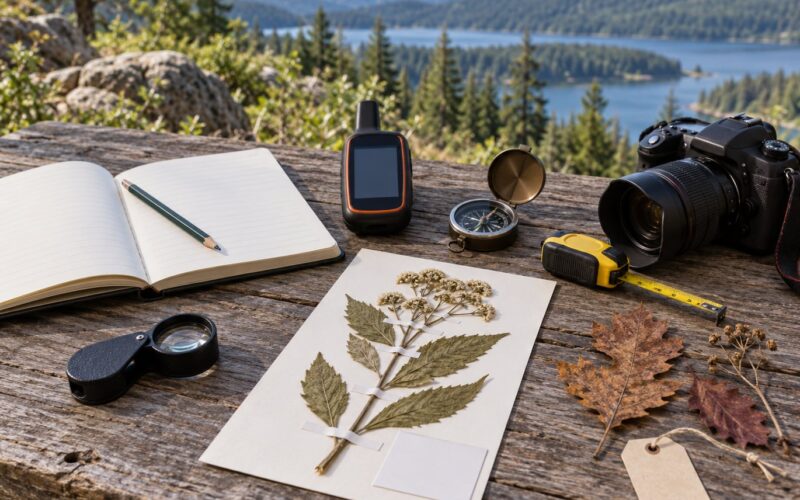
- Field notebook, GPS or phone, hand lens, tweezers, and a small folding rule.
Two optional items earn their keep. A cardboard box with a lid makes a field press that carries flat in a rucksack, and a box of silica gel packets protects a stored collection from humidity in humid months.
Step-by-Step
How to Choose and Prepare the Plant Material
Collect material that shows the whole story of the plant: a stem with leaves in their natural arrangement, a flower, a piece of fruit, and a bud if there is one. Botanists call a good specimen representative, and the test is simple — could someone identify the plant from your sheet alone, months from now?
Take a small, targeted sample. Cut a branch with attached leaves rather than stripping individual leaves from a living plant, and never more than you can press flat. In ethnobotanical work, the voucher specimen has to match the plant people actually use, so collect from the same plant as the preparation you are documenting.
Before you cut, check that you are allowed to. Many parks, reserves and state land require a collecting permit, some protected species cannot be taken at all, and national parks usually ban collection entirely. Ask the land manager, keep the permit number on the label, and note the consent of the person who shared the plant knowledge if the record involves traditional use.
Write the details in your field notebook before you press anything: location, coordinates, date, habitat, collector’s name, and any use notes or local names. Memory is unreliable and a specimen without data is far less useful. If you cut a large leaf such as a banana, monstera or palm frond, split it along the main vein into sections that fit your sheet and mount the pieces together so the original shape is still readable.
Prepare the material immediately. Trim away anything you cannot press, and if the plant is wet from rain, shake or blot the surface water first. Wet material in a closed press is the single most common cause of mould.
You will know the preparation worked if the underside of the leaves still shows venation and hairs, and the flower keeps its shape rather than collapsing into a stain.
How to Press the Specimen
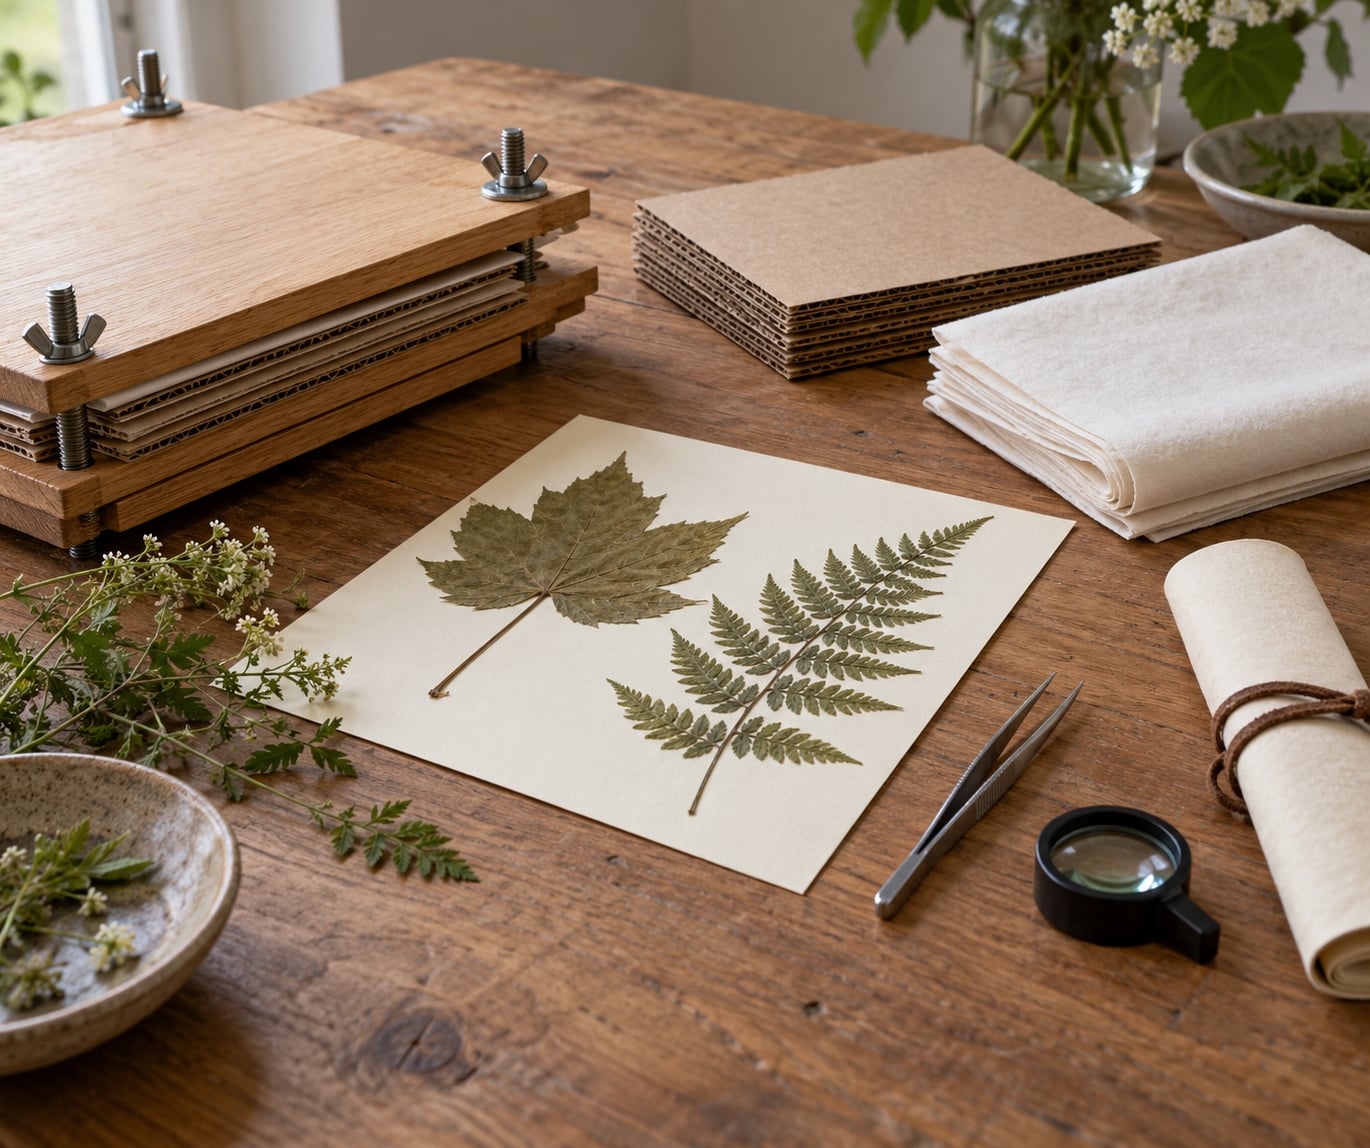
Build the press bottom-up: a board, a corrugated cardboard square, two sheets of newspaper or blotting paper, then your plant. Arrange the specimen face up with the leaves turned so the underside shows where it matters, and space parts so they do not overlap. Overlapping pieces never dry evenly and the lower one rots.
Fill out around the plant so the sheet is evenly thick. Leave gaps where there is nothing, and use a wadded-up piece of paper to support a thick stem so it does not buckle. If you want a stem to stay straight, slide a stiff card inside it before pressing.
Add another layer of paper and cardboard, finish with the top board, and apply even pressure. The aim is flat, not compressed. Professionals use straps or a screw press for consistent tension; at home, a stack of books set on a level surface works. Weigh it down gradually, because heavy pressure applied at once bows the boards and crushes the specimen — a common beginner mistake reported again and again on pressing forums.
Change the absorbent paper every 24 to 48 hours, more often in humid weather. Damp paper returns moisture to the plant instead of removing it. Slide the whole stack onto a clean surface, peel off the top sheets, lay in fresh ones, and rebuild.
Leave air gaps so a little circulation can happen, and keep the press somewhere dry, shaded and out of direct sun. Most specimens need two to four weeks; thin leaves and single flowers dry in well under that, while woody stems, thick seed pods and fleshy fruit take considerably longer. Drying speeds up sharply in a warm, airy room and slows to a crawl in a damp cupboard, so where you keep the press matters as much as how you built it.
Test before you commit. Lift a corner of the specimen or the thickest stem and bend it gently; a properly dry piece snaps cleanly, while one that bends or feels cool still holds moisture. Another check is to press the back of the sheet against your cheek — any coolness means more drying time.
How to Mount and Label the Dried Plant
Identify the specimen while it is still on the press, if you can. Working under a lens with the plant flat and unmounted is far easier than after it is fixed to sheet.
Prepare a sheet of acid-free archival paper or 30 by 41 cm bristol board. Lay the dried plant in its final position and think about what someone reading it in fifty years needs to see: leaf arrangement, both leaf surfaces if you collected them, the flower, the fruit, and the base of the stem.
Fix it down rather than floating it. Archival glue dots or narrow strips of gummed linen tape work better than liquid glue, which can soak through and stain the sheet. Anchor the stem and major branches, let nothing overlap, and leave the margins and the lower right corner clear for the label.
Write the label at the same time you mount, using the field notebook rather than your memory. A standard herbarium label records the species name with the author, the collection number, the collector, the exact location with coordinates, the date, and the habitat. For ethnobotanical voucher material, add the voucher number, the plant part used, the preparation method described in your notes, and the locality of the knowledge itself.
The quality check is simple: the sheet lies flat, nothing lifts at the edges, the diagnostic features are visible without bending anything, and every label field is filled in rather than guessed at later.
How to Store and Protect the Finished Specimen
Mounted sheets go into folders, folders into boxes, boxes onto shelves — in that order, and always flat. A herbarium cabinet with tight-fitting drawers is the gold standard because it controls both humidity and insects, but a home collection can work well in a sealed archival box or a rigid document box with acid-free folders.
Aim for a cool, dry room with relative humidity kept in the region of 35 to 45 percent, out of direct sunlight and away from radiators and exterior walls. Add silica gel packets if you live somewhere humid, and refresh or re-dry them regularly. Enclose each sheet in a mylar or polyester sleeve if it will be handled, because bare sheets pick up dirt and thumbprints fast.
Insects are the slow emergency in home collections. Freezing is the reliable answer: seal the box in a plastic bag and hold it at around -18°C for about a week, then bring it back to room temperature inside the sealed bag before opening, so no condensation reaches the specimens. Check shelves regularly for small round holes and cast skins, which signal booklice or carpet beetle rather than a problem with your pressing.
Finally, keep an accession list or a simple spreadsheet: collection number, species, date, location, and where the sheet is stored. Museums and teaching collections survive on those records. Without them, the physical sheets slowly become a pile nobody can interpret.
Common Mistakes
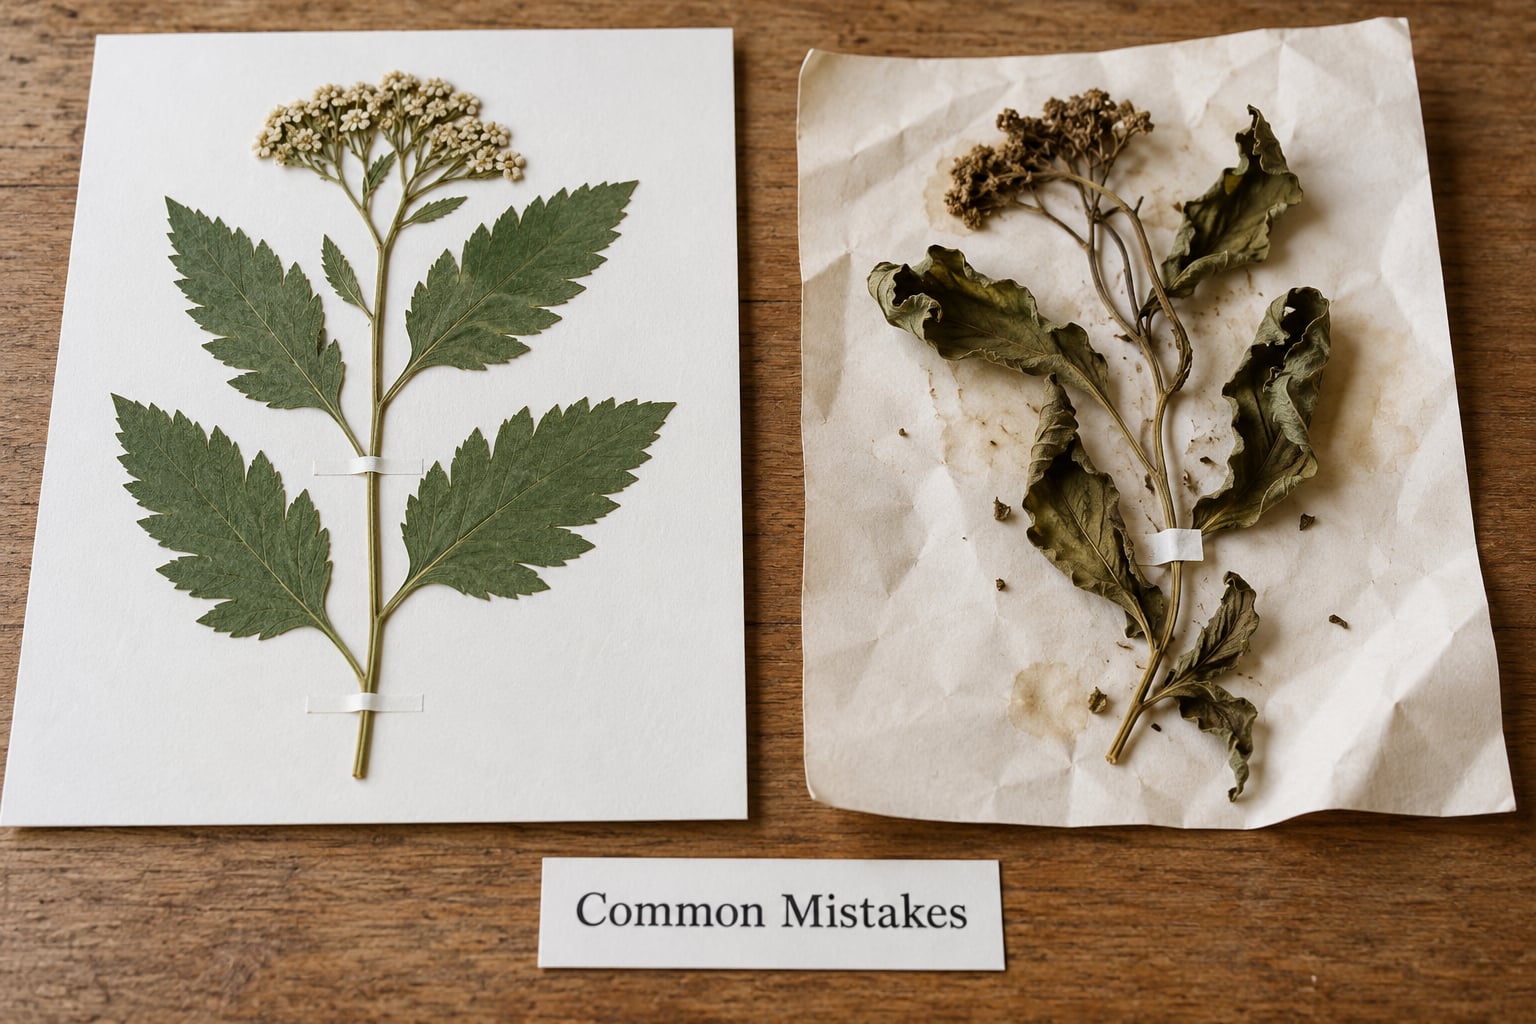
Pressing wet material. Specimens straight from the rain or a wet stem seal against the paper and start going grey or white within days. Shake off surface water, blot gently, and always separate layers with fresh absorbent paper.
Leaving it in too early. Pressers regularly report pulling a specimen out after a week because the leaves felt dry and later finding mould in the thick stem. Use the snap test on the thickest part, not the edges.
Too much pressure too early. Heavy weight added at once bows the boards and crushes diagnostic features. Ramp up the weight over the first few days and keep it even across the stack.
Not changing the paper. Paper saturated with moisture stops working within a day or two. Every 24 to 48 hours, and daily in wet weather.
Sections overlapping. Parts stacked on top of each other never dry together. Spread material out and fill the empty space so the whole sheet is one consistent thickness.
Unventilated cardboard or an unventilated book. Air circulation is the cheapest way to speed drying, and its absence is the usual reason a book press takes six weeks instead of three. Use slotted cardboard, or dry the stack in a warm airy room rather than a cupboard.
Reusing the book. Ink and colour transfer from a book you also read, and residual dampness in the spine slows drying. Use a heavy book you do not read, or better, a purpose-built press.
Delicate material tearing. Blossoms and seed heads stick and then lift away from the paper. Support them with a layer of wax paper or glassine over the top sheet, and never peel a stuck flower off — rehydrate the sheet with a light mist and lift slowly.
Colour fading. Reds and pinks tend to dull within weeks no matter how well pressed, because the pigments break down under light and humidity. Store sheets in sleeves, keep them out of windows, and accept that pressing preserves structure rather than colour. Where colour genuinely matters, sand drying or silica gel colour retention suit display pieces instead of study specimens.
Forgetting the label. This is the only mistake that cannot be repaired later. Write the collection data in the field, not at the desk.
Frequently Asked Questions
How long does it take to press and dry a plant specimen?
Most specimens need two to four weeks, with the first few days deciding whether the press stays healthy. Thin leaves and single flowers dry fastest, sometimes in under a week, while woody stems, thick seed pods and fleshy fruit can take a month or more. Change the absorbent paper every 24 to 48 hours throughout, and keep testing the thickest part until it snaps cleanly instead of bending.
Can I press leaves, flowers, fruits, and roots together?
Yes, and a complete specimen is a better one. Press leaves, a flower, fruit and a piece of stem together as long as each part fits flat and nothing overlaps. Roots usually need the soil washed off first and can be dried separately, and oversized leaves such as banana or monstera should be split along the main vein into sections mounted back together on the sheet.
What is the best way to prevent mold during plant pressing?
Mould comes from moisture that never leaves, so prevention is about airflow and paper changes. Use ventilated corrugated cardboard rather than solid boards, change absorbent paper every 24 to 48 hours, blot surface water off fresh material before it goes into the press, and store the press in a dry room rather than a warm cupboard. If mould already appears, discard the affected sheet rather than trying to salvage it.
How should a fragile or very large specimen be handled?
Fragile material needs support and restraint rather than heavy pressure. Interleave it with wax paper or glassine so delicate parts do not glue themselves to the absorbent sheet, and build up soft paper around it so pressure spreads evenly. Large leaves can be split into sections and reassembled on one herbarium sheet, and thick stems can be held straight with a card slipped inside them.
Do pressed plant specimens stay useful for plant identification?
Yes, and that is the core purpose of a herbarium. Pressing preserves the features a photograph cannot show, including leaf arrangement, venation, hairs, flower structure, fruit and seed. Properly pressed, mounted and labelled specimens remain verifiable reference material for decades or longer, which is why researchers keep voucher specimens for traditional medicine studies long after the field work has ended.
What information should the specimen label include?
A standard label carries the species name with the author, the collection number, the collector’s name, the exact location with coordinates, the date, and the habitat. Collecting permit details belong there too when a permit was required. For ethnobotanical voucher material, add the plant part used, the preparation method, and where the traditional knowledge itself was recorded.
Final Checklist
Start with the paperwork and the press, not the plant. Write your field notes while you are standing in front of the specimen, build a ventilated press from cardboard you already have, and lay the material dry and unoverlapped.
Before you file a sheet away, run one last check:
- Collection data written from the field notebook, with location, coordinates, date and collector name complete.
- Specimen fully dry — the thickest stem snaps rather than bends.
- Even, light pressure only: no bowing boards, no crushed flower parts, no torn pieces lifted away.
- Mounted flat on acid-free sheet with visible leaf arrangement, flower and fruit.
- Permit details recorded where a permit was required.
- Stored flat in folders, boxes or a cabinet, in sleeves, away from light and humidity, with the location noted in an accession list.
A well-made pressed specimen looks unremarkable in a drawer. That is the point — it should be flat, quiet and legible, so the plant inside it can still be identified and verified long after the field season ends.