Knowing how to start a plant identification notebook comes down to one decision: deciding what every page will hold before you meet your first plant. Date, location, habitat, photographs, the botanical characters you can actually see, and a name with a confidence level attached. Set it up properly and the log takes about ten minutes per plant for the next decade.
Most people who fail at this do the same thing: they sketch a pretty leaf in a book and move on. The value sits in the boring parts, because a year later you can sort your records by date, match a flowering window to a photograph, and tell whether you were sure or guessing. That record is what keeps a wrong identification from turning into a poisoned lunch or a ruined remedy.
Table of Contents
- 1What You Need
- 2How to Start a Plant Identification Notebook Step by Step
- 3Choose a Notebook and Identification System
- 4Create a Plant Identification Notebook Template You Reuse Every Time
- 5Record the Plant in Its Habitat
- 6Document Diagnostic Features and Take Useful Photographs
- 7Add the Identification and Preserve the Evidence
- 8Review, Correct, and Maintain the Notebook
- 9Common Mistakes
- 10Frequently Asked Questions
- 11Should a plant identification notebook contain the plant’s common name or scientific name?
- 12Can I identify a plant reliably from photographs in my notebook?
- 13Is a digital notebook better than a paper field notebook?
- 14What should I do if a plant has no flowers or fruits?
- 15How should I document plants used in traditional medicine without making unsafe claims?
- 16When should I collect a specimen for a plant identification notebook?
What You Need
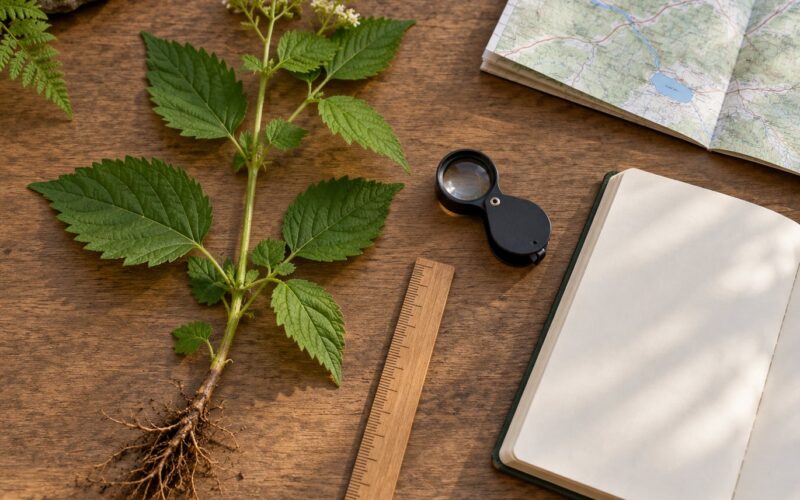
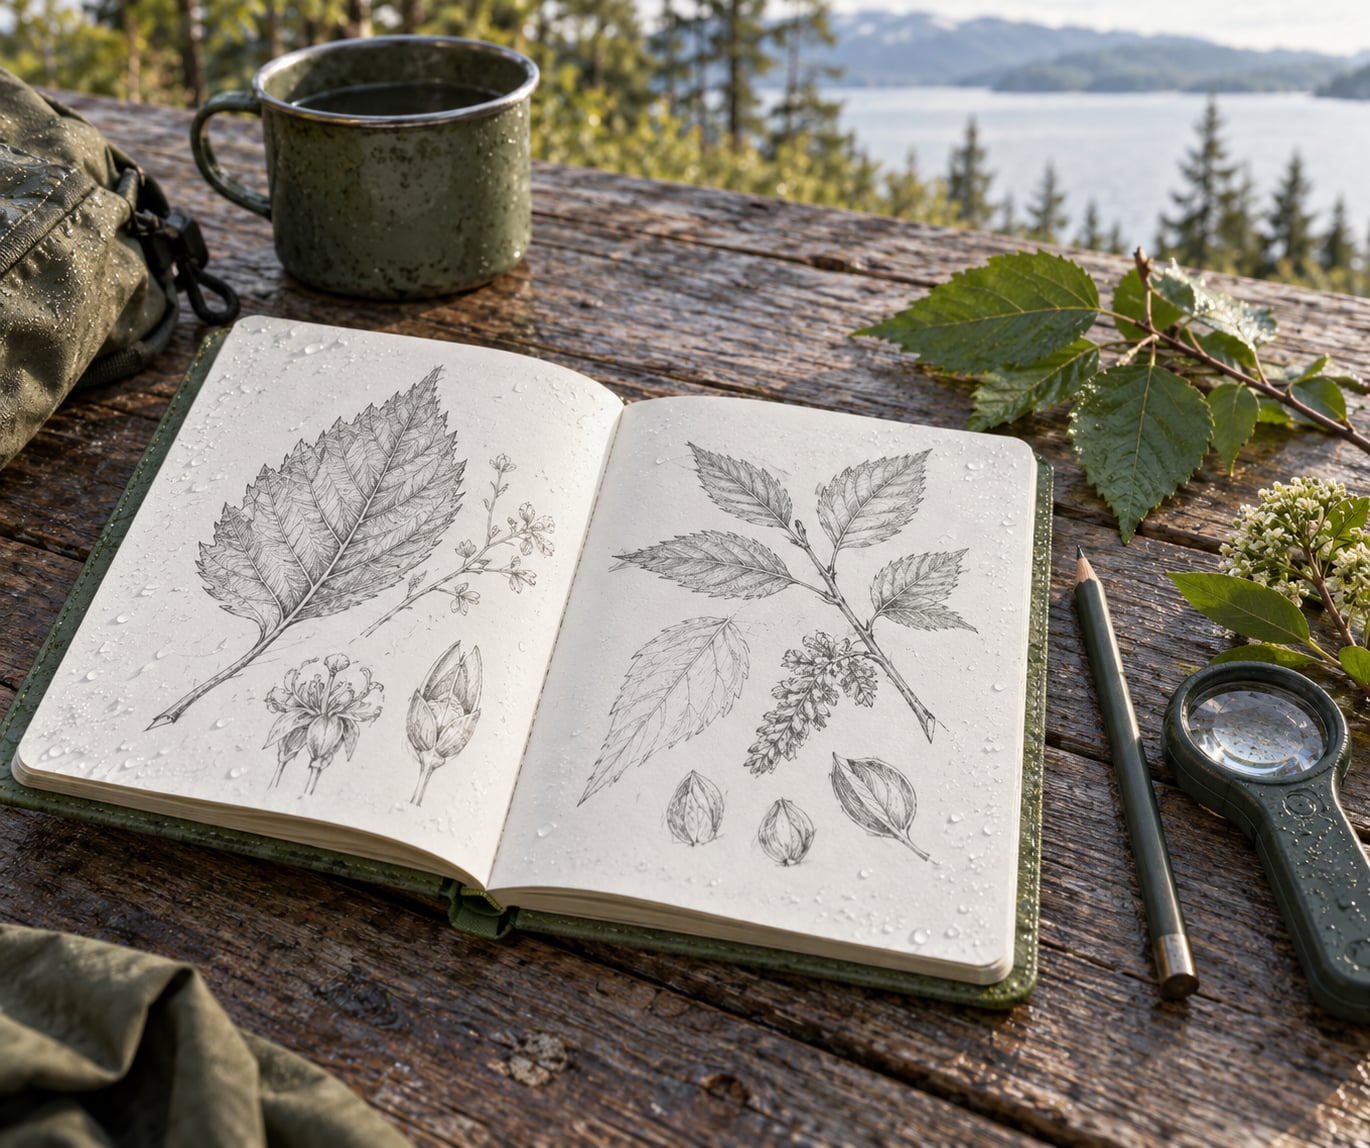
You need very little. A bound book with waterproof or coated pages, a pencil, a hand lens, a small ruler, and a camera are enough to run a notebook for years. Pencil beats pen because you will want to correct a field, and coated pages survive humidity and rain that turns a normal notebook into pulp.
It helps to be clear about two different documents. A field notebook is a chronological log, one page per encounter, written in the order you meet plants. A species record is the second document, one page per plant, holding everything you have gathered about that species across every encounter. Start with the log. Species records come later, and they are much easier to build once the log has some entries in it.
One safety note before anything else. A notebook documents plants; it does not authorise eating, applying or brewing any of them. Identification mistakes between edible and poisonous look-alikes have hospitalised experienced foragers, and folk remedies built on a misidentified root can do real harm. Never taste a plant to test it, never treat a notebook entry as permission to consume, and take any question of safety to a qualified clinician or pharmacist rather than to a search engine or a notebook.
How to Start a Plant Identification Notebook Step by Step
The whole process comes down to six moves, and each one has a simple way to tell whether it worked.
- Choose your format and set a numbering scheme. You will know it worked when your first entry carries a unique record number that links notes, photographs, maps and the eventual name.
- Write your field list once and print it. You will know it worked when you can fill a whole entry from memory without inventing fields as you go.
- Write the entry in the habitat, not at home. You will know it worked when someone reading it a year later could find the plant from your description alone.
- Photograph the characters, not just the plant. You will know it worked when you have an overview shot plus close-ups with something for scale in frame.
- Name it provisionally and record your confidence. You will know it worked when each entry clearly separates what you saw from what you think it is.
- Revisit and correct without rewriting. You will know it worked when last year’s guesses are visibly marked as guesses and updated, not quietly erased.
Choose a Notebook and Identification System
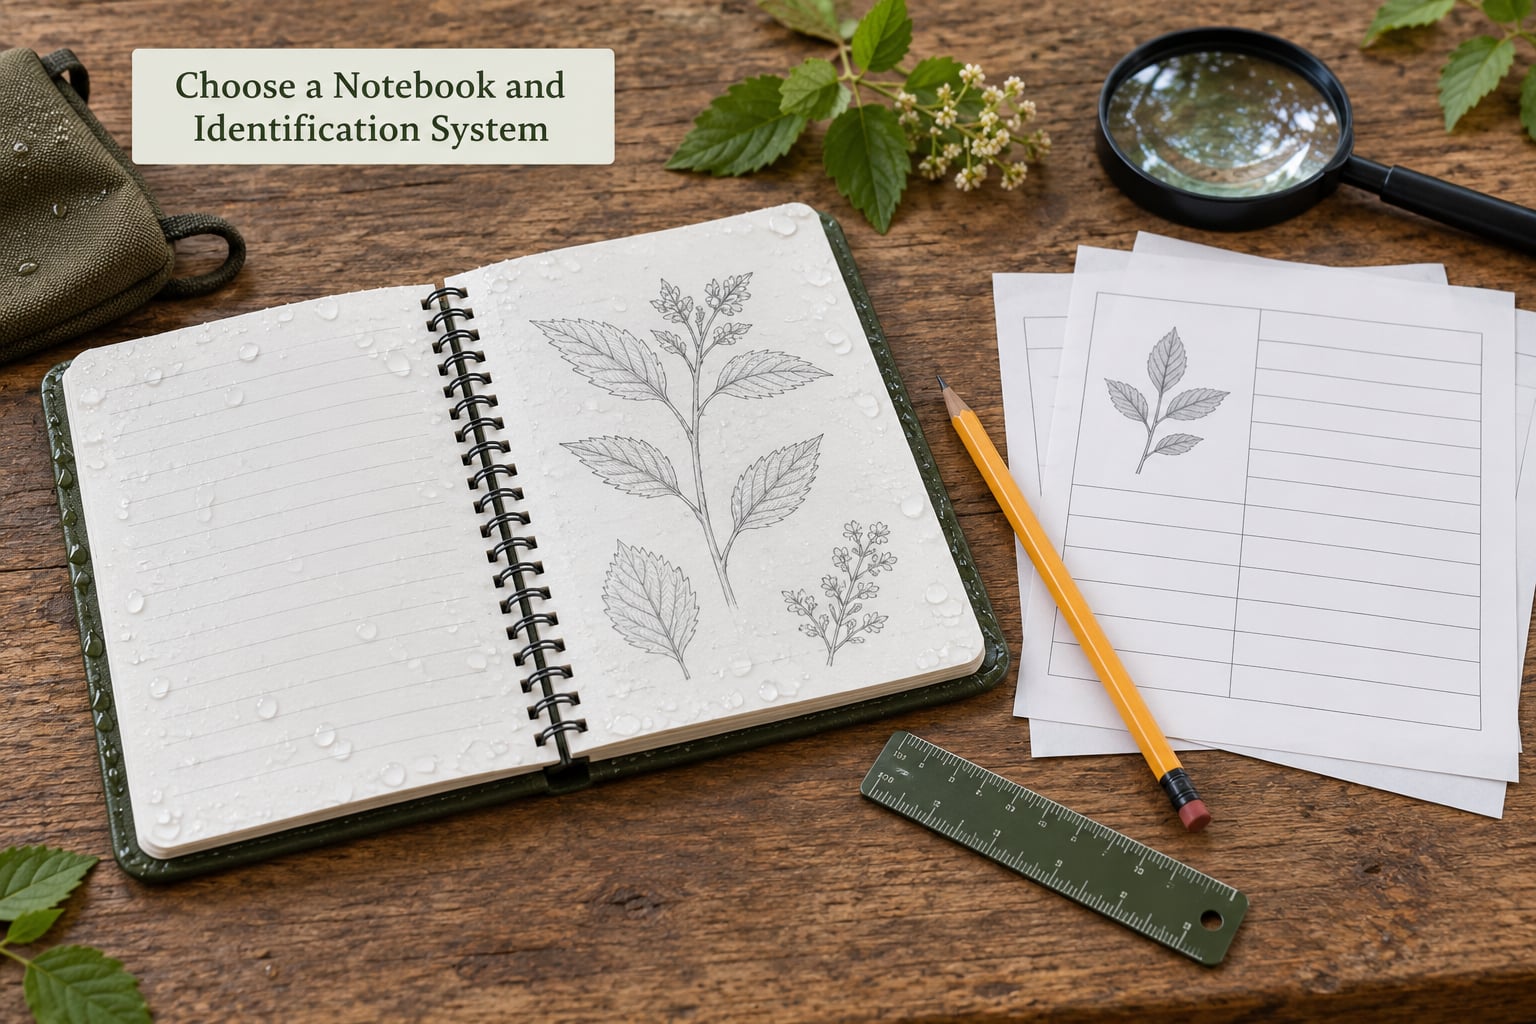
Most beginners pick the book and then stall. Pick the system first: what identifies a record, and what happens to it ten years from now. My own system is a sequential record number on every entry, starting with the date, so an entry reads 2026-04-18-004. Photographs, map pins and pressed material all get written with that same number. Six months later you can pull one plant’s entire trail without remembering what page it was on.
Paper suits short bursts of observation and stays readable with no battery. A spreadsheet or app gives you search, sort and export, which is where paper starts to hurt once you pass a few hundred entries. A hybrid gets you both: write in the field, transfer to a digital file within a week while the details are still clear, and keep the paper as the original.
Create a Plant Identification Notebook Template You Reuse Every Time
Print the field list and leave it on the inside cover of your first notebook. Repetition is the entire point, because entries that share fields can be compared side by side years later.
- Record number and date, with start time.
- Location: coordinates, plus a plain description of the spot.
- Habitat: forest edge, roadside, riverbank, rock outcrop, garden bed.
- Abundance: single plant, a patch, or scattered across the slope.
- Habit: tree, shrub, climber, herb, grass, rosette.
- Height and stem form, including nodes and internodes.
- Leaves: arrangement, shape, margin, venation, apex, base, texture, scent.
- Flowers and fruit: colour, count, arrangement, flowering stage, any scent.
- Bark or surface: texture and colour where visible.
- Associated organisms: insects, birds, fungi, neighbouring species.
- Proposed identification, family, genus, species, and a confidence level.
- Photograph references and any specimen number.
- Notes: anything the fields missed, including questions you still have.
If you record plants used in traditional medicine, add a second block of fields for that work: informant, community, consent given, plant part used, preparation, and the local name as it was spoken to you. Keep those separate from your own observations so the source of each claim stays clear, and never record a use you did not hear directly.
Record the Plant in Its Habitat
Habitat notes do most of the identification work, and they are the first thing people drop. Write down where and how the plant grows without disturbing it: what it grows next to, whether it sits in shade or full sun, what the soil or substrate looks like, how much water is around it, and how many plants you can count nearby.
A worked example, hypothetical but realistic. Record 2026-04-18-004: unfenced roadside verge, roughly 40 metres past a culvert, coordinates written out, full sun, red-brown gravelly soil, dry at the surface. One shrub about 1.8 metres tall, three others within ten metres, growing among dry grass and a low thorny scrub. Leaves opposite on the stem, dark green and glossy on top. No flowers yet. Photograph numbers 1 to 4 taken from the same spot, car visible in the background of frame 1 for scale.
That paragraph is short, and it is enough for someone to walk back to the same bush in five years. Yours should read the same way.
Document Diagnostic Features and Take Useful Photographs
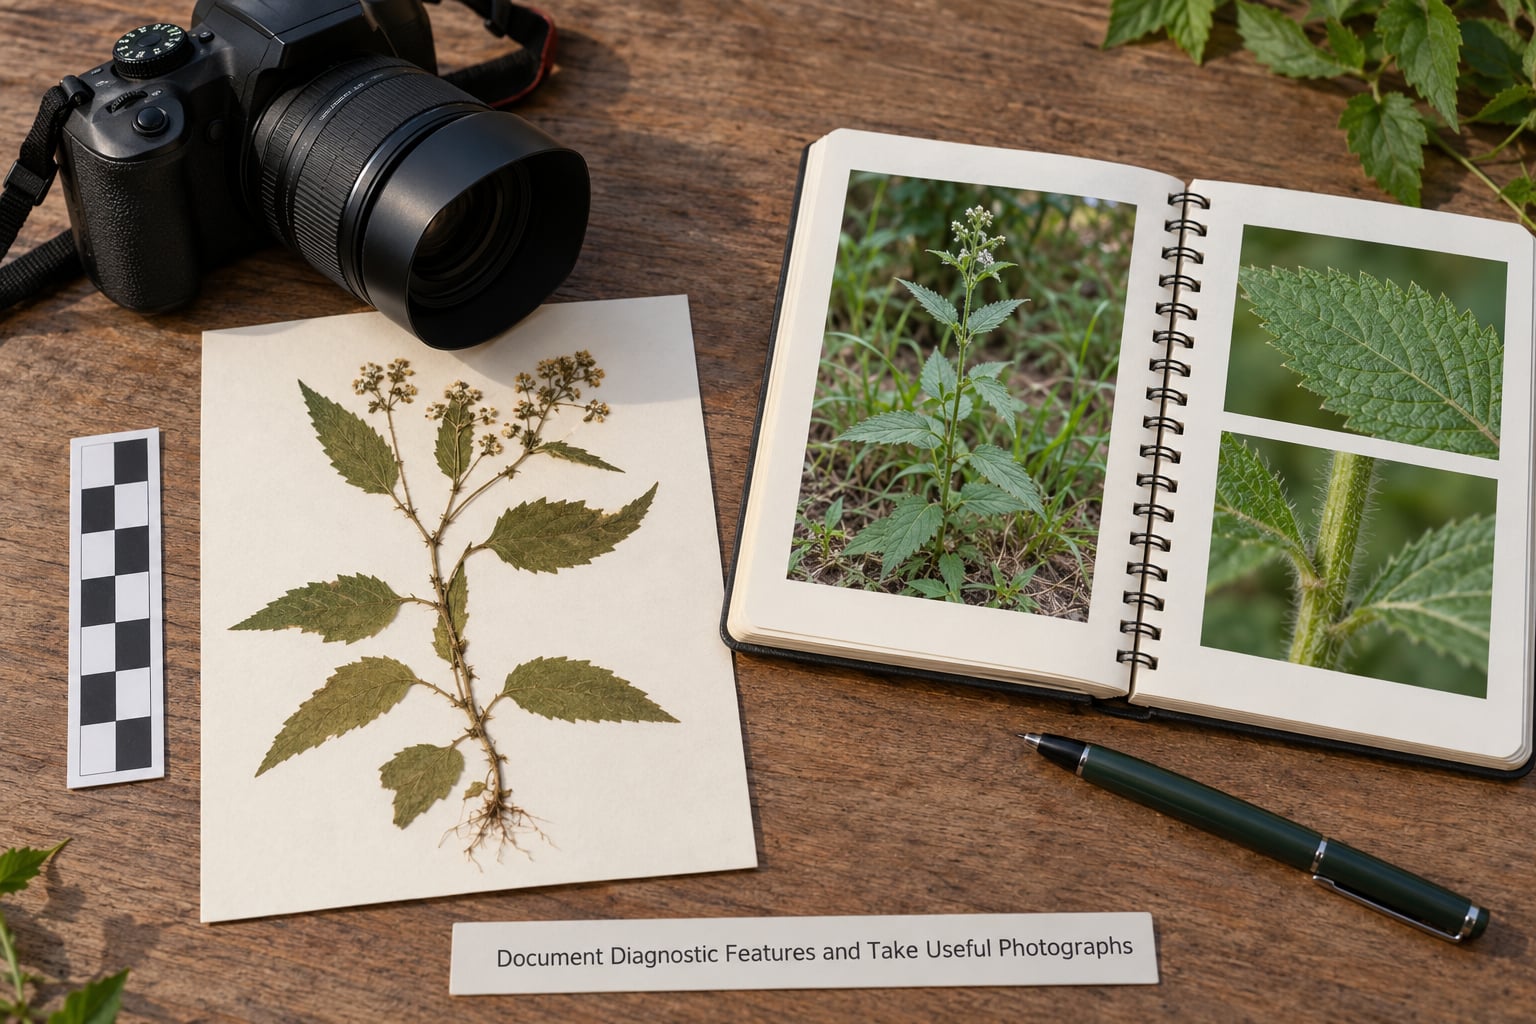
Diagnostic characters are the traits that separate one plant from its look-alike. Record the ones you can see with your own eyes, using plain words where the technical term would hide what you actually observed.
- Leaf arrangement: alternate, opposite or whorled along the stem.
- Leaf shape: oval, lance-shaped, needle-like, lobed, heart-shaped.
- Leaf margin: entire, toothed, serrated, lobed, spiny.
- Leaf venation: netted, parallel, or a single central midrib with side veins.
- Apex and base: pointed, rounded, notched, heart-shaped, tapered.
- Stem and nodes: square or round, woody or green, where leaves attach.
- Bark: smooth, fissured, peeling, hairy, and its colour.
- Flowers: parts present, symmetry, arrangement on the stem.
- Fruit and seed: shape, colour when ripe, how the fruit opens.
For photographs, take five kinds: an overview showing the whole plant in its habitat, a whole-plant shot from a clean angle, a close-up of each diagnostic feature, a habitat shot that shows what grows nearby, and a frame with a scale object beside the feature. Without scale, a leaf close-up tells you almost nothing about size.
Photographs support an identification; they do not make one on their own. A picture of leaves and a blurred hint of a flower could be several species, and app suggestions are a starting point for comparison rather than a verdict.
Add the Identification and Preserve the Evidence
Write the identification as a record, not a claim. Note who you consulted or which resource you used, the name given, the family and genus, the characters that actually support the name, the date of the identification, and your confidence level: confirmed, probable, or unknown. When you cannot name a plant yet, log the entry as unknown with the question you need answered. That is a legitimate record, and it is far better than a guess written as fact.
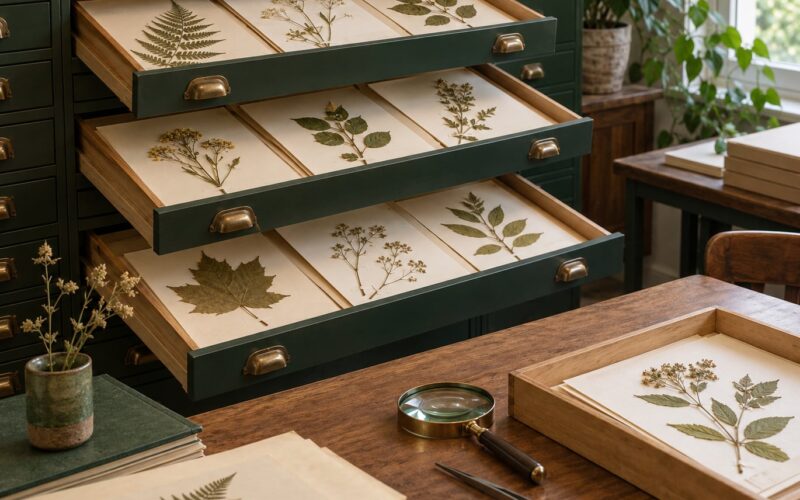
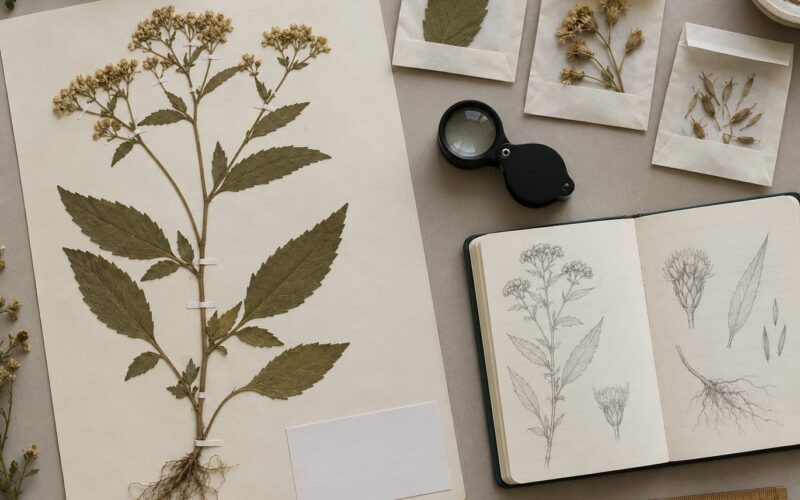
Your evidence can take several forms. Sketches capture arrangement and proportion. Pressed specimens show venation, margin and surface texture in three dimensions. Photographs capture colour and habit, and they degrade if you rely on one device. Location records tie a plant to a place. A voucher specimen, the preserved sample deposited with a herbarium, is what turns a personal claim into something a trained botanist can verify.
Check collecting rules before you take anything. Protected species, national parks, private land and reserves often forbid collection, and some jurisdictions restrict what you may carry between regions. Where collecting is legal, take only what you need, from a population that is not under pressure, with the owner’s permission, and record exactly where you collected. Ask before photographing people or their homes.
Review, Correct, and Maintain the Notebook
Mark every entry provisional or confirmed so you can filter for the unconfirmed ones later. Revisit those plants, because a flowering or fruiting season resolves questions a leaf-only visit cannot. When a name changes, add a new line with the date, the source and the reason, and never erase or overwrite the original field note.
Keep two filing layers. The chronological log shows you what happened when, and the per-species record pulls every encounter together. Then back it up: scan or photograph the paper pages, export the digital file, and store a copy somewhere that is not the same device or building. Records lost in a move are the ones people regret.
Run a quality check every few months. Confirm every entry has a date and a location, that photographs exist for anything you named, that measurements carry units, that the same character is described the same way in every entry, and that you have written down what is still missing rather than leaving a blank space.
Common Mistakes
Identifying from one photograph. A single frame hides leaf arrangement, bark and overall size. The fix is a minimum photo set plus notes on the characters the image does not show.
Writing an uncertain name as fact. Flip every guess back to provisional and add the evidence you would need. A notebook full of confident wrong names is worse than an empty one.
Omitting scale and location. Without a ruler in frame and coordinates in the notes, a photograph cannot be reused. Add both at the moment of observation, not afterwards.
Collecting without permission or legal cover. Ask the landowner, check whether the species or the site is protected, and record collection details when you take material. Where collection is not allowed, a full photo set and a sketch usually do the job.
Tasting unknown plants. There is no version of this that belongs in a notebook workflow. Taste tests are not identification, and no field guide outranks a poison centre.
Mixing later interpretation into the original notes. Addendum lines with dates fix this. The value of the log is that it shows what you knew then, not a cleaned-up version of it.
Abrandoning it in the busiest season. Small and simple survives; elaborate systems do not. Ten minutes and one entry a week is enough to build a record you can still use in a decade.
Frequently Asked Questions
Should a plant identification notebook contain the plant’s common name or scientific name?
Record both, and lead with the scientific name because common names vary between regions and languages. Write the common name beside it, along with any local or traditional name and where you heard it used. Keep the two in separate fields so a later name correction never overwrites the local knowledge you collected.
Can I identify a plant reliably from photographs in my notebook?
No. Photographs document what was present and support an identification made by comparison, but a single image rarely settles a species because leaf arrangement, bark, habit and scale are easy to miss. Treat photo-based and app-based suggestions as candidates. Confirm with a field guide, an expert, or a herbarium specimen before you act on the name.
Is a digital notebook better than a paper field notebook?
Neither is better for everything. Paper is fast, waterproof paper survives weather, and nothing fails silently. A spreadsheet or app gives search, sort, map and export, which paper cannot. Most people do well writing in the field and transferring to a digital file within a week, keeping the paper as the original record.
What should I do if a plant has no flowers or fruits?
Record it as unidentified and log the diagnostic characters you can see: leaf arrangement, margin, venation, stem form, bark and habitat. Photograph those features with scale, note the growth stage and the date, then return in the flowering or fruiting season. A vegetation-only entry that is carefully described is far more useful than a guess.
How should I document plants used in traditional medicine without making unsafe claims?
Separate what you observed from what you were told. Record the informant, community, consent, the exact local wording, the plant part used and the preparation, plus your own voucher specimen and identification. Do not test or recommend any remedy, and describe traditional use as reported rather than as effective. Health questions belong with a qualified clinician.
When should I collect a specimen for a plant identification notebook?
Collect when a name cannot be settled from photographs and notes alone, or when the record may be verified later. First check the rules: protected species, parks, private land and reserves often forbid collecting, and permits may apply. Where collection is allowed, take the minimum material with permission and record the date, place and collector.
Start with one entry this week. Pick a plant on a familiar walk, fill every field, take the five photographs, and write the name with the confidence level beside it. That single page is the whole method, and the second one is easier than the first.