To sterilize jars for herbal preparations, wash them, then treat them with sustained heat or a chemical sanitizer before you fill them. For most home herbal work a thorough wash plus a boiling water bath for 10 minutes is enough, and some preparations, like tinctures at 20% alcohol by volume or higher, barely need more than a clean jar and a good lid.
The reason this matters is not fussiness. A jar that still carries yeast, mold spores or residue from its last contents will spoil a batch of tincture, salve or syrup faster than anything you did wrong with the herbs. Heat treatment reduces that risk; it does not make the finished remedy safe to sell, and it does not replace tested preservation guidance for anything low-acid.
Plan on 20 to 40 minutes of hands-on time for a batch, most of it waiting. The tools cost little and the technique is quick to learn.
Table of Contents
- 1What You Need
- 2Step-by-Step
- 3Step 1: Inspect and Wash the Jars Thoroughly
- 4Step 2: Choose the Right Sterilization Method
- 5Step 3: Sterilize the Jars and Lids
- 6Step 4: Dry, Fill and Store the Preparation
- 7Step 5: Check the Seal and Label the Jar
- 8Common Mistakes
- 9Frequently Asked Questions
- 10Is boiling the best way to sterilize jars for herbal preparations?
- 11Can I sterilize mason jars in a dishwasher?
- 12Should I sterilize the lids separately from the jars?
- 13Do I need to sterilize jars for oil-based herbal preparations?
- 14What type of jar is safest for homemade herbal preparations?
- 15When should I use a tested canning process instead?
- 16Conclusion
What You Need
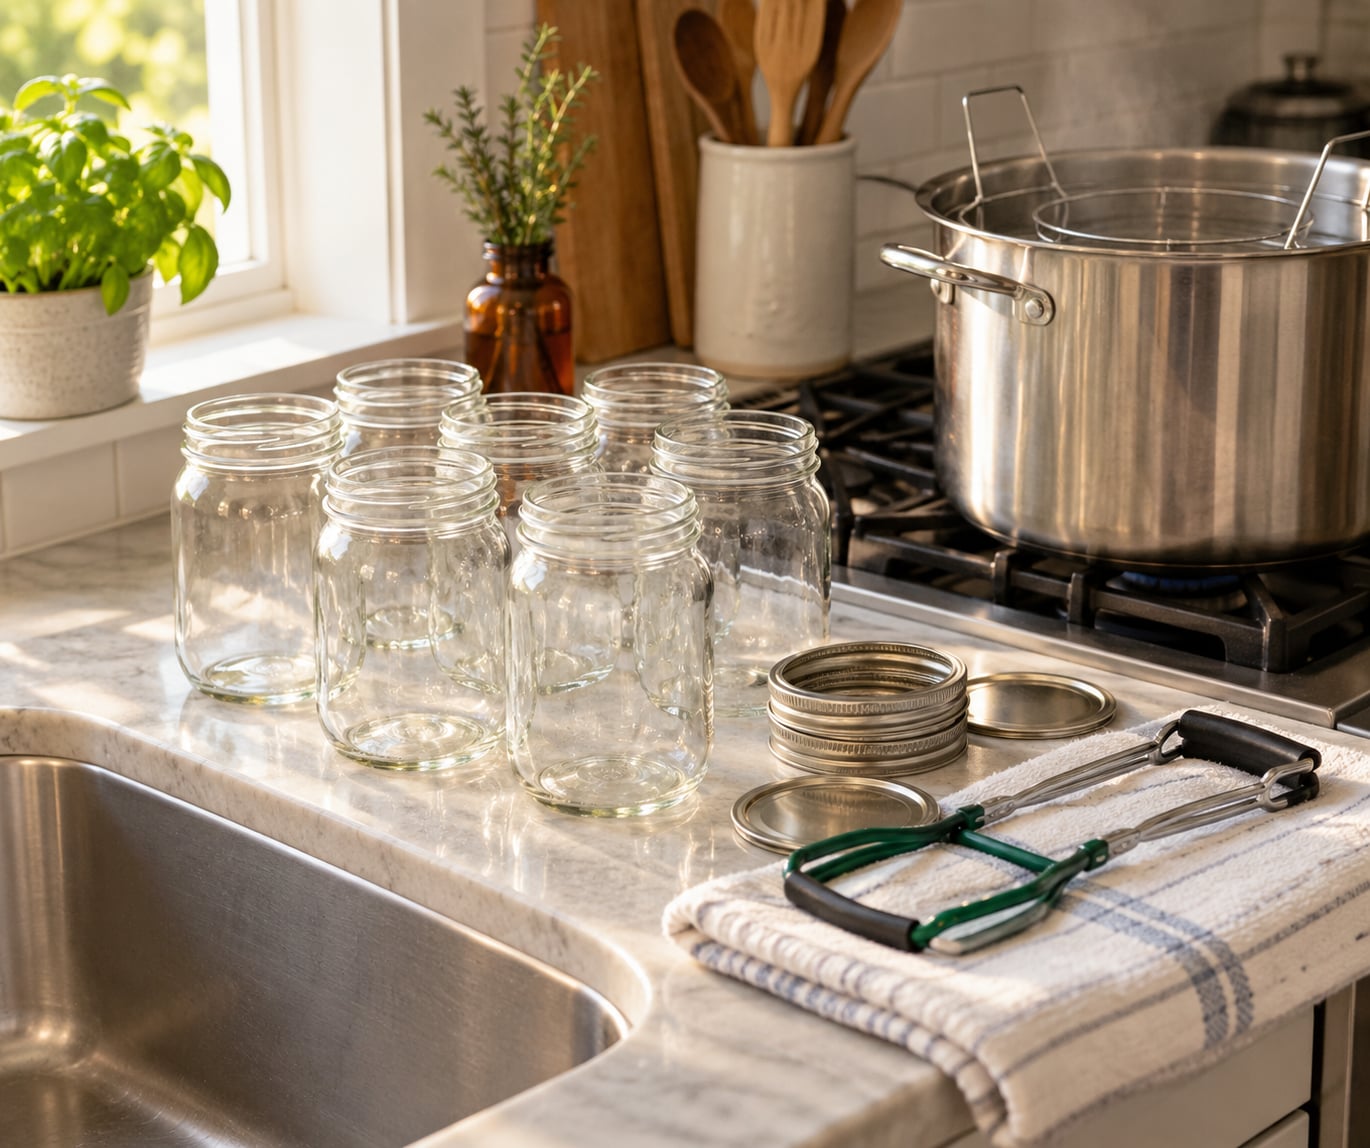
Gather everything before you start, because sterilizing jars goes fast and you want your hands free of hunting.
- Glass jars. Standard canning jars work. Recycled food jars such as spaghetti sauce, pickle or mustard jars also work, as long as the glass is intact and you like what the jar smells like afterward.
- Lids and rings. Two-piece canning lids are ideal. If you use plastic lids or rubber gaskets, keep them out of oven and boiling methods.
- A deep pot with a lid, a canning rack if you own one, and enough room for the jars to sit in water without touching the sides.
- Tongs or a jar lifter for lifting hot glass.
- Hot soapy water, a non-abrasive brush or bottle brush, and a clean towel.
- A wide-mouth funnel for filling without spilling on the rim.
- Labels or tape and a pen for the preparation name and date.
What you do not need is a dedicated canning pot. A stockpot with a flat base works. Nor do you need a thermometer unless you are using the oven method, where temperature matters.
If your preparation calls for a preservative, have it ready before you sterilize anything. That means alcohol at the right concentration for a tincture, or a vinegar and honey combination for an oxymel.
Step-by-Step
Step 1: Inspect and Wash the Jars Thoroughly
Start by checking every jar for chips and cracks, because heat treatment will turn a small flaw into a lost batch. Run a finger around each rim and down every side. Hold the jar up to light and look for hairline cracks, and check the shoulders and base where cracks usually hide.
Set aside anything damaged, along with any jar whose label you cannot fully remove. Old adhesive can harbor things a wash will not shift.
Now wash the good jars in hot soapy water and scrub them with a brush. Pay attention to the threads on the neck, the inside of the lid and the flat disc. Rinse thoroughly so no detergent remains; detergent residue interferes with preservation and can affect some preparations.
You cannot sterilize a jar you have not washed first. Heat works far better on a clean surface, and skipping the wash is the most common mistake people make.
Step 2: Choose the Right Sterilization Method
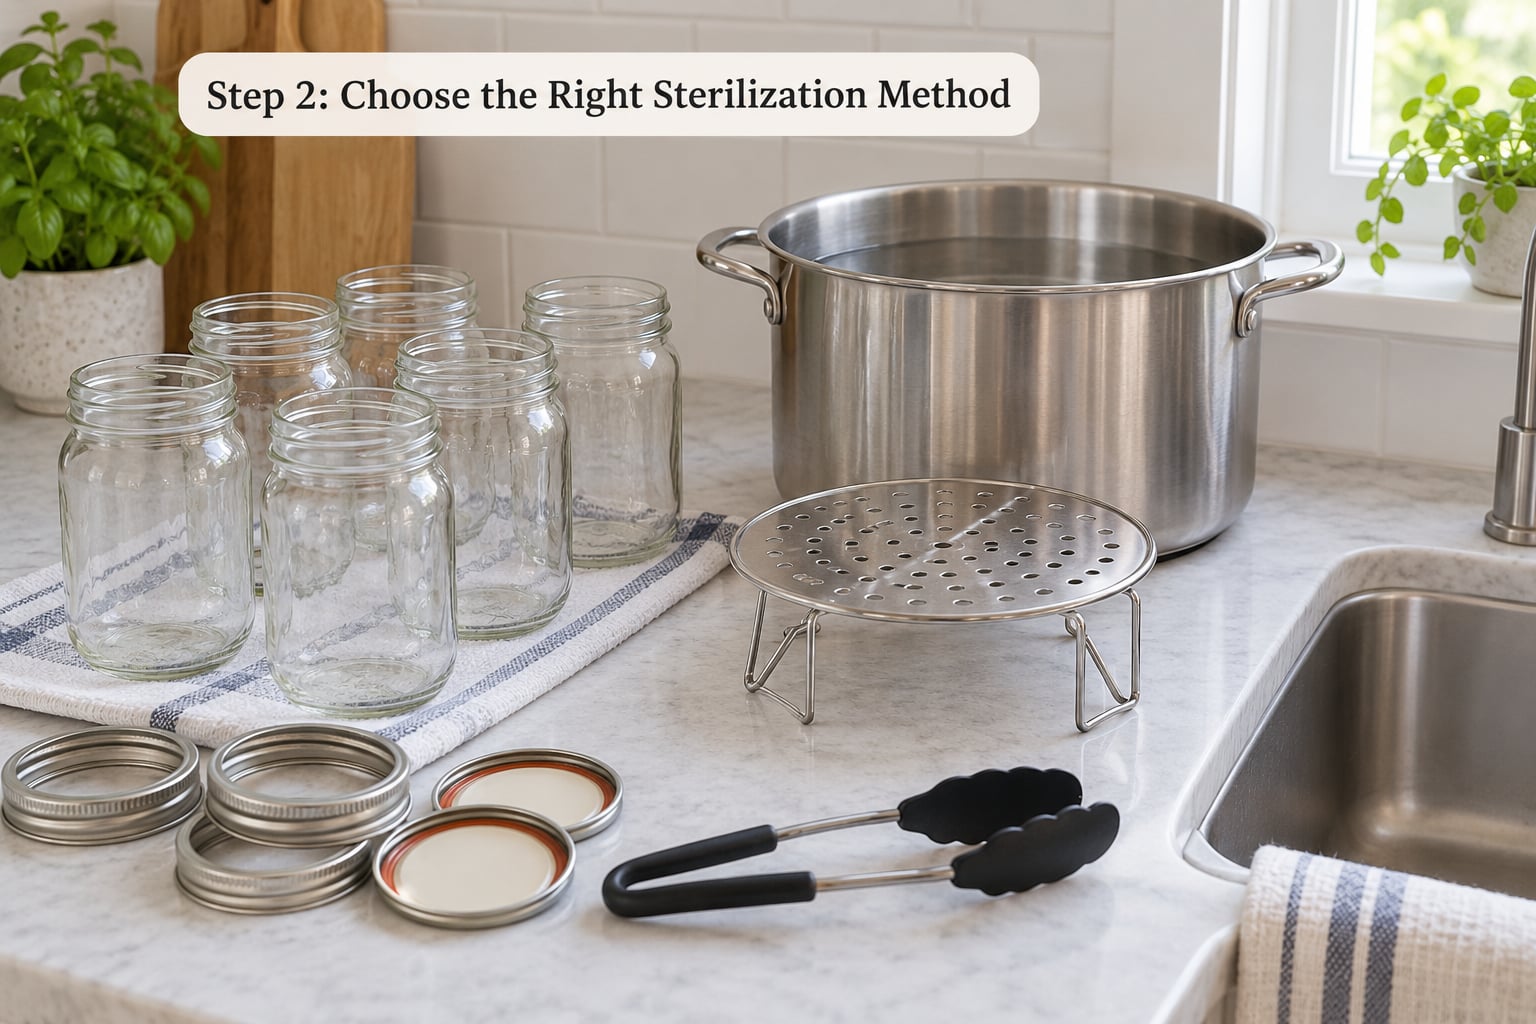
Boiling water is the default, and for most herbal preparations it is the right answer. Fill a pot with water, bring it to a rolling boil, and hold the jars in it for 10 minutes with at least an inch of water above the tallest jar.
An oven gives you dry heat, which is faster and leaves the jars dry. Set the oven to 275°F (135°C) and hold for 20 minutes, then let the jars cool inside with the door shut. Dry heat needs more time than wet heat, so resist the urge to turn the dial up.
A dishwasher with a sanitize or heated dry cycle works too, and it saves you pot space. Use the top rack, skip detergent, and use the cycle the manufacturer labels for sanitizing.
Steam in a steam canner or a countertop steamer works for small batches, and it is gentler on the glass than a rolling boil. It also needs less water to manage.
Chemical sanitizing needs honest labeling. Wiping a jar with 70% isopropyl alcohol, soaking it in a vinegar solution, or using hydrogen peroxide reduces surface microbes, but it does not sterilize in the strict sense. That is often plenty for dried herb storage, and it suits heat-fragile glass.
Watch altitude. Water boils below 212°F at higher elevations, so add time when you live above sea level.
| Elevation | Add this to the 10 minute boil |
|---|---|
| 0 to 1,000 ft | 0 minutes |
| 1,001 to 3,000 ft | 5 minutes |
| 3,001 to 6,000 ft | 10 minutes |
| 6,001 to 8,000 ft | 15 minutes |
| Above 8,000 ft | 20 minutes |
Step 3: Sterilize the Jars and Lids
Set the washed jars in the pot using a rack or a folded towel on the bottom so the glass does not sit directly on metal. Bring the water to a rolling boil, start the timer, and keep the heat steady for the full duration.
You can boil lids and rings in the same pot for the last 5 minutes. Many herbalists simplify by keeping jars in the boil and adding the lids for the final stretch.
For the oven, arrange jars right side up on a baking sheet, heat to 275°F (135°C) for 20 minutes, and let them cool inside the oven with the door closed. Jars that go from oven hot to cool counter crack, and cooling in place avoids that.
For steam, place the jars on a rack above an inch or two of water, cover, and steam at 212°F for 10 to 15 minutes.
Skip the microwave. It heats unevenly and produces the thermal shock that shatters glass. Skip oven methods for any lid with a plastic liner or rubber seal.
Never boil a finished alcohol tincture in the jar to sterilize it. The alcohol evaporates, and you end up with a weaker preparation that is also less stable.
Step 4: Dry, Fill and Store the Preparation
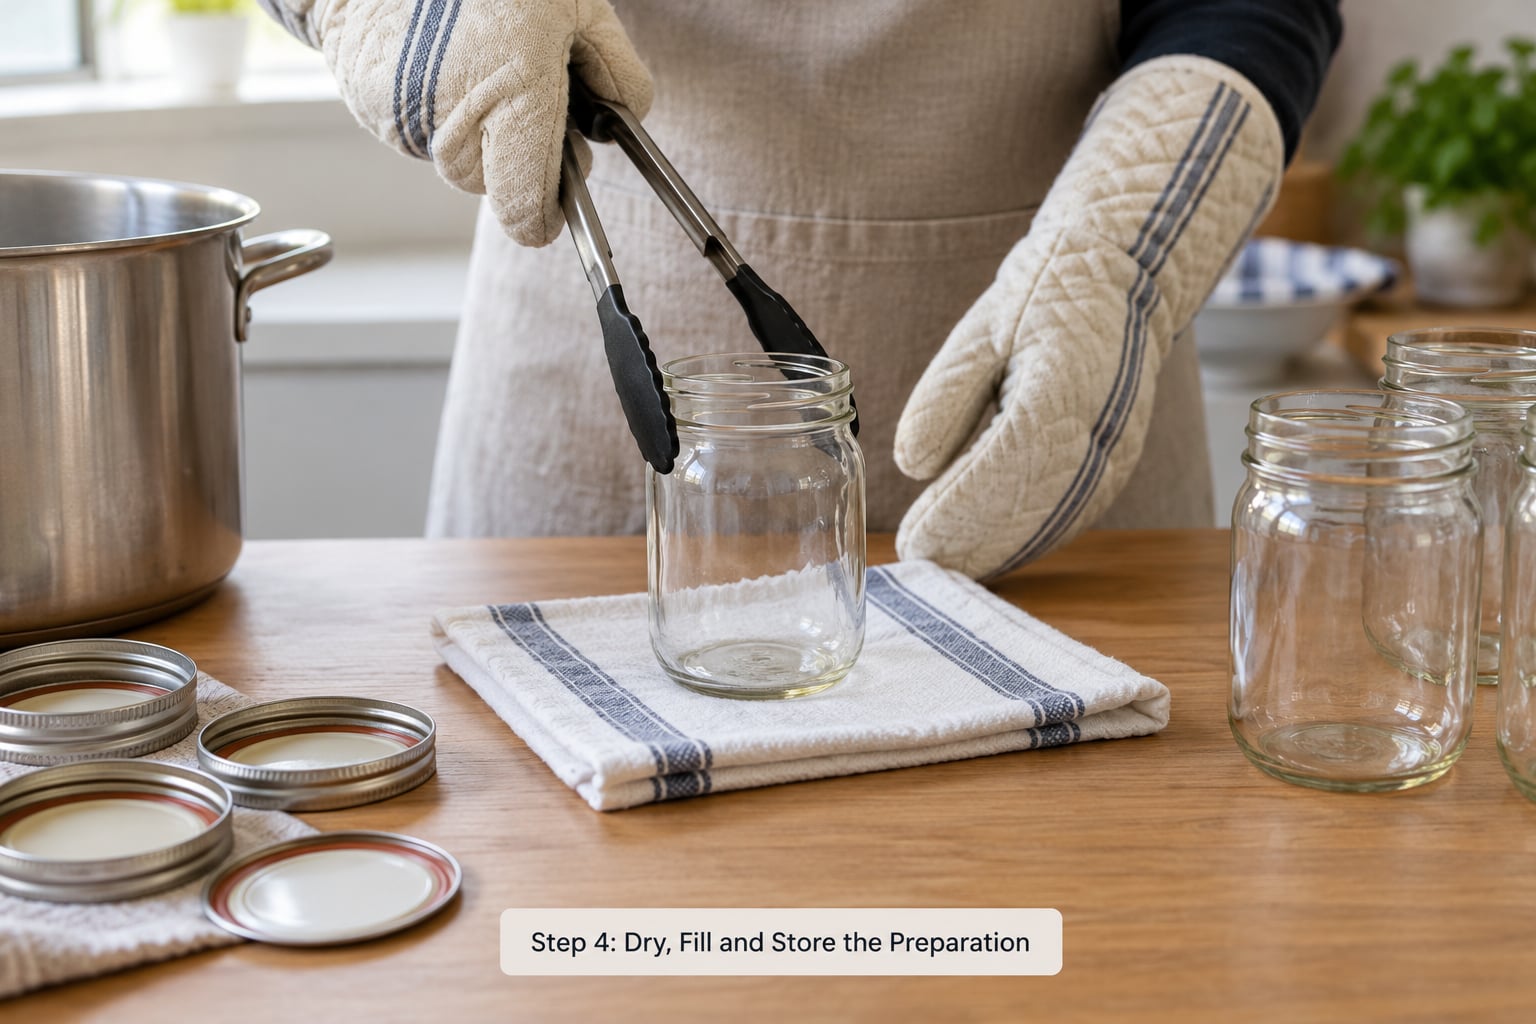
Treat a hot jar as contaminated the moment you set it down on something unclean. Remove jars with tongs or a jar lifter, set them on a clean folded towel, and let them cool there. Work with one jar at a time rather than lining up the whole batch.
Fill within an hour of treating the glass, because that is how long you can reasonably expect it to stay clean once the lid is off. Use a wide-mouth funnel, wipe the rim with a clean cloth, and never let your fingers touch the inside of the neck or the sealing surface. That single habit prevents most recontamination.
Leave appropriate headspace for anything you plan to store frozen or that may swell, and leave air out of a tincture you want to keep long, since oxygen works against some constituents.
Screw the lid on and tighten to just firm. Overtightening can hinder a proper seal.
Step 5: Check the Seal and Label the Jar
After the jar cools, press gently on the center of the lid. A proper seal gives a small amount of resistance and does not flex or click. Do not press hard enough to force anything.
Label with the preparation name, the date, and for a tincture the alcohol percentage. If you make remedies for other people, add a batch number and keep a notebook listing each batch, its ingredients and what it was meant for. Records are what let you account for a remedy two years later instead of guessing at it.
If a lid looks unsealed, has moisture under it, or is bulging, put the jar in a sealed bag and quarantine it. Do not taste it to find out whether it is fine.
Store finished jars cool, dark and upright, away from the stove and any window that gets direct sun.
Common Mistakes
- Skipping the wash. Sterilizing dirty glass does almost nothing. Wash first, every time.
- Using heat on the wrong lids. Oven and boiling methods need canning-style two-piece metal lids. Plastic and rubber go in afterward, by hand.
- Cold glass into hot water. Warm jars gradually or you get thermal shock and broken glass.
- Handling the jar too much after treating it. Use tongs, work one jar at a time, and never touch the rim.
- Treating sanitizing as sterilizing. Alcohol and vinegar sprays reduce microbes; they do not eliminate spores. Know which one you are doing.
- Overfilling. Expansion and contraction during storage can push a lid loose or crack a jar. Leave headspace where it is needed.
- Storing without tested preservation guidance. Sterilized glass does not make a low-acid preparation shelf stable. If you are canning something low-acid, follow a tested recipe from a source you trust.
A few safety habits carry most of the weight: wash before you treat, use tongs rather than hands, label every jar with a date, and quarantine anything you are unsure about instead of tasting it. Herbal preparations that touch skin want a patch test first. If you plan to sell what you make, check with a food-safety professional and your local regulator, since a clean jar is only one piece of that picture.
Frequently Asked Questions
Is boiling the best way to sterilize jars for herbal preparations?
Boiling is the most dependable home method and the right default for most herbal work. Hold clean jars in a rolling boil for 10 minutes with an inch of water above the tallest jar, adding time for altitude. For tinctures at 20% alcohol by volume or higher, or for dried herb storage, thorough washing is often sufficient, since the preparation itself or the low moisture content does the preserving.
Can I sterilize mason jars in a dishwasher?
Yes, if your dishwasher has a sanitize or heated dry cycle. Put jars and metal lids on the top rack, skip detergent, and run the sanitize setting. Without that cycle, a dishwasher only cleans glass, which is a different job. Boiling or the oven method gives more reliable results when the preparation is water-based or low in alcohol.
Should I sterilize the lids separately from the jars?
Lids can go in the boiling water for the final 5 minutes of the jar bath, which is the usual shortcut. Keep them out of oven and microwave methods, because heat damages plastic liners and rubber seals and ruins the gasket. With non-heat methods, wipe metal lids with alcohol instead and dry them fully before the jar goes on.
Do I need to sterilize jars for oil-based herbal preparations?
Heat-treated glass is good practice for infused oil and salves, but the boiling step is not always necessary and rapid high heat can degrade some plant constituents. Wash the jar well, dry it, treat the lid, and fill promptly. Store the finished jar cool and dark, away from light, since oil carries plant compounds that break down faster when exposed.
What type of jar is safest for homemade herbal preparations?
Standard two-piece canning jars give the most reliable seal, and recycled food jars work if you inspect them for chips and cracks. Amber glass suits light-sensitive preparations such as most tinctures because it slows degradation, while clear jars are fine for dried herbs and salves. Whatever you use, skip decorative or heat-fragile glass and never heat a jar that has already cracked.
When should I use a tested canning process instead?
Use a tested canning process whenever you are preserving something low-acid, such as vegetables, fruit, soups, sauces or dairy, because low-acid preparations carry a real botulism risk that home sterilization alone does not address. Follow a tested recipe with exact times and adjust for altitude. Water-based herbal syrups and herbal-infused vinegar preparations fall into this category too.
Conclusion
Start with a jar you have inspected and washed, then pick a method that matches the preparation: a rolling boil for water-based mixtures, dry heat or steam when you want the jar dry, or a chemical wipe when the glass is heat-fragile and the work is light on preservation. Fill within the hour, keep your fingers off the rim, seal, and write the date on the lid.
None of this makes a homemade preparation shelf stable on its own. For anything low-acid, follow tested preservation guidance, and talk with a food-safety professional or healthcare provider if you are unsure what you are working with.