To start a community medicinal plant garden, you need a site you have written permission to use, a group of people who will commit to regular workdays, and a shared rule that the garden teaches and conserves plants rather than dispensing remedies. Budget three to six months of planning before the first seedling goes in, and expect the work to be harder in year one than any year after.
Most groups that struggle share the same cause. They recruit a handful of enthusiastic people, pick plants that suit the climate rather than the community, and skip the boring paperwork. Fix those three things and the rest of this guide gets you there.
Our approach below is educational only. Nothing in a community garden should be presented as a substitute for care from a clinician, pharmacist or qualified health professional, and this article stays on the growing side of that line throughout. Here is the plan, updated for 2026.
Table of Contents
- 1What You Need
- 2Step-by-Step
- 31. Define the garden’s purpose and community rules
- 42. Consult traditional-health and local plant experts
- 53. Choose a suitable site and assess the soil
- 64. Select and source appropriate medicinal plants
- 75. Prepare the beds and planting plan
- 86. Plant and establish the first season
- 97. Create a maintenance and harvesting system
- 108. Teach responsible use and evaluate the garden
- 11Common Mistakes
- 12Frequently Asked Questions
- 13Where is the best location for a community medicinal plant garden?
- 14Can beginners start with common herbs in a medicinal garden?
- 15How do you get permission to use land for a community garden?
- 16How do you handle traditional or Indigenous plant knowledge respectfully?
- 17Can a community medicinal garden sell plants or preparations?
- 18How do you keep visitors safe around medicinal plants?
What You Need
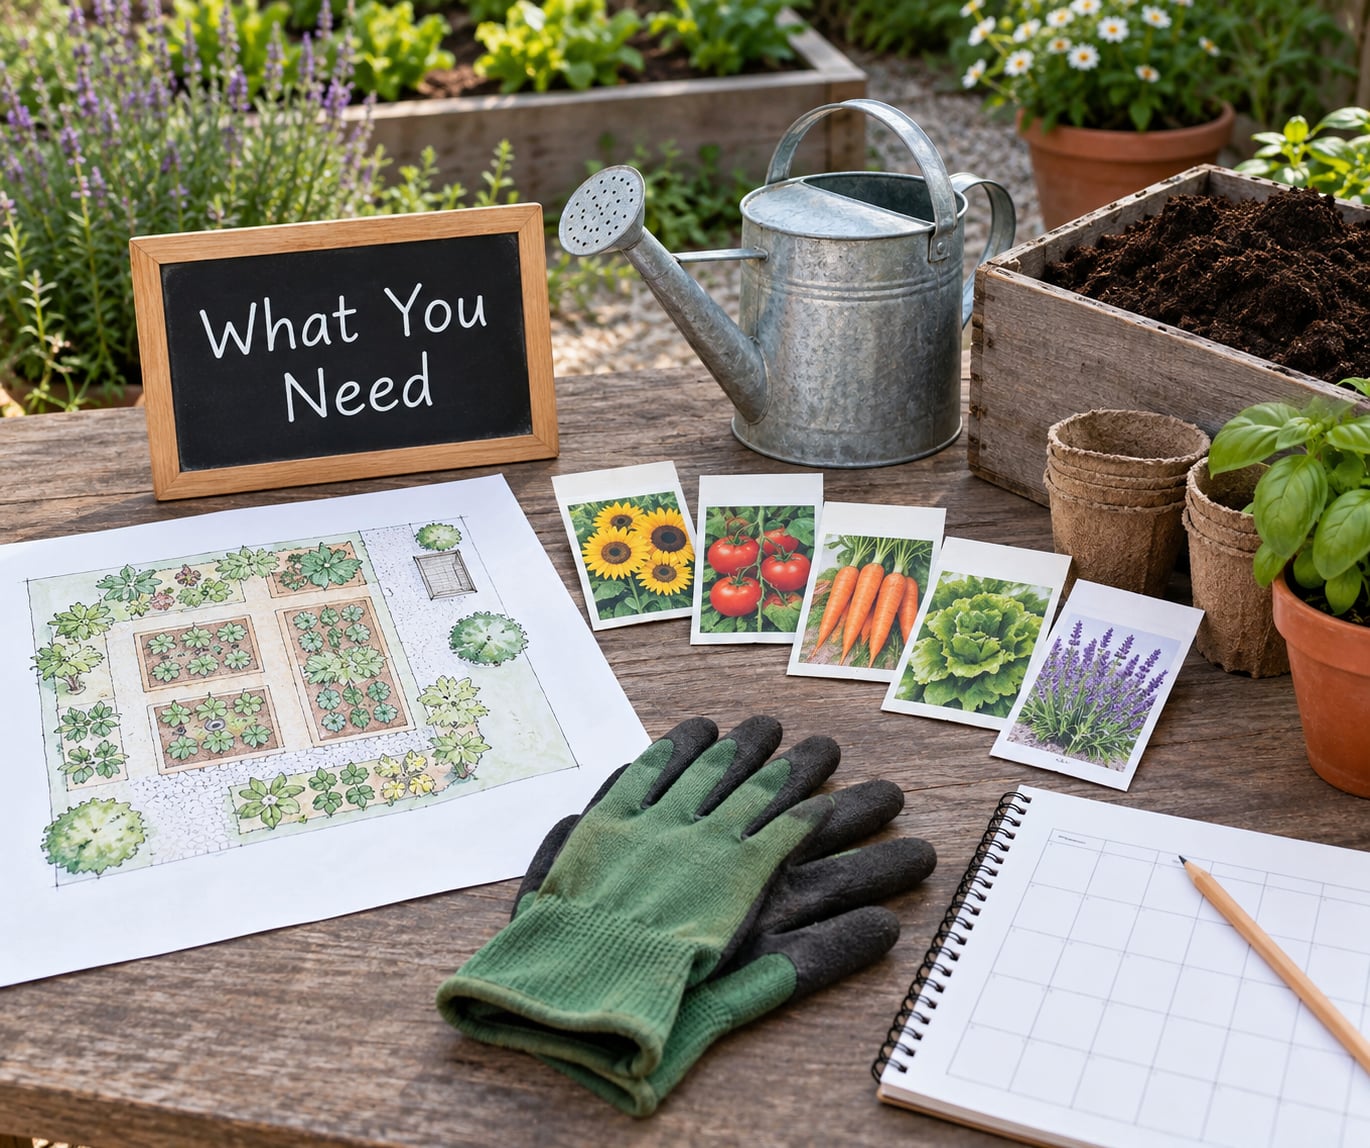
Here is the working list. Most groups can borrow, rent or beg half of it before they buy anything.
- Planning documents: a mission statement, a written site agreement with the landowner, a constitution or simple rules document, and a health and safety note. The site agreement matters most; verbal permission is the single most common reason projects collapse in their second year.
- Land and access: a site with six or more hours of direct sun for most species, a water source within reach of a hose, no paved or contaminated ground, and paths a wheelchair or walking frame can use.
- Local expertise: at least two people who know the plants and traditions involved, ideally a traditional healer or elder, a herbal practitioner, and someone with horticultural or botanical training.
- Water and soil resources: a tested water supply, compost made on site, mulch material, and a soil test result for each bed area before anything is planted.
- Basic tools: spades, forks, a rake, hand trowels, a hoe, watering cans plus a hose, secateurs, wheelbarrows, and a tool storage structure that locks. Share them rather than buying per-person kits.
- Safety supplies: gloves, closed shoes, first-aid kit, hand-washing station, drinking water, a fire extinguisher, and signs marking any bed that holds a toxic or irritant species.
- Records: a plant register with botanical name, local name, source, planting date and permission status; a maintenance calendar; a volunteer roster; and a photography log for funders.
Step-by-Step
1. Define the garden’s purpose and community rules
Write down what the garden is for before you decide what to plant it with. Education, conservation, youth mentorship, elder knowledge transfer and seed saving are all defensible aims; a free herb dispensary is a very different project with different legal weight.
Agree who the garden is for, who may enter, when the gate is open, and who decides what gets planted. Then write the access, conduct and harvesting rules on one page and get every member to agree to it.
How to tell it worked: a stranger reads your one-page document and understands what the garden does and does not do without needing someone to explain it.
2. Consult traditional-health and local plant experts
Invite knowledge holders in early, before the site or the plant list is settled, not after. Traditional healers, elders, herbal practitioners, clinic staff and local botanists all see different risks, and the plant list should not be finalised without them.
Ask what the community actually uses, what is already over-harvested in the wild, and which species should not be grown in a space children can reach. Agree in advance how knowledge is credited, whether it can be published, and who owns the harvest.
How to tell it worked: you have written notes from each adviser, a stated permission level for every species, and at least one named person willing to teach in the garden.
3. Choose a suitable site and assess the soil
Look for full sun, good drainage, easy water access, and a site people can reach without crossing a highway. Slope, flooding and previous land use all matter: old building ground, industrial sites and land near sprayed crops are reasons to walk away or to test heavily before committing.
Test the soil before you plan the beds. Check pH and structure, and confirm the land is not legally protected, leased or disputed. Written permission with a named landowner, a start date and an end condition costs nothing and prevents an argument that can end the project.
How to tell it worked: you hold a signed agreement, a soil report and a simple site map with sun, water and access marked.
4. Select and source appropriate medicinal plants
Start with plants that grow well in your climate and that the community genuinely uses. Beginners commonly succeed with lemon balm, sage, lavender, comfrey, skullcap, hyssop, mallow, dock and plantain, which are forgiving of ordinary mistakes.
Check every candidate against three filters: is it correctly identified, is it legal to grow and move where you are, and is it safe in a publicly accessible space? Keep toxic or strongly irritant species out of open beds entirely. Check protected and permit-required species with your national authority before ordering anything.
How to tell it worked: every plant on your list has a botanical name, a local name, a verified source, a written permission status and a safety classification.
5. Prepare the beds and planting plan
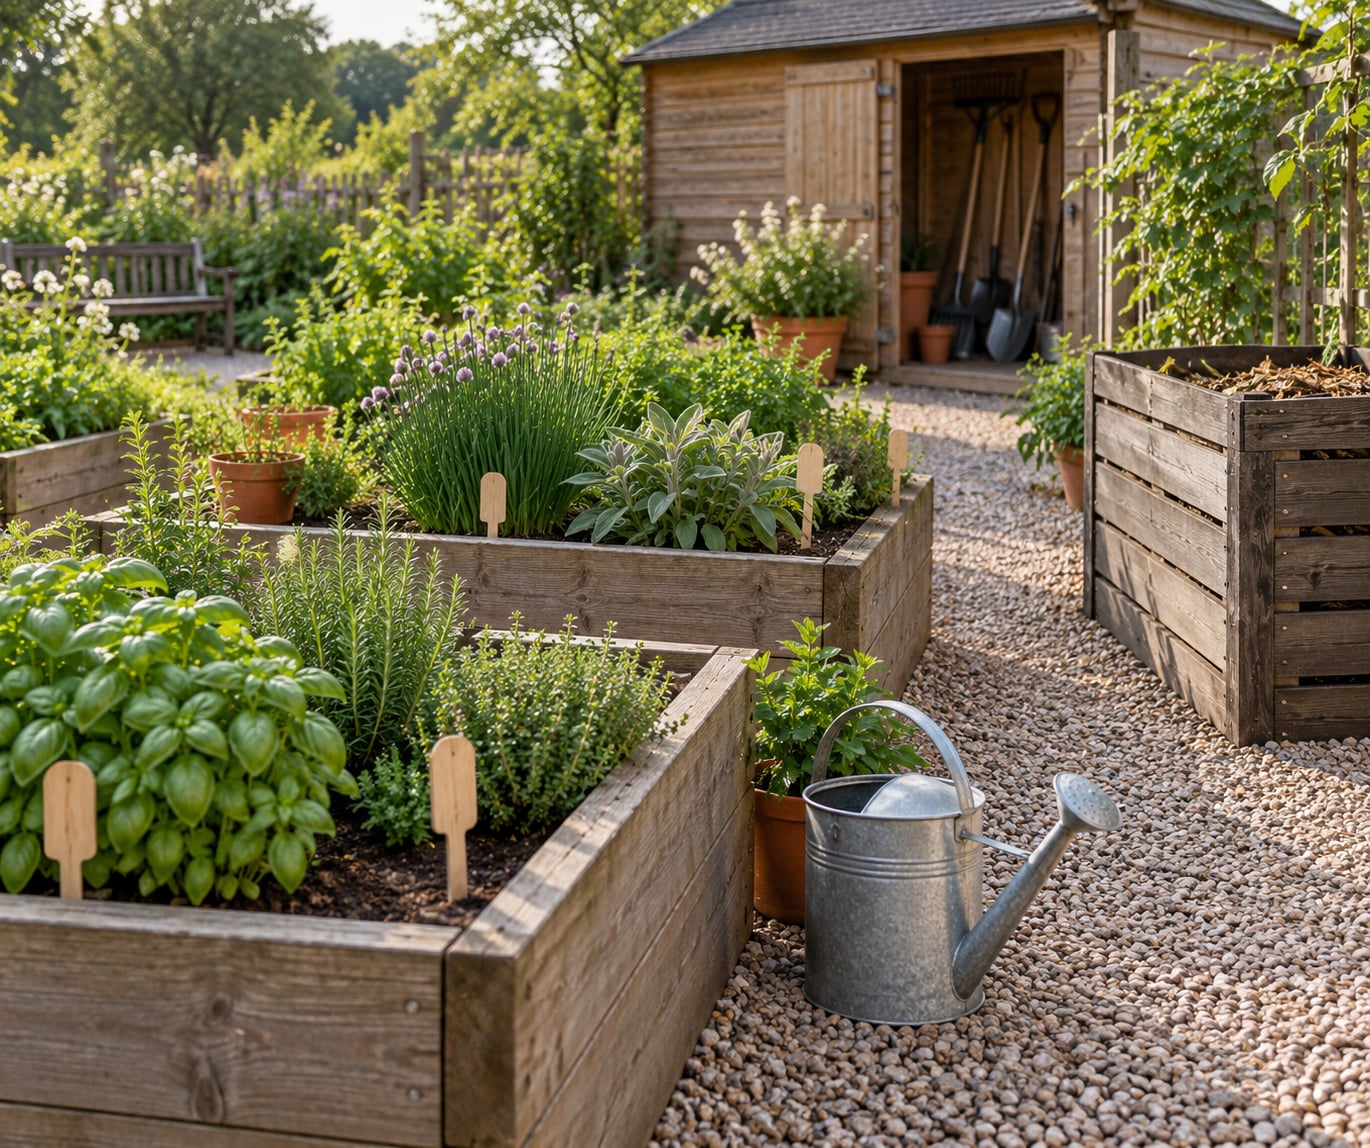
Mark the beds with string, dig them to a workable depth, and improve heavy soil with compost rather than sand or fresh manure. Group plants by water needs and by how tall they grow, so a low creeping species is not shaded out by a metre-tall neighbour.
Leave room for paths wide enough to move a wheelbarrow or a wheelchair, and put labels at reading height rather than flat on the soil. Record the expected care for each species in the plant register as you lay it out.
How to tell it worked: the map shows bed numbers, paths, water, compost storage and a spot for gathering or workshops, and every bed matches a line in the register.
6. Plant and establish the first season
Plant to the spacing on the seed packet, water in properly, and mulch to hold moisture. Water deeply and less often than you expect; overwatering kills more first-season plants than neglect does.
Walk the beds weekly and log what you see rather than what you assume. Remove weeds while they are small, keep paths firm and clear, and avoid moving or disturbing roots once plants have settled. Wash tools between beds, especially where you are handling material from a plant with a known hazard.
How to tell it worked: most plants put on new growth within a few weeks, and your log shows a clear pattern rather than a guess.
7. Create a maintenance and harvesting system
Put care on a roster with named people and named weeks, not a general expectation of goodwill. Recruit two to three times more volunteers than you think you need; enthusiasm reliably drops off after the first season, and shared rosters are what survive that.
Set harvest rules before anything is ready: which species may be cut, by whom, in which season, how much is taken, and how the harvest is labelled and stored or dried. Nothing leaves the garden unsupervised.
How to tell it worked: a roster exists with no unfilled weeks through the growing season, and no harvest happens outside the written protocol.
8. Teach responsible use and evaluate the garden
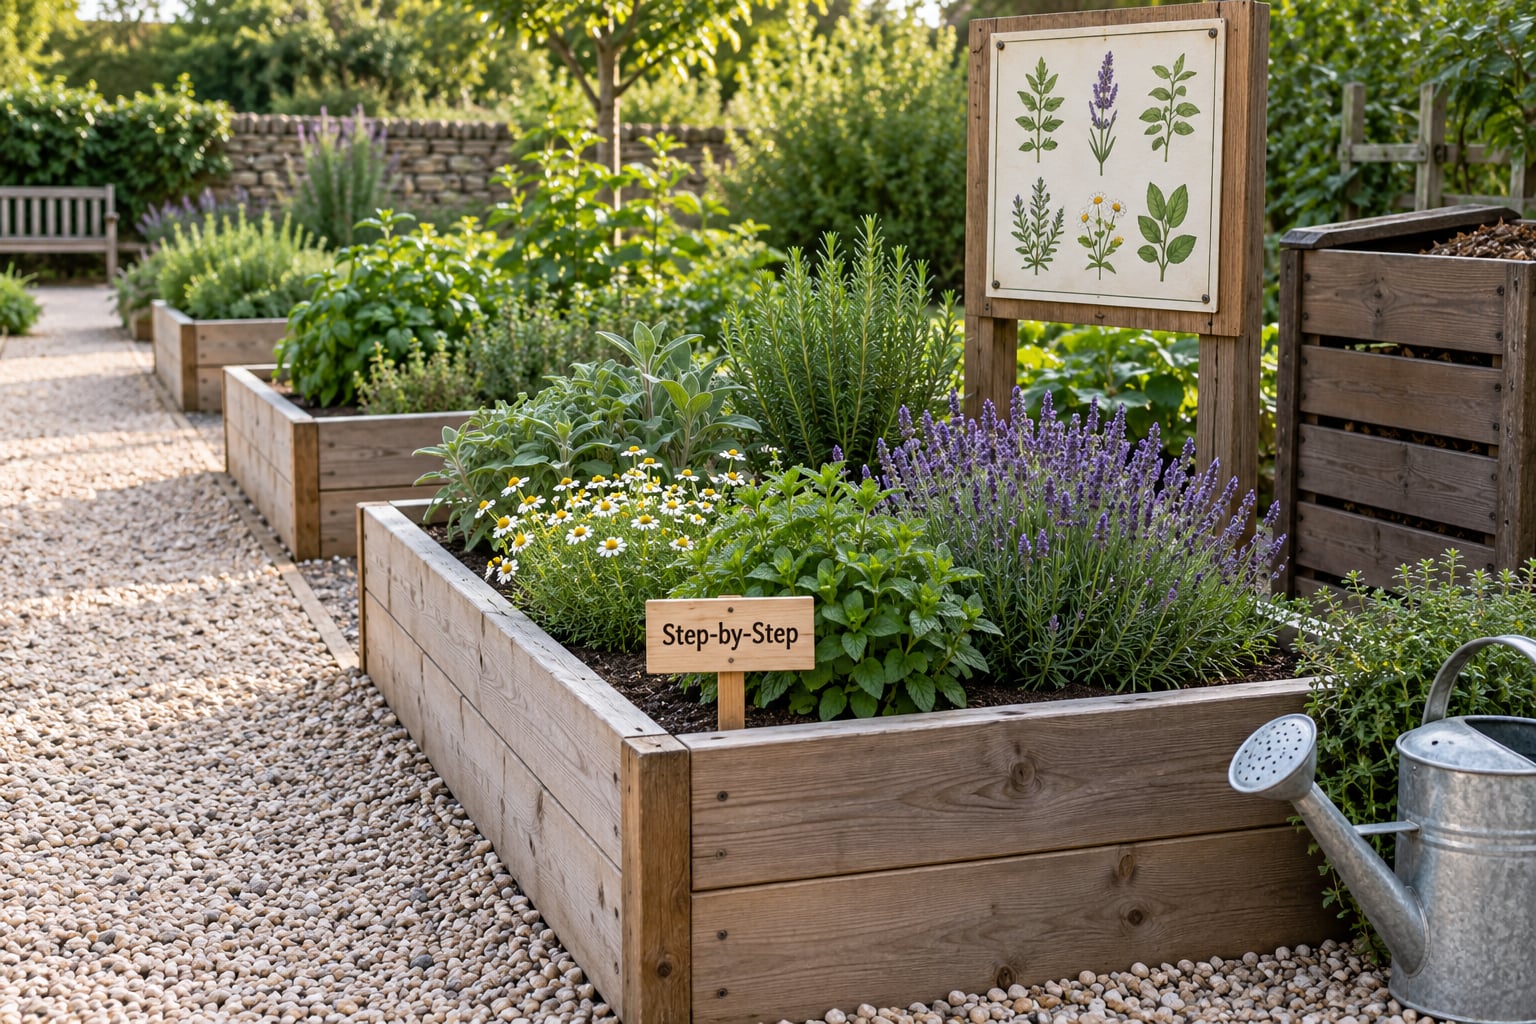
Install durable signage carrying the botanical name, the local name and the part of the plant used, plus a short statement that the garden provides education and does not give medical advice. This one habit answers most of the identification confusion that makes mixed medicinal beds frustrating.
Run a season review with the people who came, and with the advisers you consulted. Note what died, what was never harvested, what visitors asked about, and what you would change. Feed that into the next planting plan and into your report to funders.
How to tell it worked: visitors can name three plants correctly from the signs alone, and you have a written change list for next season.
Common Mistakes
Almost every avoidable failure in these projects has a straightforward correction.
- Growing unsafe species in public space. Toxic and skin-irritant plants do not belong in open beds at a community garden. Remove them, or fence and sign an area that only trained people enter.
- Planting without expert consultation. A list chosen in one meeting tends to contain look-alike species and plants the community does not use. Slow that step down; it is the cheapest part of the whole project.
- Ignoring land permissions. Written, time-limited, signed permission from a named landowner. Verbal agreement with a relative of the owner is not tenure.
- Poor or missing labelling. A mixed bed with no labels is a guessing game for every visitor and a liability for you. Label at planting, replace faded signs the same week.
- Overwatering new plants. Check the soil a few centimetres down before watering. Constantly wet roots rot, and the fix takes a season, not a week.
- Undersized paths. If a wheelchair, a stroller or a barrow cannot pass, your volunteers and your accessibility promise both suffer. Widen the paths at the start; you will not widen them later.
- Under-recruiting volunteers. Plan for two to three times the people you think you need and give each of them one named, bounded job. Ambiguous shared responsibility is how gardens end up untended.
- Letting the garden drift into an unregulated clinic. If visitors start asking what to take for a symptom, that is the moment to restate the boundary. The garden teaches and conserves; dosing and treatment advice belong to qualified clinicians and pharmacists.
Frequently Asked Questions
Where is the best location for a community medicinal plant garden?
Most medicinal species want six or more hours of direct sun, free drainage and water within hose reach of the beds. Look for land that is flat or gently sloped, close enough to walk or cycle to, and reachable by people with limited mobility. Avoid old building ground, industrial sites and land near sprayed crops unless the soil tests come back clean.
Can beginners start with common herbs in a medicinal garden?
Yes, and most successful first-season gardens do. Lemon balm, sage, lavender, comfrey, skullcap, hyssop, mallow, dock and plantain are all forgiving of ordinary beginner errors and grow across a wide range of climates. Start with species your community already uses, keep the first list short, and add a couple of harder plants each season.
How do you get permission to use land for a community garden?
Ask the landowner for written, time-limited permission that names the site, the start date and the end condition, and say who holds the keys. For municipal or institutional land, go through the parks department, the council or the school rather than a single steward. Check whether the land is leased, protected or subject to a heritage or environmental constraint before you sign anything.
How do you handle traditional or Indigenous plant knowledge respectfully?
Ask permission before recording or publishing knowledge, credit the individual or community it came from, and agree in advance how it may be used. Some knowledge should stay with the people who hold it, and growing a plant does not transfer ownership of the practice around it. Where a community has a protocol for this work, follow it rather than writing your own.
Can a community medicinal garden sell plants or preparations?
Selling changes the legal picture considerably, and rules on licences, food or herbal product standards, labelling and testing vary by country. A community garden that shares seedlings, seeds and teaching is far simpler to run than one that trades goods. Get local authority and legal advice before you sell anything, and separate any trading activity clearly from the garden’s educational purpose.
How do you keep visitors safe around medicinal plants?
Start by not growing anything hazardous in an open bed. Mark clearly, fence off anything restricted to trained growers, provide gloves, closed shoes, hand-washing water and a first-aid kit, and supervise any cutting or harvesting. Train your volunteers to say clearly that the garden offers no medical or dosing advice, and send anyone with a health question to a clinician or pharmacist.
If you take one thing from this guide, make it the first step. Sit down with the people who will actually do the work, write one page of purpose and rules, and get the land question answered in writing before anyone buys a seed packet. Everything after that is planting, which is the easy part.