Joining a citizen science plant project takes about ten minutes to set up and roughly five minutes per observation. You pick a project, register a free account, record plants the way the project asks, and submit photos with a date and location so other naturalists can confirm the species and researchers can use the record. No degree, no equipment beyond a phone, and no permission from the plant you photograph.
I have watched beginners stall on the same three things: which project to join, how to take a photo that actually reaches research grade, and whether anybody will look at their record afterwards. Get those right and the rest is repetition. The rest of this guide walks through the whole sequence, including the parts nobody mentions, like obscuring the location of a rare or medicinal plant and what happens to your photographs once you hit submit.
Table of Contents
- 1What You Need
- 2Step-by-Step: How to Join a Citizen Science Plant Project
- 3How to join a citizen science plant project in six steps
- 41. Choose a project that matches your interests
- 52. Check the project’s credibility and data policy
- 63. Create an account and learn the protocol
- 74. Make safe, responsible observations
- 85. Submit complete records and check your work
- 96. Track your contributions and keep learning
- 10Common Mistakes
- 11Frequently Asked Questions
- 12Do I need to be a botanist to join a citizen science plant project?
- 13What equipment do I need to record plants for a citizen science project?
- 14How can I tell whether a citizen science plant project is reputable?
- 15Can I use an iPhone or Android phone to document plant observations?
- 16What should I do if I cannot confidently identify a plant?
- 17Who owns the photographs and observation data I submit?
- 18Conclusion
What You Need
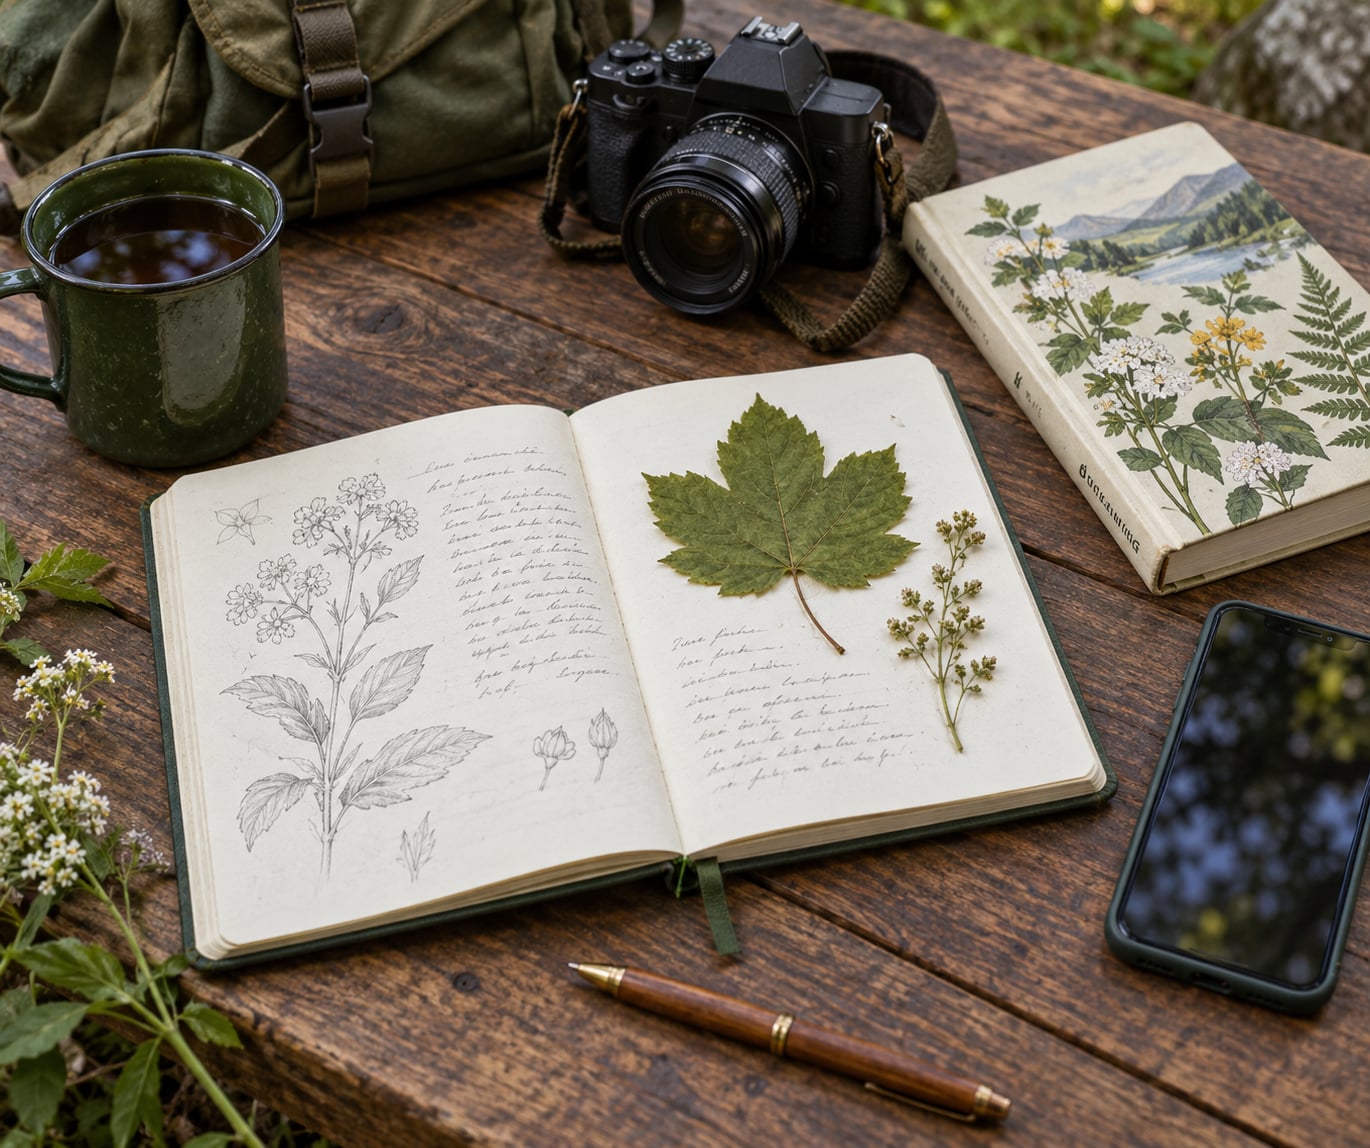
The bare minimum is a smartphone with a camera and location services switched on. That covers most plant citizen science projects in 2026, because the two big mobile apps, iNaturalist and PlantNet, were built around exactly that setup. A dedicated camera helps but is not required, and a phone in a rugged case beats a nicer camera you leave at home.
Beyond that:
- A reliable internet connection for uploading photos and receiving identifications. Projects run in places with patchy service still collect data on the device and sync later.
- A notebook or a notes app for habitat, soil, associates and anything the app fields do not cover. Write it at the plant, not in the car afterwards.
- Location access, with accuracy turned on rather than off. GPS under dense tree canopy drifts, and that drift is a documented source of errors on open platforms.
- A way to judge identification confidence, which for a beginner means a regional field guide, a local flora, or simply learning that you are guessing and saying so in the record.
Requirements vary more than the projects advertise. An observation-based project like a bioblitz wants nothing but a phone and an hour. A rare-plant monitoring scheme run by a state agency may ask for a training session, a signed agreement, and records that follow a written protocol. Read the protocol before you gather anything, because retrofitting a half-finished survey to their format is more work than starting again.
Step-by-Step: How to Join a Citizen Science Plant Project
How to join a citizen science plant project in six steps
Every project works the same way underneath the branding. You choose one, you register, you learn its protocol, you observe, you submit, and you check what came back. Six steps, and the order matters more than most people expect, because step three is where beginners lose records that never get used.
1. Choose a project that matches your interests
Pick based on what you will actually keep doing. A pollinator survey, an invasive species watch and a rare plant census all want photographs from the same walk, but each asks for different fields, different seasons and often a defined boundary. Beginners report the real blocker as project sprawl, so deciding early is worth ten minutes.
Plant projects fall into a few recognisable types:
- Open observation records. You photograph anything and upload it. iNaturalist and PlantNet are the two large platforms here, and this is the most forgiving place to start.
- Project-scoped surveys. A park, reserve, watershed or botanical garden collects records for its own site list, sometimes with a required protocol and training.
- Phenology tracking. You follow the same plant or plot and note first bloom, leaf-out or fruiting dates. This is where repeat visits matter more than volume.
- Pollinator counts. Fixed-time counts at a chosen spot, usually three or more times a season on the same route.
- Invasive species mapping. Targeted reports of named non-native species, usually with a photo of the diagnostic feature.
- Transcription projects. Herbarium labels and field notebooks read and typed in, done from a desk with no field component at all.
Where the platforms sit matters too, and it is the one comparison every competitor gets wrong. Open platforms take anything and publish it; project-scoped platforms take records for a defined question.
| Platform | Best for | Time per record | What you get back |
|---|---|---|---|
| iNaturalist | General records, community identifications, project-scoped surveys | 3-5 minutes | Identifications from other observers, verifiable records, project filters |
| PlantNet | Fast identification while standing in front of the plant | 1-2 minutes | Suggested species plus community confirmations |
| Seek by iNaturalist | Young explorers and guided learning, with no public record of your finds | 2-3 minutes | Challenges, nearby species, no open data contribution |
| SciStarter | Finding a project rather than a logging app, including non-plant projects | Varies | A directory of active projects and their contact details |
| Zooniverse | Desk work, such as transcribing historic herbarium labels | 10-20 minutes | Published classifications on real archival material |
| Journey North and phenology networks | Seasonal timing, first bloom and leaf-out reports | 2-5 minutes | Regional maps showing your dates against everyone else’s |
Seek is worth singling out because it does something the others deliberately do not: your observations stay on the device and are not posted openly. That makes it the sensible first app for a child or for anyone documenting plants they would rather not have located publicly.
2. Check the project’s credibility and data policy
Anyone can build a sign-up form, so check who is behind it before you hand over anything. Look for a named institution, a physical contact address, and a person who answers email. Government agencies, universities, botanical gardens, herbaria and long-established conservation organisations are the safest hosts. A page with no organisation named anywhere and no way to reach a human deserves your time elsewhere.
Then read the data terms, because they differ more than people expect. Four questions tell you most of what you need:
- Who owns the photographs and the records? Most platforms grant the contributor ownership and grant the project and its partners a non-exclusive licence to use and publish the record.
- Is the data open? Records marked as verified on iNaturalist flow to global biodiversity databases such as GBIF and get reused in published analyses.
- Can you hide your location? Most open platforms let you obscure a coordinate, and you should use it for anything rare, medicinal or culturally sensitive.
- What happens to a record you get wrong? A good project corrects or deletes it and tells you; a bad one leaves it up forever.
The evidence that these records are genuinely used is not a marketing claim. Large plant datasets have been assembled from research-grade observations on iNaturalist and shared publicly for reuse, one of them on the r/datasets community with 96.1 million rows across species, genus and family. That is the loop you are joining.
3. Create an account and learn the protocol
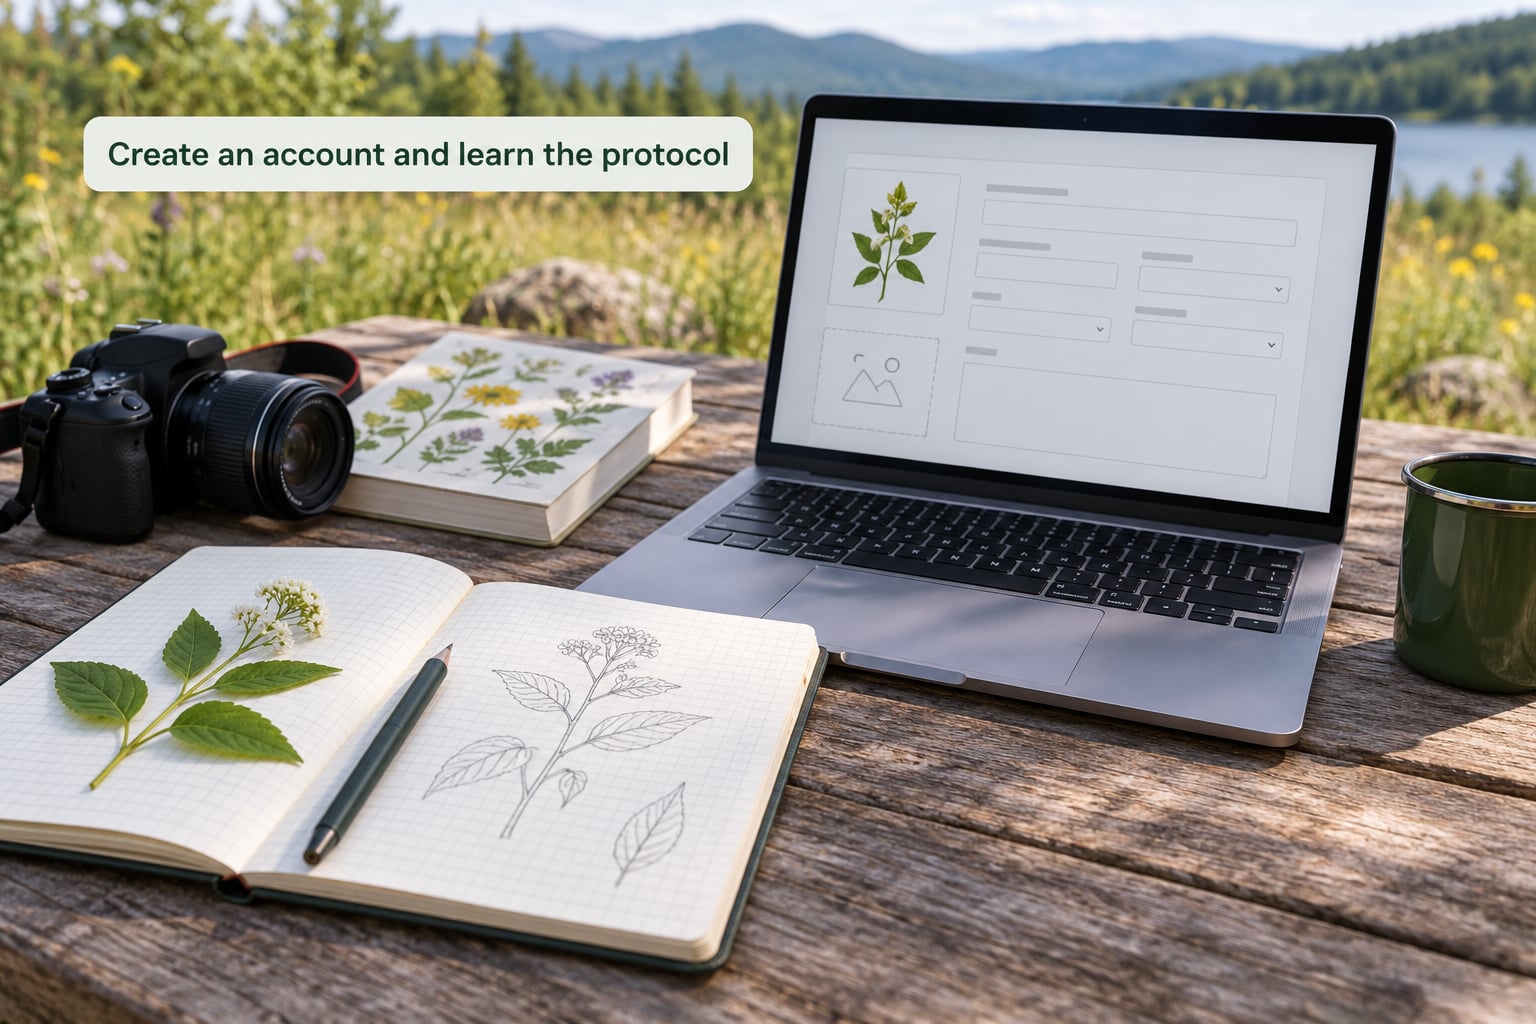
Registration is an email address, a username and, usually, a consent tick. On iNaturalist, join a specific project from its page so your records filter into that project’s list, and turn on notifications so identifications come back to you. On SciStarter, the join step is usually a form to the coordinating institution rather than to the platform, so expect to hear from a person.
Then read the protocol properly. It is usually two pages and it decides whether your record counts. Common requirements:
- The photo set: whole plant, leaves, flower or fruit, bark or stem, and a close shot of whatever feature the project is tracking.
- Field marks the project cares about, such as leaf arrangement, hairs, glands, stipules or the underside of a leaf.
- A fixed area, often a marked plot or a boundary you must stay inside.
- A visit date, sometimes within a narrow window, because a project tracking first bloom cannot use a record from three weeks later.
- A stated level of identification confidence, so the record can be labelled casual or research grade.
Ask one question before you start: how many records does the project need, and at what quality. A class assignment and a long-term reserve inventory need very different volumes.
4. Make safe, responsible observations
Observe, do not collect, unless the project explicitly asks for samples and tells you how to handle them. Photographing a plant rarely harms it; pulling a section, digging up a root or stripping leaves can kill a slow-growing species, and for a rare or protected plant an unnecessary visit is a genuine risk to the population.
Stay on public land or with permission. Check whether photography is restricted where you are, respect closures and nesting seasons, and leave every site as you found it. If a plant is grazed, trampled or dying, say so in the notes, because that context is data too.
Never taste, chew or brew an unidentified plant, and never use an app identification as a basis for eating anything. Several plants in this space look like common edible ones and are seriously toxic, and a photograph gets you a suggestion rather than a safety clearance.
Record at the plant: the date, the location, the habitat, who else is growing there, and anything the form has no field for.
5. Submit complete records and check your work
Photograph leaves, flowers and the whole plant in one sitting. Back off far enough that the habit is visible, get close enough that a single leaf fills the frame, and shoot in flat light rather than harsh sun. Blurry and ambiguous photos are the single biggest reason a record stalls and never reaches research grade.
Then fill every field rather than the minimum. Complete a location, a date and a habitat note; add field marks in your own words. When the app offers a suggested species, mark your own confidence honestly, and correct the suggested ID upward or downward once you have checked the field marks. Guessing at genus and letting the community finish the job is legitimate; pretending to a species you cannot support is not.
Give the GPS a moment under canopy rather than accepting the first fix. Check that the pin landed on the feature you photographed and not two hundred metres off in a car park, then obscure it deliberately if the plant is rare.
You will get questions. Reviewers ask for a better side view of a leaf or a shot of the stem, and a record revised on request is a normal part of the process rather than a reprimand.
6. Track your contributions and keep learning
Check back for identifications. This is where retention is won or lost, and people describe the fix consistently on the iNaturalist forum and the r/iNaturalist community: the reward is knowing a record you made was genuinely useful, not a badge. Trackers celebrate species they have observed that nobody else on the platform has, and local nature centres mark the day a project passes a milestone such as ten thousand observations. That visibility is the thing to look for in a project you join.
For phenology, repeat visits to the same tagged plant are the whole method. Return to the same specimen on a schedule, record flowering and fruiting dates, and use the same-specimen field when the app offers one so the series links up rather than scattering into unrelated records.
Time commitment varies by project type more than by platform:
| Activity | Typical time | Pattern |
|---|---|---|
| Single observation upload | 3-5 minutes | Ad hoc, whenever you notice something |
| Weekly pollinator count | 20-30 minutes | Same route, three or more times per season |
| Backyard or allotment survey | 45-60 minutes | Monthly walk of one fixed area |
| Phenology plot | 30 minutes | Weekly visits through one flowering window |
| Bioblitz | 2-4 hours | One-off or annual event, often in a single day |
| Herbarium transcription | 10-20 minutes | Desk work, no field component |
Do identifications as well as observations. A platform is a two-way street: when you are not in the field you can confirm somebody else’s plant, which is exactly the help that keeps new observers engaged. Answering one identification costs a minute and is often the reason a stranger’s first record gets used.
Common Mistakes
Joining a project without reading the protocol. You photographed leaves and flowers all season and the survey wanted fixed plots on fixed dates. Fix: read the protocol first, then plan the visits around it.
One photo, no context. A single blurred leaf is ambiguous and will sit unverified for months. Fix: shoot the whole plant, then the leaves, then the flower or fruit, then the stem, all in the same visit.
Trusting the first GPS fix under canopy. Your record lands in the wrong place, sometimes on private property, and it is embarrassing to correct publicly. Fix: wait for accuracy to settle, then check the pin against what you can see before submitting.
Publishing the exact location of a rare or medicinal plant. Collectors and the curious both act on a public pin. Fix: obscure the location to a wider area, which open platforms support for exactly this reason, and record the precise spot privately if the project needs it.
Stating a species you cannot support. A confident wrong name propagates through identifications and eventually into datasets. Fix: mark your true confidence level and describe the field marks you actually saw.
Identifying plants you intend to eat or brew from an app. An identification is a suggestion, and the look-alikes in this category can be dangerous. Fix: never consume an unidentified plant, and confirm with a local expert or a herbarium.
Uploading only rare and showy species. Common plants recorded systematically are what make change over time measurable. Fix: record the ordinary stuff too, especially in the same place, year after year.
Uploading and disappearing. You never learn whether the record was useful, so you stop after a month. Fix: turn on notifications and come back weekly to check identifications and comments.
Treating one record as a whole season’s work. A single upload adds very little to most projects. Fix: agree a target before you start, whether that is ten records from one trail or a weekly count on one route.
Frequently Asked Questions
Do I need to be a botanist to join a citizen science plant project?
No. Most plant projects are designed for beginners and training is usually provided, often in the form of a written protocol, a short online course or a session at a local nature centre. What matters is honesty: mark your identification confidence accurately and describe the features you actually observed. Many projects would rather receive a well-documented record labelled genus than a species name nobody checked.
What equipment do I need to record plants for a citizen science project?
A smartphone with its camera and location services enabled covers most projects. Add a notebook for habitat notes, a regional field guide or flora for identification, and something to carry water and sun protection for fieldwork. A hand lens helps with close work on field marks but is optional. Projects with formal protocols, especially rare plant monitoring, may require more specific kit and will say so.
How can I tell whether a citizen science plant project is reputable?
Look for a named host: a government agency, university, botanical garden, herbarium or established conservation organisation. Check that there is a real contact address and someone who answers email. Read the data terms to see who owns your records, whether verified observations are published openly, and whether you can obscure sensitive locations. Projects that publish protocols and return identifications to contributors are the ones worth staying with.
Can I use an iPhone or Android phone to document plant observations?
Yes, and for most open platforms it is the intended way to take part. Both iNaturalist and PlantNet have mobile apps that capture the photograph, date and location together, work with location services to fill coordinates, and queue uploads for when you have signal. Seek by iNaturalist works the same way but keeps observations on the device instead of posting them, which suits children and sensitive finds.
What should I do if I cannot confidently identify a plant?
Leave the identification blank or set it to the level you are sure of, such as family or genus, and describe the field marks in your notes. Plenty of projects exist to get records verified, and other observers will refine the name for you. The important thing is to say what you saw rather than guess: an honest partial identification can still become research grade, while an unsupported species name cannot.
Who owns the photographs and observation data I submit?
On most open platforms you keep ownership of your photographs and observations, and you grant the platform and the projects receiving your records a non-exclusive licence to use, share and publish them. Verified observations on iNaturalist are made openly available through global biodiversity databases such as GBIF. Read the specific terms of any project you join, since a project run by an agency may set its own conditions, particularly around location data.
Conclusion
Start with one observation, done properly. Choose a project with a named institution and a written protocol, read the protocol before you go out, and photograph one plant properly: the whole habit, a leaf, the flower, the stem, with the location obscured if the plant is anything rare or medicinal.
Submit it, then come back in a week to see who identified it. That loop, one record at a time, is the whole of how to join a citizen science plant project. The equipment is a phone, the cost is a few minutes, and the part that decides whether you stay is whether anyone tells you what your record was good for.