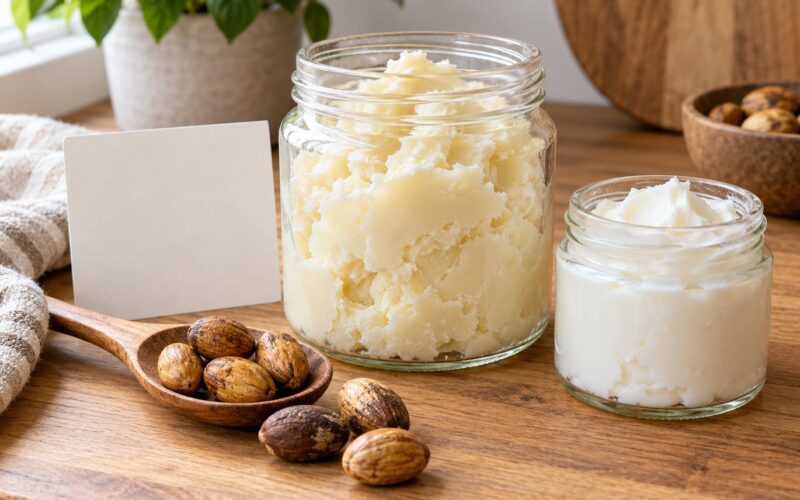
Shea butter is made by turning the kernels inside the fruit of the shea tree, Butyrospermum parkii, into fat: the pulp comes off, the nuts are dried and cracked, the kernels are ground, warmed gently until the butterfat releases, and the liquid fat is strained and cooled. Most of the work is drying and grinding. Handle it patiently and the result is a pale, nutty-smelling unrefined butter.
Getting how shea butter is made step by step right starts with one distinction most people skip. The word “seed” is where the confusion begins. A shea nut is a seed, but the fat is not in the shell or the pulp. It sits inside the kernel, the bean-like piece you hold after cracking the hard shell. Once you can tell a fruit from a nut and a nut from a kernel, the rest is straightforward.
Table of Contents
- 1What You Need
- 2Step-by-Step: How Shea Butter Is Made
- 3Step 1: Select and Inspect the Shea Nuts or Kernels
- 4Step 2: Dry and Crack the Shea Nuts
- 5Step 3: Grind the Kernels Into a Paste – the Key Step in How Shea Butter Is Made
- 6Step 4: Heat the Paste Gently
- 7Step 5: Strain and Remove Residues
- 8Step 6: Cool, Clean, and Store the Shea Butter
- 9Common Mistakes
- 10Frequently Asked Questions
- 11Are shea nuts seeds?
- 12How long does it take to make shea butter?
- 13Why is my homemade shea butter gritty?
- 14Why did my shea butter melt and separate?
- 15Do I have to strain homemade shea butter?
- 16How can I tell whether homemade shea butter has gone bad?
- 17Conclusion
What You Need
You need very little, and almost all of it is already in a kitchen. A home batch is measured in cups of kernels, not kilos.
- Shea nuts or shea kernels — the starting material. Whole nuts include the shell; kernels are already shelled.
- Drying materials — a mesh screen, bamboo mat, or flat tray for sun-drying, and a warm dry room if you are drying indoors.
- Cracking and grinding tools — a nutcracker, a heavy mortar and pestle, a food-safe grinder, or a sturdy blender.
- Heat source — a low hob, a warm oven, or a double boiler. Direct flame is not what you want.
- Strainer or cloth — clean muslin, cheesecloth, or fine mesh for pressing the fat from the fibre.
- Food-safe containers — steel or glass bowls, a wooden spoon, and a clean jar for the finished butter.
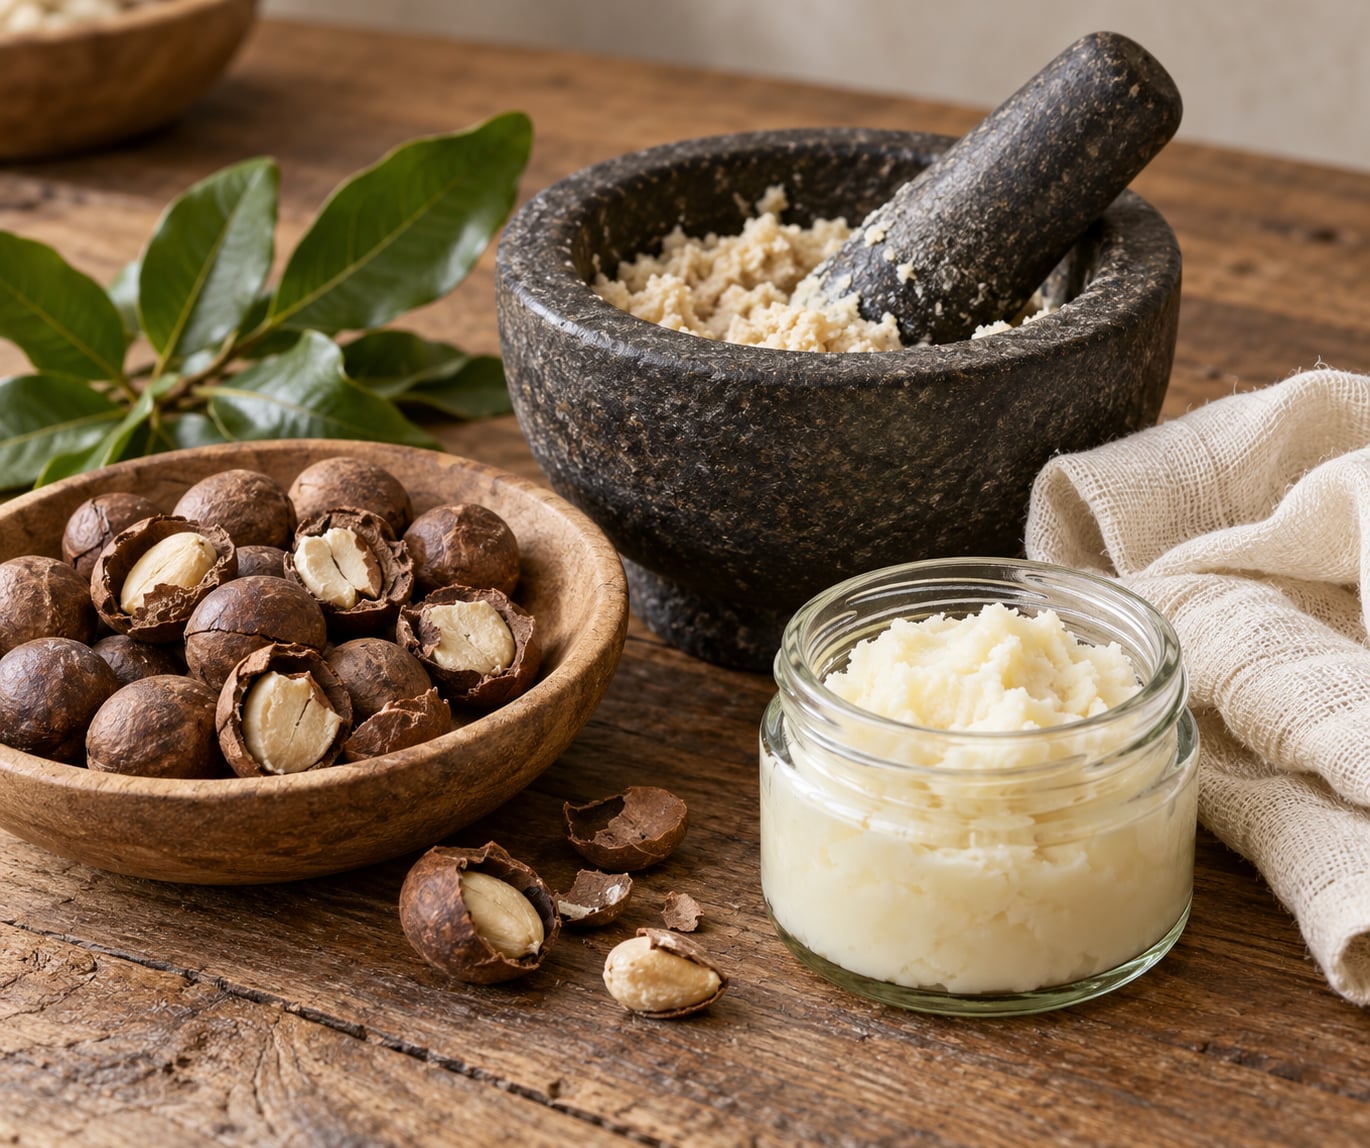
The difference between the stages of the plant material matters. The fruit is the fleshy green pod that falls from the tree. The pulp is the soft coating around the nut and is usually removed by letting the fruit ferment in water for several days or by hand. The nut is the hard, dark, oval shell. The kernel is what is inside the shell, and it is the only part you grind.
One safety note before you start. Only process material you know is shea, sourced clean and dried, and free of pesticides or chemical treatment. Unknown plant material can carry residues that survive into the fat, and a chemical spray applied before extraction will end up in your butter. If the kernels smell of anything other than a mild, nutty scent, set them aside.
Step-by-Step: How Shea Butter Is Made
The whole process runs in six stages and takes anywhere from a few hours of active work to several days, mostly because of drying and cooling. Start with 500 g of dried kernels and you should end up with roughly 200 g of butter, since a dried kernel is close to 41% fat by weight. Whole unrefined shea butter keeps more of its natural colour and aroma than a refined commercial butter, which is bleached and deodorised later in a factory.
Step 1: Select and Inspect the Shea Nuts or Kernels
Pick material that is fully dry, sound and recently dried. Sort out anything with mould, mildew, insect damage, damp patches, or an unusual smell. A good kernel is pale beige to cream, firm, and solid in the middle, not soft or crumbly at the core.
Break a couple open and look. Fresh kernels have a clean, waxy, slightly nutty appearance with no discoloration at the centre. If the inside smells sour or musty, the batch will not keep and no amount of heating will fix it. Discard rather than sort and hope; one spoiled kernel can sour an entire jar.
Step 2: Dry and Crack the Shea Nuts
If you bought whole nuts, dry them first. Spread them in a single layer on a mesh screen or mat in full sun and turn them daily for five to ten days. Indoor drying takes longer, often two to three weeks, and needs good airflow. Smoke-drying or oven-drying at high heat is not recommended, because smoke carries polycyclic aromatic hydrocarbons that settle into the nut shell and later into the fat.
Drying is not a formality. Sun-drying pulls moisture out of the kernel and raises its usable fat content, so under-dried nuts give you a thinner, watery butter that separates later.
Crack each nut with a nutcracker or the flat side of a heavy knife, taking the shell off in pieces rather than shattering it. Then pick out every shell fragment by hand. Shell pieces are the single most common reason a beginner’s butter comes out gritty, and they also add a bitter, papery note to the smell.
How do you know the kernels are dry enough? They should feel hard and make a dull sound when dropped, and they should break cleanly rather than bend. Bendable kernels still carry too much water.
Step 3: Grind the Kernels Into a Paste – the Key Step in How Shea Butter Is Made
Grinding is where the butter is actually made. Everything before this is preparation, and everything after is cleanup. Work in small batches so the grinder never jams, and let the machine rest between bursts so the kernels do not heat up in the bowl.
The texture moves in three stages. First you get small chips and coarse crumbs, then a sandy meal, and finally a smooth, spreadable paste that looks like thick peanut butter. That third stage is the one that tells you the fat has been released. If you stop at the sandy stage, you will be straining mostly meal and recovering very little butter.
A mortar and pestle is slower but gives you the most control, and it is the best way to understand what is happening. A food-safe grinder is faster for larger batches. A blender works, but use short pulses; running it continuously heats the paste and dulls the aroma. For hard kernels, a freezer trick helps: chill the kernels for 20 minutes before grinding so they fracture instead of smearing.
Step 4: Heat the Paste Gently
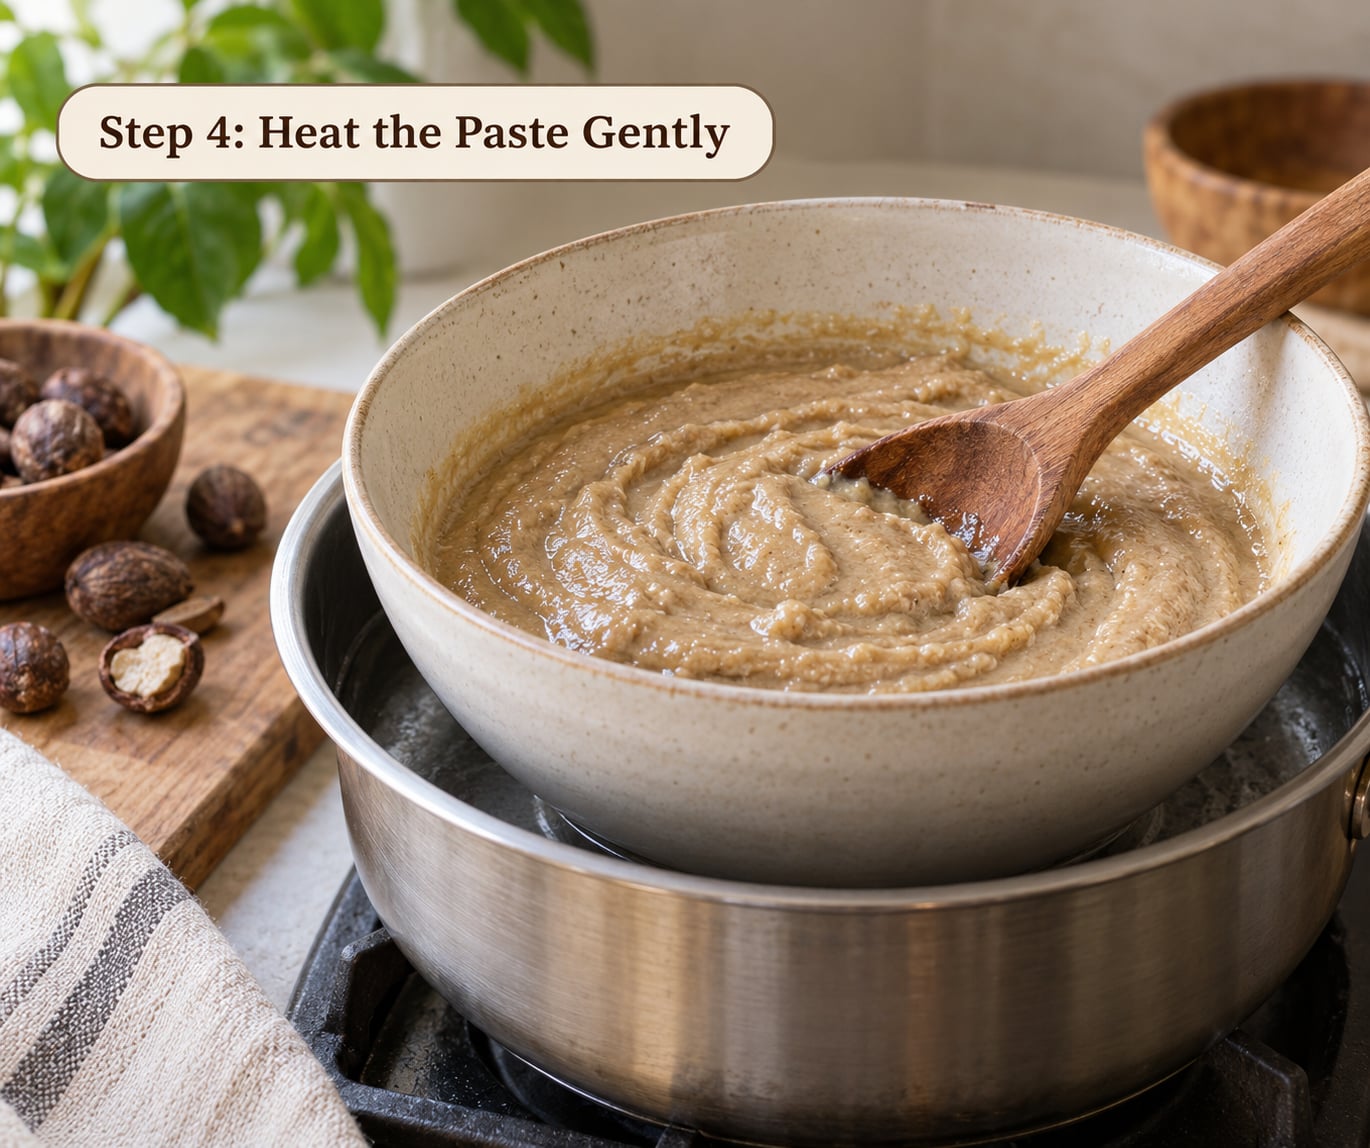
Warming the paste loosens the butterfat so it separates from the fibrous residue. Published work on small-scale shea butter extraction puts the useful range at 75 to 80 °C for 70 to 100 minutes, with a nuts-to-water ratio below 400 g per litre if you are working with a water-assisted traditional method. At home you do not need water at all; dry heat and pressure from stirring do the job.
Use a double boiler or a very low hob setting. Stir continuously with a wooden spoon, and scrape the sides so nothing catches and scorches. Direct flame will toast the paste in minutes, and scorched fat turns bitter and smells burnt for months.
You will know it is working from the look and feel of the paste. It goes from dull and crumbly to glossy and looser, and a clear golden layer of fat starts to appear on the surface and along the sides of the bowl. Small bubbles appearing between the solids and the fat are a good sign. A darkened, smoking, or sharp-smelling paste means you have gone too far.
Step 5: Strain and Remove Residues
Scoop the warm paste into a clean muslin or cheesecloth bundle over a bowl, or press it through a fine mesh strainer. Press slowly and evenly with the back of a spoon. Do not force it. Pushing hard drives fibre and shell dust through the cloth, which leaves sediment in the finished jar.
Let the liquid fat drain until only damp fibre remains in the cloth, then give that fibre one gentle squeeze and stop. You can grind the spent fibre and heat it a second time for a smaller second yield, but the return is thin and it is rarely worth the effort.
The strained liquid is raw, warm, and pale gold. It should pour like loose cream. Thick, dull sludge in the bowl means the paste was under-heated; watery liquid with floating grey particles means the cloth was not clean or the straining was rushed.
Step 6: Cool, Clean, and Store the Shea Butter
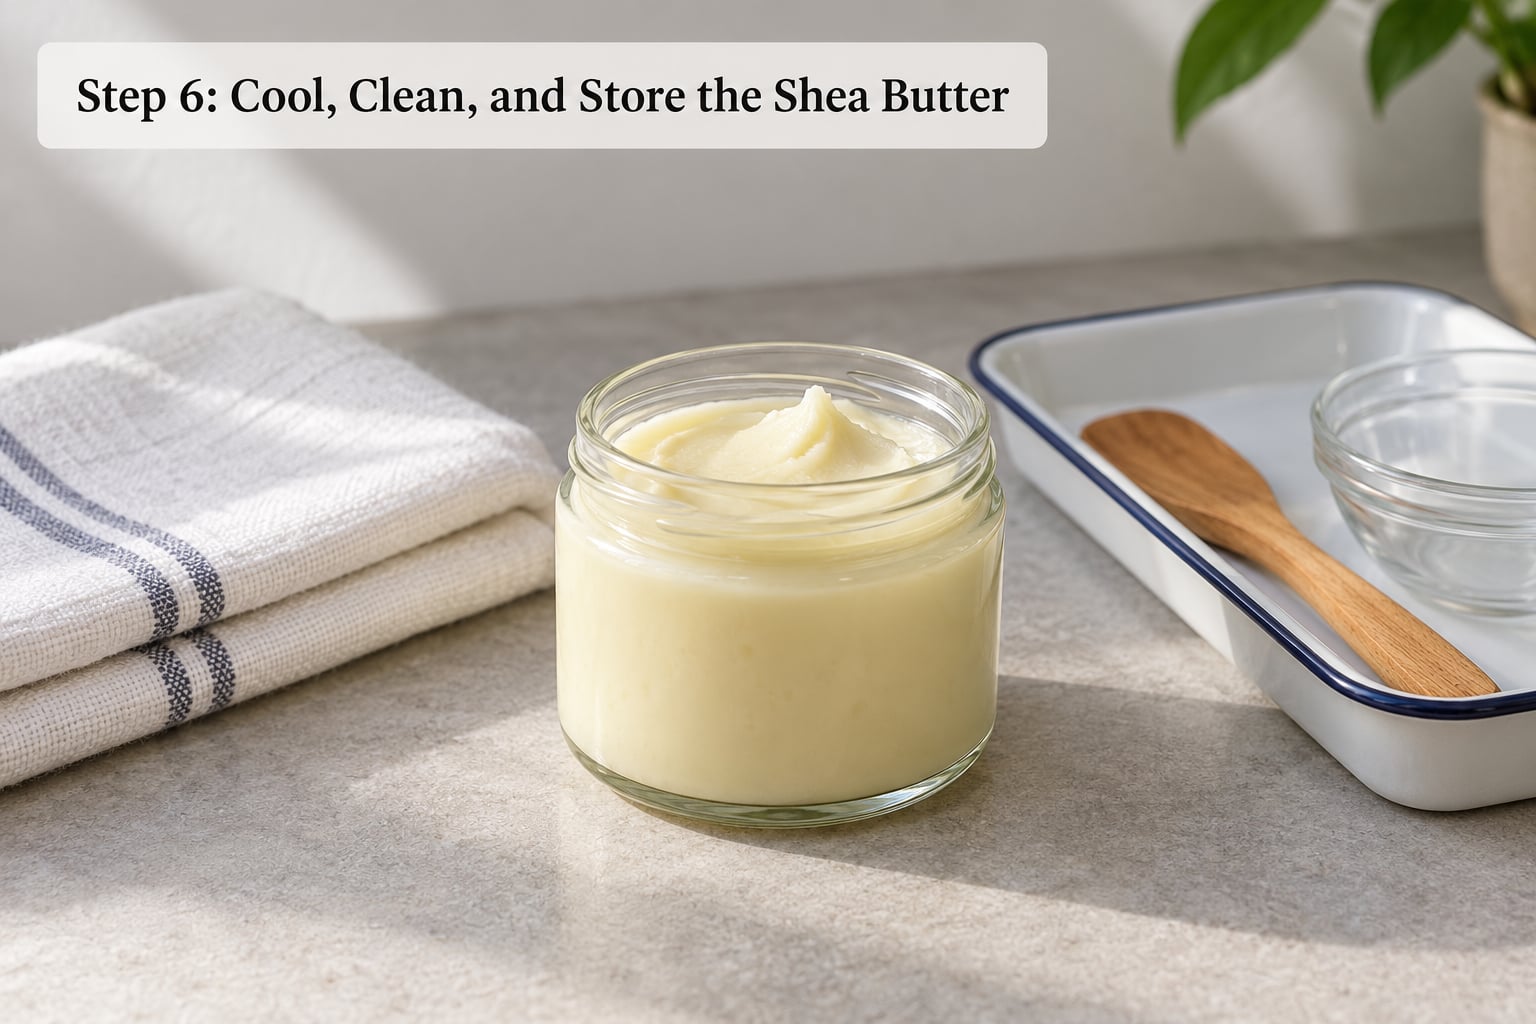
Pour the strained liquid into a clean container and leave it undisturbed in a cool, dark room. Cooling is slow and it matters. Sudden temperature swings make the fat crystallise into hard grains instead of a smooth solid, which is the same problem that makes shop-bought butter grainy.
A thin film or skin on the surface is normal and you can leave it or lift it off once set. Cut the block into cubes and store it in an airtight jar in a cool, dark, dry place away from heat and sunlight. Label it with the date; unrefined shea butter without preservatives keeps about six to twelve months, and up to a year or more in a steady cool climate. Refined butter lasts longer.
Check for a fine white, grey, or green film, any sour or pungent smell, or a watery layer separating under the surface. Mould, moisture, or a rancid nut-like odour means the batch is spoiled and belongs in the bin, not on skin.
Common Mistakes
Almost every disappointing batch traces back to one of six things.
- Damp nuts. Butter comes out thin, watery and quick to spoil. Fix: dry fully until kernels are hard and snap cleanly, and keep them off any damp surface after drying.
- Shell fragments left in. The butter is gritty and tastes papery. Fix: pick the kernels over by hand twice, and grind in smaller bursts so shells do not get pulverised into the paste.
- Stopping at the sandy meal stage. You get low yield and a dry paste. Fix: keep grinding until it turns glossy and spreadable.
- Overheating. The fat turns bitter and smells burnt, and some of the aroma compounds are lost for good. Fix: indirect heat, continuous stirring, and never above a simmer.
- Rushing the straining. Fibre and grit end up in the jar. Fix: press gently, use a double layer of cloth for the second pass, and never squeeze the bundle hard.
- Poor storage. Heat, light and air drive rancidity. Fix: airtight jar, cool dark cupboard, away from the stove, and use it within the year.
Three habits fix most of it. Make a small test batch of 200 g before committing to a kilo, since you learn far more from one jar than from a ruined bowlful. Use the same bowl for drying, grinding and heating, and scrub it thoroughly between batches, because residue from an earlier nut is a common source of off smells. Buy kernels matched to what you want: pale, mild-smelling kernels for a gentler butter, and more deeply coloured kernels when you want the full traditional flavour and aroma.
Frequently Asked Questions
Are shea nuts seeds?
Yes. Botanically, a shea nut is the seed of the shea fruit, and the shell is its hard coat. The fat you turn into butter sits inside the kernel, the bean-like kernel you find after cracking the shell. This matters because the shell and the kernel behave very differently under heat, and bits of shell left in are the usual cause of gritty butter.
How long does it take to make shea butter?
Two to three hours of hands-on work for a small batch, plus drying time if you start with whole nuts. Grinding takes the longest. Cooling the strained fat into a solid block takes several hours and should not be hurried, because cooling too fast is what produces a grainy texture. Sun-drying whole nuts beforehand adds five to ten days.
Why is my homemade shea butter gritty?
Grit usually means two things: shell fragments ground into the paste, or a fat that crystallised during a sudden temperature change. Pick kernels over by hand twice, then grind in short bursts so the shells stay large enough to remove. Cool the strained fat slowly in a warm room for the same reason butter makers avoid a freezer for the first stage.
Why did my shea butter melt and separate?
A thin, watery batch points back to moisture in the kernels, or to wetter pulp left on them before drying. Under-dried nuts give a fat layer with water in it, and that layer splits when the temperature moves. Dry the kernels until they are hard and break cleanly, and drain the strained liquid through a clean dry cloth before you cool it.
Do I have to strain homemade shea butter?
You should. Straining is what separates smooth butter from fibrous residue, and skipping it leaves a gritty, beige paste rather than a usable block. Press the warm paste through muslin or fine mesh gently rather than hard, since forcing it pushes fibre dust through the weave. If you want a very smooth cosmetic butter, pass the strained fat through cloth a second time.
How can I tell whether homemade shea butter has gone bad?
Look, smell and check the texture. Mould on the surface, a grey, green or dark film, a watery layer under a solid top, or a sour, pungent smell that differs from the usual nutty scent all mean the batch is spoiled. Unrefined shea keeps a strong nutty aroma, which is normal. A rancid, almost metallic or stale smell is not normal, and neither is visible growth of any kind.
One more note before you start using it. Raw unrefined butter is food-grade material, not a tested cosmetic. Patch-test a small amount on the inner arm and wait a day, because some people react to 100% shea with breakouts or irritation. Anyone with a known nut allergy should avoid it, and traditional skin remedies made with shea belong to the same caution.
Conclusion
Start by choosing clean, fully dried shea nuts or kernels, and reject anything mouldy, damp or oddly scented. From there the sequence is fixed: dry, crack and pick out every shell fragment, grind to a smooth paste, warm gently with constant stirring, press through cloth, then cool slowly and store the finished block sealed in a cool dark place.
Try 200 g first. One small batch teaches you where your grind and your heat need adjusting, and then a larger run goes quickly.