You can dry herbs without a dehydrator using air-drying, a low oven, an air fryer or short bursts in a microwave. Air-drying on a screen or in hanging bundles takes 3 days to 3 weeks and keeps the most flavor, while an oven at 150 to 180 F finishes a tray in 2 to 4 hours. Most people start with the screen method and switch to low heat when they need the herbs the same day.
The reason drying matters is simple: pulling water out of plant tissue stops mold and enzyme-driven decay, so a bunch of basil lasts three days in the fridge or a full year in a jar. What you do not want is heat high enough to drive off the volatile oils, because those oils carry the aroma, the flavor and many of the constituents herbalists care about.
I keep a mesh screen over the sink and a coil of cotton cord by the back door. That is the whole setup. Everything below is built around what those two things plus a kitchen oven can do.
Table of Contents
- 1What You Need
- 2Step-by-Step
- 3How to Dry Herbs Without a Dehydrator by Air-Drying
- 4How to Dry Herbs Without a Dehydrator in the Oven
- 5How to Dry Herbs Without a Dehydrator in the Microwave
- 6Checking, Labelling and Storing
- 7Common Mistakes
- 8Frequently Asked Questions
- 9What is the fastest way to dry herbs without a dehydrator?
- 10Which herbs can be dried in an oven safely?
- 11How long do herbs take to air-dry indoors?
- 12How can I tell when herbs are completely dry?
- 13Can I dry medicinal herbs in the microwave?
- 14How should dried herbs be stored to prevent mold?
- 15Conclusion
What You Need
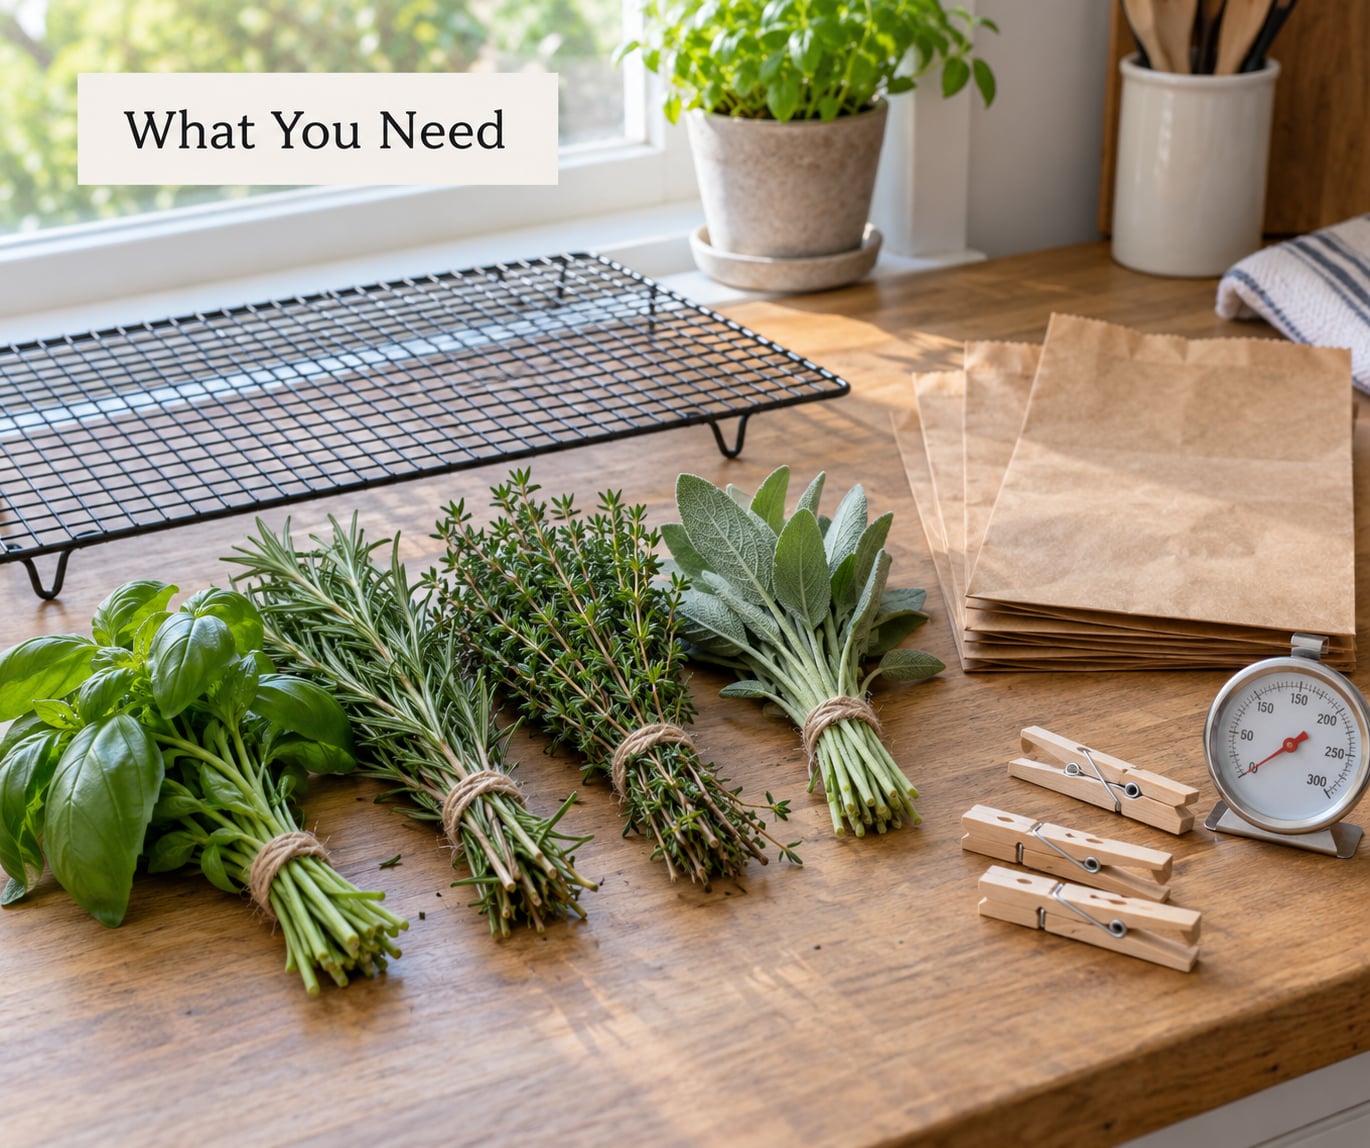
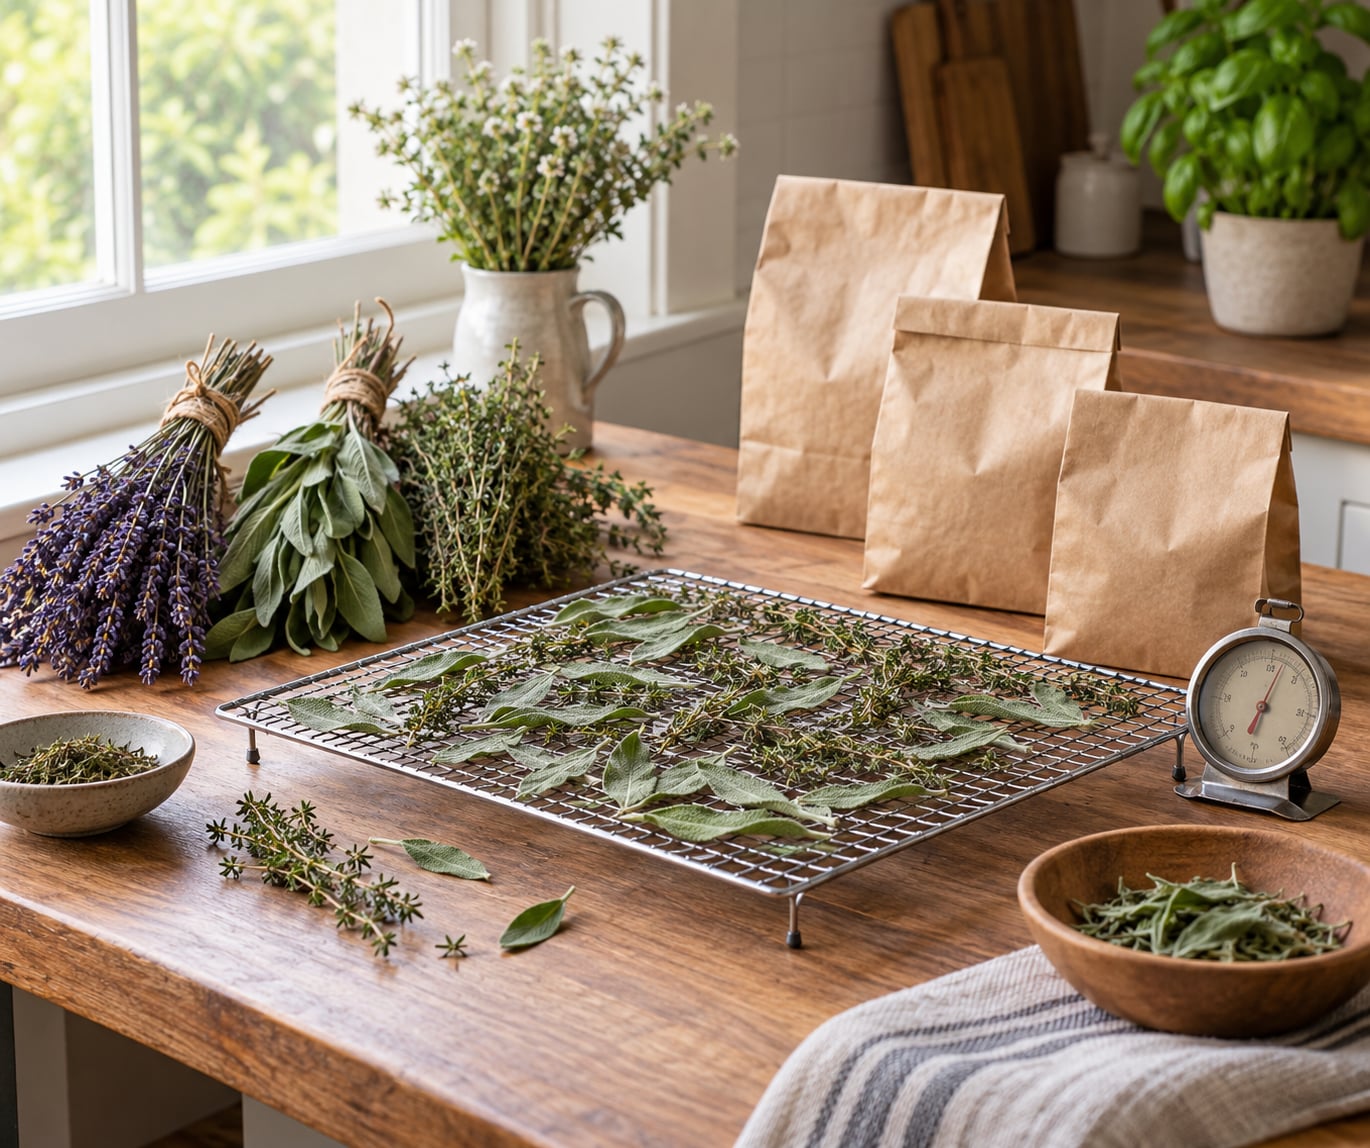
For air-drying you need a window screen, a cooling rack or an old baking sheet fitted with mesh, plus cotton string or wooden clips. Brown paper bags are useful rather than essential; they slow the drying a little and catch leaves that shed.
For oven drying, add a rimmed baking sheet and an oven thermometer. The thermometer matters more than anything else on this list, because most ovens run 25 F or so off the dial and a gas oven can swing 50 F in either direction once the door opens.
A microwave needs only a microwave-safe plate and plain white paper towels. Salt is worth having if you want to dry herbs for storage in a hurry, since a light salt bed draws moisture out of firm leaves like sage or bay in a day.
Before any of that, prepare the herbs. Cut in mid-morning after the dew has gone but before the sun is high, when the stems snap instead of bending. Tender herbs such as basil, mint, tarragon, lemon balm and parsley dry best just before they flower, at the stage herbalists call bursting bud, when the bud is swelling but not open.
Rinse the herbs briefly in cool water, shake off the excess and dry them thoroughly. Patting them in a salad spinner or a clean towel and letting them sit spread out for an hour or two does more for mold prevention than any storage trick later on. Some people skip washing entirely when the herbs are from a chemical-free garden, and that is defensible; what you cannot skip is getting the surface moisture off.
Step-by-Step
How to Dry Herbs Without a Dehydrator by Air-Drying
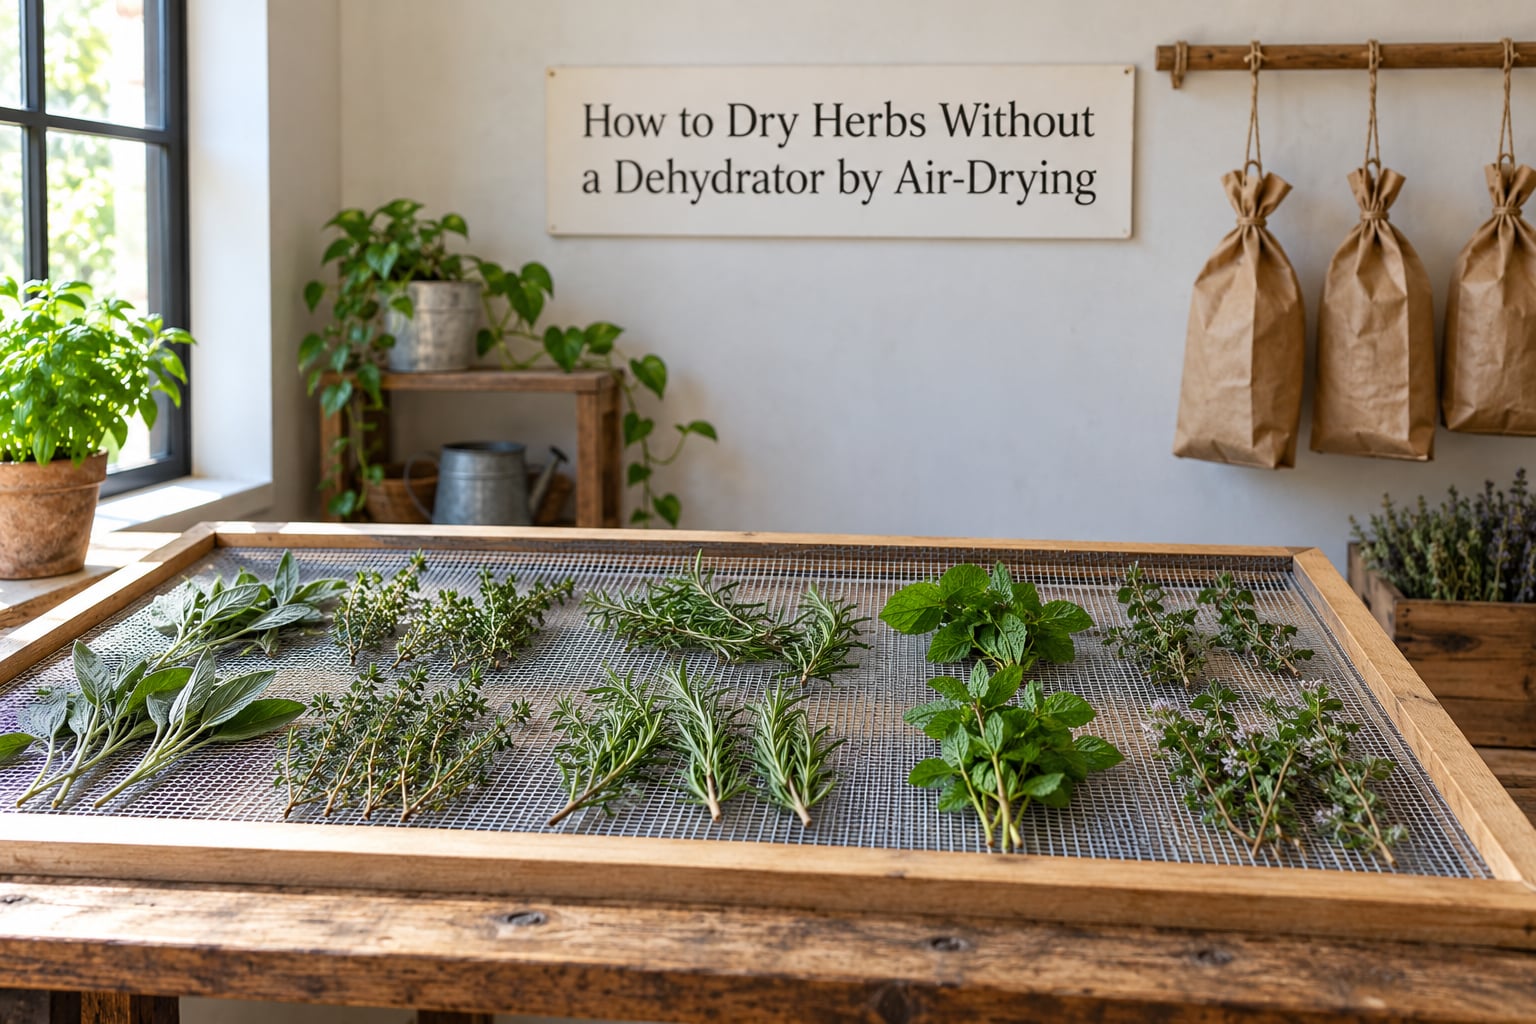
Air-drying is the method that costs nothing, uses no electricity and damages the least. Pick the spot first: a warm, dry, dark room with steady airflow beats a sunny windowsill every time. Direct sun bleaches leaves and pulls the color out, and a damp pantry or garage corner is where batches quietly rot.
For the screen method, lay the herbs in a single layer with the leaves flat and not overlapping at all. Leave a finger’s width between them. If the tray is crowded, the middle of it dries last and holds the moisture that later turns the batch grey and musty.
For hanging bundles, gather 5 to 10 stems at a time, tie loosely with cotton cord and hang them upside down in a doorway, under a shelf or from a curtain rod. Smaller bundles dry faster, and anything thicker than about the width of your fist traps moisture at the stem base and molds from the inside out.
Loosely fold a paper bag over the top of each bundle and cut a few small holes in it. The bag slows the airflow just enough to protect delicate leaves while letting damp air escape, and it stops seeds and fragments from raining onto your counter.
Timing runs by herb type. Small-leaf herbs such as thyme, oregano, marjoram and rosemary finish in about 3 to 5 days. Medium herbs such as sage, cilantro and lovage take 7 to 10 days. Basil, tarragon, mint and lemon balm are the slow ones at 1 to 3 weeks, and large-leaf herbs should be turned or flipped partway through so the underside dries at the same rate as the top.
Italians dry oregano the slow way, hanging flowering stems in bundles in sheds and airy rooms for several weeks in late summer. That slow, shaded air is why the dried leaves stay green and pungent rather than turning brown and dusty.
Seed heads are handled the same way. Hang dill, coriander and fennel umbels in a bag until the seeds rattle, then shake them into a jar and crush when you need them. Roots and rhizomes need slicing into thin pieces before any of this works, since a whole root takes weeks to firm up.
If you live somewhere humid, air-drying is the method most likely to fail you. Home herbalists put it plainly: in a humid environment herbs will mold, while in a dry one they dry fine. When the forecast is damp for a week, switch to the oven or freeze the batch instead of gambling.
How to Dry Herbs Without a Dehydrator in the Oven
An oven works because the door stays cracked, letting moisture escape while gentle heat moves it out of the leaves. Set it to the lowest temperature it reliably holds, which on most ovens is 150 to 180 F. Anything over 180 F will burn herbs, and 170 F is only safe on a short batch you are watching the whole time.
Use the oven thermometer to confirm the real temperature before you load a tray. If the oven will not stay under 180 F, use the microwave or the air fryer instead of fighting the dial.
Spread the leaves in a single layer on a rimmed baking sheet, slide it onto the lowest or second-lowest rack and prop the oven door open with a wooden spoon. Turn the leaves every 30 minutes. Small tender herbs take 2 to 4 hours at this setting; sturdy ones such as rosemary and sage take longer.
Pull the tray when the leaves look dull rather than bright, feel papery and crumble when you roll them between your fingers. They will seem softer straight from the oven, so let the tray cool on the rack for 10 minutes before you test, otherwise warmth hides how much moisture is left.
Stay in the room. Unattended low heat with herbs in it is the one real fire risk in this whole guide, and the smell of scorched leaves can catch in a kitchen for weeks. Also keep the oven clear of loose paper or towels near the element.
An air fryer behaves like a small, very well-ventilated oven and gives a similar result in less time. Dry at the lowest setting, in single layers, with the herbs turned every few minutes. Watch it more closely than the oven, since the fan makes the heat uneven and the basket is small enough that one tray burns before the second dries.
How to Dry Herbs Without a Dehydrator in the Microwave
The microwave is the fastest route for a small batch, finishing in 2 to 3 minutes, and it is the worst option for delicate herbs that scorch in seconds. Treat it as a tool for sage, thyme, bay, rosemary and other sturdy leaves.
Pull off the leaves, lay them between two sheets of plain white paper towels on a microwave-safe plate and dry only 1 to 2 cups at a time. A larger pile steams itself instead of drying.
Microwave on high for 30 to 60 seconds to start, then in 20 to 30 second bursts, stirring and spreading the leaves between each one. Total time lands somewhere between 2 and 3 minutes. Stop the moment the leaves look dull and crumbly rather than when they look brown.
Use plain white paper towels, never recycled ones. Extension services warn that recycled paper can contain small metal fragments that arc and start a fire in a microwave.
Let the herbs cool for a couple of minutes on the plate before you test or store them. Straight out of the microwave they feel drier than they are, and packing them warm traps exactly the residual moisture you spent three minutes removing.
Drying for tea, tinctures and infused oils is the one place I would skip the microwave entirely. Herbs destined for a salve or a bottle of infused oil carry their potency in the same volatile oils that microwave heat scorches off, and a day of air-drying costs you very little.
Checking, Labelling and Storing
Test before you store. Herbs are ready when leaves crumble at a touch, stems snap cleanly instead of bending, and the whole batch is brittle rather than leathery. Bendy leaves are not dry; they hold enough internal moisture to mold in a sealed jar within weeks.
Strip the leaves from the stems and keep them whole. Crushing or grinding works only right before use, since ground herb loses aroma far faster in a jar than leaf does. Save the bare stems for stock; a handful of rosemary or thyme stems gives a broth more than a plastic bag of leaves will.
Label each jar with the herb, the drying method and the date. Unlabelled jars are how oregano ends up in the tin that used to hold lemon balm, and nobody remembers which batch came from the humid week.
Store in airtight glass jars kept cool, dark and dry, away from the stove and the sink. Expect 6 to 12 months of good flavor for leaf herbs and somewhat less if the jar sits in a warm kitchen. In humid conditions, a food-grade desiccant packet in each jar absorbs the last of the moisture.
Common Mistakes
Crowding the tray or the bundle. Overlapping leaves and thick bundles hold moisture in the middle, so the outer leaves look fine while the center rots. The fix is a single layer with real spacing between pieces, and bundles no thicker than your fist.
Turning the heat up to go faster. Above 180 F herbs scorch, the oils cook off and the result tastes like dried grass. The fix is to keep the oven low and the door propped, and to use the microwave or air fryer for speed instead of more oven heat.
Drying in direct sun. A sunny windowsill or a car dashboard discolors herbs and draws insects. The fix is a shaded, warm, ventilated room with airflow moving through the drying area on both sides of the leaves.
Harvesting late or washing without drying. Herbs cut after the sun is high are already wilting, and herbs rinsed and left damp add the water you are trying to remove. The fix is a mid-morning cut, a quick rinse, and a full hour spread out on a towel before anything goes into a bag or an oven.
Leaving dried herbs exposed. Counter-top jars and open bundles in a humid kitchen take on moisture from the air. The fix is to get herbs into airtight containers as soon as they are cool, and keep those containers off the shelf above the kettle.
Storing before herbs are fully dry. This is the most common reason a jar of herbs goes musty weeks later, and no amount of airtight sealing fixes residual moisture. Test the stems for a clean snap, and give anything that bends another day on the screen.
Frequently Asked Questions
What is the fastest way to dry herbs without a dehydrator?
A microwave on short bursts finishes small batches of sturdy herbs in 2 to 3 minutes, and an air fryer or a low oven takes 2 to 4 hours. Air-drying is the slowest at 3 days to 3 weeks, but it keeps the most flavor. For delicate herbs such as basil, speed is not worth the scorching, so use air-drying or freezing instead.
Which herbs can be dried in an oven safely?
Oven drying suits sturdy, low-moisture herbs: rosemary, thyme, sage, oregano, bay, marjoram, dill and fennel. Tender herbs like basil, mint and tarragon scorch and lose color at oven temperatures. Keep the oven at 150 to 180 F with the door propped open, never higher, and stay in the kitchen while a tray is inside.
How long do herbs take to air-dry indoors?
Small-leaf herbs such as thyme and oregano take about 3 to 5 days. Medium herbs including sage and cilantro need 7 to 10 days. Large delicate leaves such as basil, mint and lemon balm take 1 to 3 weeks. Humidity stretches every one of those times, which is why the doneness test matters more than the calendar.
How can I tell when herbs are completely dry?
Leaves should crumble when rolled between your fingers and stems should snap cleanly instead of bending. If a stem folds or the leaf feels leathery, moisture is still inside and the batch can mold in a sealed jar. Let herbs cool before testing, since warmth makes partially dry leaves feel drier than they are.
Can I dry medicinal herbs in the microwave?
It is possible, but I would not choose it for herbs destined for tea, tinctures, infused oils or salves. Microwave heat scorches off volatile oils quickly and those oils are part of what makes the plant worth preparing medicinally. Air-dry or use gentle low heat for that work, and label medicinal batches with the herb, date and method.
How should dried herbs be stored to prevent mold?
Store fully dry leaves whole in airtight glass jars, kept cool, dark and dry and away from the stove or sink. Do not crush them until you need them, since ground herbs lose aroma faster. In humid conditions add a food-grade desiccant packet per jar, and label every jar with the herb and date so old batches get used first.
Conclusion
Start with a screen and a warm, dry, well-ventilated room. Lay delicate herbs like basil, mint and tarragon in a single layer and give them the week or two they need, turning the larger leaves halfway through.
Switch to low heat, 150 to 180 F with the door propped open, for sturdy culinary herbs when you need them the same day or when the humidity is too high for air-drying to be reliable. Leave the microwave for small batches of sage and bay, and skip it for anything you are preparing as a tea, tincture or salve.
Before anything goes into a jar, check that the leaves crumble and the stems snap. Label the jar with the herb, the method and the date, and keep it sealed, cool and dark. That last habit is what turns a good drying job into herbs you still have next winter.