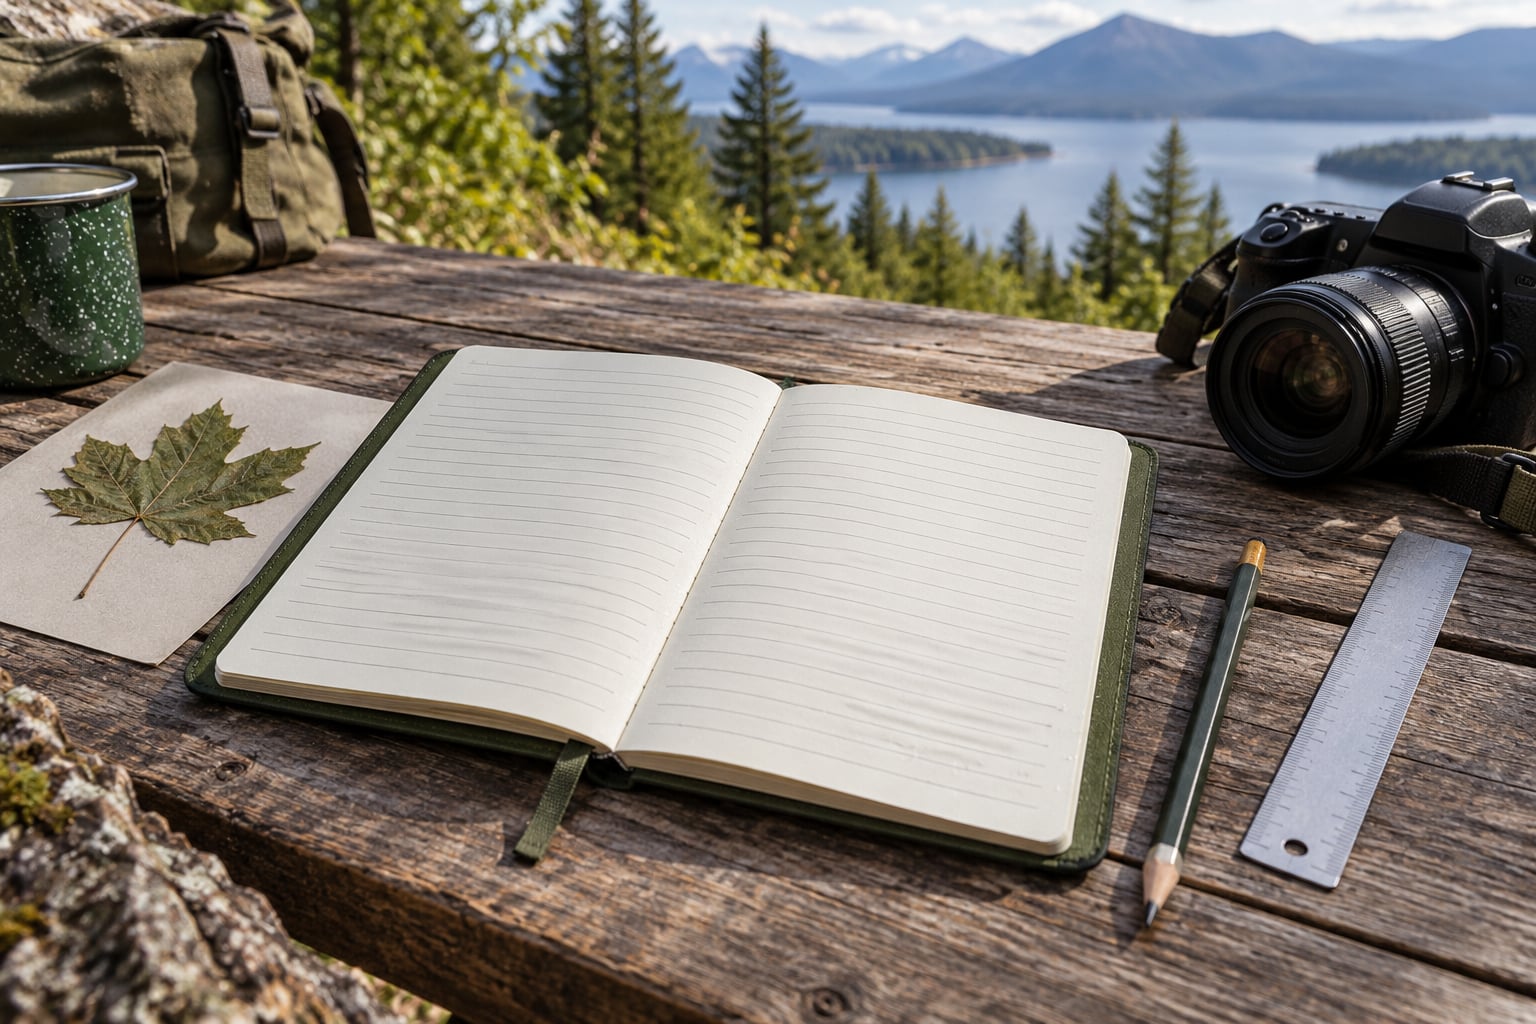
A field notebook for plant walks is a weather-resistant notebook where you record, in a fixed format, what you saw on a walk: where and when, the conditions, the plants encountered, their distinguishing features and habitat, and a sketch or photo reference. Learning how to start a field notebook for plant walks takes about twenty minutes of setup, and it is the single most useful habit a plant walker can build.
Memory is a poor record. It quietly fills in gaps, merges two look-alike species into one, and remembers a plant flowering in March because that is when you were watching it, not when it actually bloomed. A notebook fixes the problem by forcing you into the same fields every time.
There is one more reason this matters on a site like this. If you walk with healers, farmers, or herbalists and they tell you what a plant is used for, that knowledge belongs partly to them. A field notebook is where you record it properly, with permission, with attribution, and with a clear line between what you saw and what you were told.
Table of Contents
- 1What You Need
- 2Step-by-Step: How to Start a Field Notebook for Plant Walks
- 3Set Up a Consistent Page Structure
- 4Record the Plant Before You Leave the Site
- 5Add Identification and Evidence
- 6Review and Organize Entries
- 7Common Mistakes
- 8Frequently Asked Questions
- 9What is nature journaling?
- 10How can I create a DIY nature journal?
- 11How do I record a plant you cannot identify?
- 12Should I use a paper notebook or a plant identification app?
- 13What is the 3-2-1 method for journaling?
- 14Do I need permission to record plants on private land?
- 15Conclusion
What You Need
You need very little. Most beginners buy a beautiful notebook, fill eighteen pages of careful drawings in week one, and quit by week three. Start smaller and keep going.
A weather-resistant notebook. Look for a hard-backed or stitched binding that lets the book lie flat on your knee, and paper that survives a sudden downpour. Waterproof synthetic paper takes pencil beautifully and shrugs off humidity; good quality rag-bond paper takes ink better and dries rather than smears if you blot it. Avoid wire-bound books. They snap in a bag.
A pencil, plus a backup. Graphite works in almost any temperature and does not run when your hands are damp or when you flip pages in the rain. Carry a cheap ballpoint in a second pocket for when the pencil is lost, and keep it capped.
Identification resources that work offline. A regional field guide, a local flora, and a plant identification key for your area. Field guides are organised by family and by habitat, which is exactly how you will think on a walk. Apps are useful for checking a leaf shape after you are home, but they need a signal, and signal is the one thing a ravine does not have.
A camera. A phone is fine. Take one wide shot showing the whole plant in its habitat, one of the leaf arrangement, one of the flower or fruit, one of the bark, and one of the stem base. Label each file with the entry number as you take it.
Measuring tools. A small ruler or a tape measure, and a hand lens if you have one. Leaf length, height, and stem diameter turn a vague description into a record someone else can use.
A simple data sheet. Some people keep a one-page summary sheet at the front of the notebook listing every entry number, date, and location. It is twenty minutes of work that saves an hour when you want to find the page where the same species appeared in a different place.
Optional extras: index tabs or a bookmark ribbon, a small plastic sleeve for loose sketches and receipts, a clip for the pen, and a second identical notebook that stays at home for full sketches and cross-references.
Step-by-Step: How to Start a Field Notebook for Plant Walks
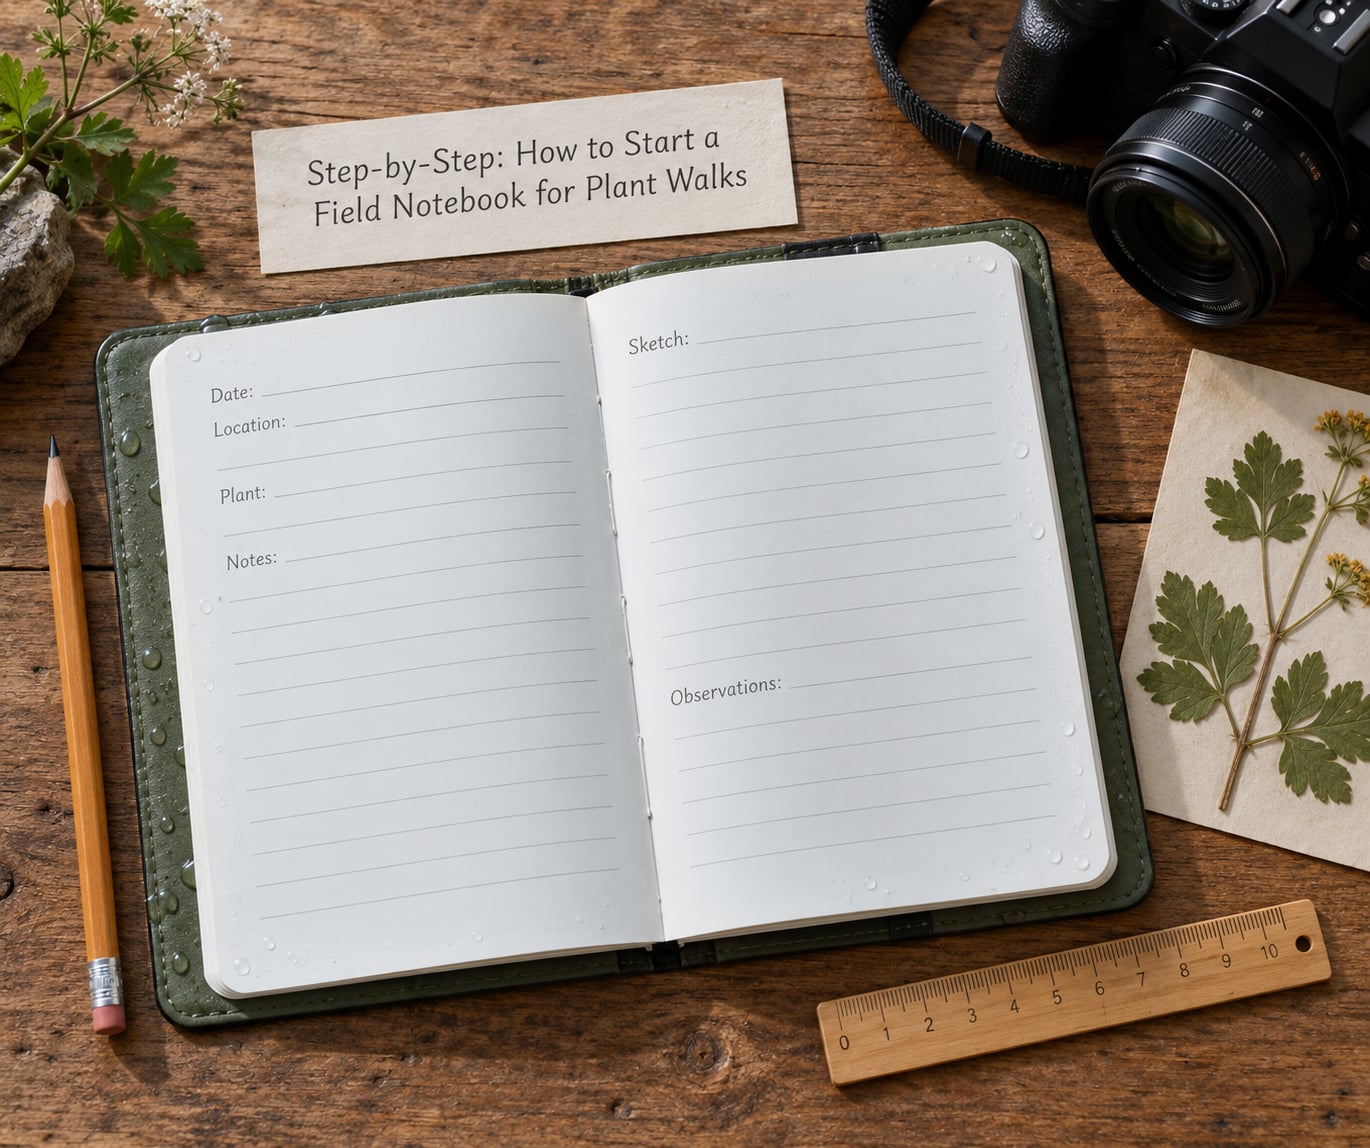
The whole system rests on repetition. Every walk gets the same header, every plant gets the same entry format, and every entry gets a number. Do that for a year and you will have something far more useful than a stack of loose notes: a dated record you can search, compare across seasons, and turn into a field guide of your own.
Set Up a Consistent Page Structure
Write your fields on the inside cover before you go anywhere, then repeat the same layout on every page. Vary nothing. The structure below is short enough to fill in ninety seconds per plant, which is what keeps it alive past month two.
| Field | What to write | Worked example |
|---|---|---|
| Entry number | Sequential number, never reused | 014 |
| Date and time | Exact date, plus start and end time of the walk | 14 March, 07:10 to 09:40 |
| Location | Site name plus GPS coordinates or a grid reference | Kijani River path, S01.482, E35.117 |
| Conditions | Sky, temperature, wind, recent rain, soil moisture | Overcast, 19 C, light wind, dry for nine days |
| Name | Common name and scientific name, marked with confidence | Neem; Azadirachta indica; probable |
| Family | Botanical family | Meliaceae |
| Distinguishing features | Growth habit, leaf arrangement, margin, venation, bark, flower, fruit, scent | Tree to 8 m; leaves opposite, pinnate; margin entire; strong bitter smell when crushed |
| Habitat | Where it grows and what it grows among | Riverine margin, sandy soil, with Combretum and Acacia |
| Phenology stage | Bud, flower, fruit, or seed state | Fruiting, ripe yellow drupes |
| Sketch or photo | Entry number matching your camera files, plus leaf dimensions | Photos 014a to 014e; leaf 9 cm, 3 cm wide |
| Uses and source | Reported uses, who reported them, and whether permission was given | Bark decoction for stomach pain, reported by M. Wanjiku, recorded with consent |
| Questions | What you could not resolve in the field | Young bark smooth or fissured? |
Add three short prompts at the top of the page: I notice…, I wonder…, and it reminds me of…. This entry framework comes from naturalist John Muir Laws and it does two useful things at once. It pushes you toward description rather than naming, and it keeps a curious question visible instead of dropping it.
Record the Plant Before You Leave the Site
The most common failure is writing a name at the top of the page and filling in everything else from memory on the way home. Describe first, name second, or you will find yourself describing the species you expected to find rather than the one in front of you.
Start with growth habit: tree, shrub, climber, herb, grass, or bulb, and roughly how tall. Then leaves, which carry most of the identification weight. Record arrangement (alternate, opposite, or whorled), shape, margin (entire, toothed, lobed, or compound), and venation (parallel, netted, or palmate). Note whether leaves are opposite or alternate at the same node, because that single fact separates entire families.
Look at bark on the trunk, the base of the stem, thorns, hairs, colour, latex, and scent when you crush a leaf. Flowers matter, so note stage, colour, count, arrangement, and whether they smell. Fruit and seed shape are often the most useful thing you can record and the easiest to miss because they appear weeks after flowering.
Then write the site. Soil type, drainage, shade or full sun, slope, altitude, and distance from water. Name the plants growing alongside it; that association is often more diagnostic than the specimen itself, and it is what tells you later whether a plant you record somewhere new belongs there.
Finally, note interactions. Herbivore damage, insect galls, fungal fruit, pollination visitors, seedlings underneath a mature individual. Write in plain sentences. “Bark pale grey and flaking on the lower trunk, slash smell sharp and resinous” is a usable record. “Nice bark” is not.
Add Identification and Evidence
Separate what you saw from what you concluded. Mark observed facts with a plain entry and inferred identifications with an asterisk or a confidence word: certain, probable, genus only, or family only. This single habit prevents the most damaging error in a nature journal, which is a confident wrong name copied forward for five years.
When you cannot identify a plant, record it anyway. Describe it, number it, photograph it fully, and write the family or genus if you are confident about that. Most unidentified entries resolve later, because a better photo, a local botanist, or a herbarium comparison answers what the walk could not. A blank page answers nothing.
Note where your identification came from. A name taken from a field guide should say which key or plate. A name given by someone else should say who, and whether they were confident. A name from an app should say the app and that it was not checked against a herbarium.
Sketch what photographs cannot carry: growth habit, leaf arrangement at a node, and cross-section or scale. Ten minutes of line work beats a page of description, and you do not need to be an artist. Draw stems as lines and leaves as shapes, add a scale bar, and label the parts. A rough drawing in the field is worth more than a beautiful one at home.
Review and Organize Entries
Do a fifteen-minute review before you put the notebook away, ideally the same day. Walk back through the entries and check each one for a date, a location, and at least three distinguishing features. Fill the gaps while the plant is still a memory rather than a recollection.
Flag every uncertain name with a symbol in the margin so your review pass is fast. Add page cross-references when you meet the same plant again, linking the new entry to the first one; that link is how a season of scattered sightings turns into a life history.
Then transfer the important records. Enter selected observations into iNaturalist, where they can be reviewed and identified by the community, or export to GBIF for a formal biodiversity record. Keep the paper notebook as the source of truth, including anything you chose not to upload.
One warning: do not upload precise coordinates for plants used medicinally or ritually. Public occurrence data is scraped and resold, and a mapped tree can be stripped. Many recorders deliberately round the location or give only a broad region for exactly these species.
Common Mistakes
Recording only names. A page of plant names is unusable a year later because it holds no evidence. Fix: write three distinguishing features for every plant, every time, even when you are sure of the name.
Vague locations. “Near the river” cannot be revisited two years later. Fix: record a named landmark plus coordinates from your phone while you still have signal, or a grid reference from the walk organiser.
Missing dates. Fix: number the pages in advance and write the date and entry number in the top corner of every single page before you write anything else. It takes five seconds and makes a whole year of walks sortable.
Collecting without permission. Pulling a branch, digging a root, or taking a cutting on private land or in a protected area can be illegal, and on communal or sacred land it can be offensive even where it is legal. Fix: ask the landowner first, photograph and sketch instead of collecting, and check the rules for protected species in your area before you go.
Writing an identification where an observation belongs. Fix: keep the confidence markers. Record what the plant looked like, and what you think it is, on separate lines.
Damaging specimens. Ripping leaves off to check the underside or collect a leaf for pressing damages the plant you are trying to record. Fix: photograph both sides, examine one fallen leaf, and never remove more than the plant regrows.
Abandoning the notebook in week three. This is the reason most journals die. Fix: lower the bar instead of raising the effort. Three quick entries on a short walk beats one perfect plate you never have time for, and the habit is the thing that matters.
A few field notes worth keeping: write standing up before your knees lock, carry the notebook in a sealed bag during rain, keep insect repellent off the pages by applying it to clothing rather than paper, and leave the most detailed drawing until the walk is over if you have the energy for it. Most of all, record what you saw before you reach for a plant name.
On ethnobotanical work specifically, one more rule: a community’s knowledge is not a free resource. Ask before you record a traditional use, say who told you, ask how you should attribute it, and honour a request not to write something down. Informant details stay out of public records unless you have explicit permission to publish them.
Frequently Asked Questions
What is nature journaling?
Nature journaling is the practice of recording observations about plants, weather, insects, and landscape as they happen, usually in a notebook carried outdoors. Unlike a garden diary, which records what you have deliberately grown, a nature journal follows whatever you meet, including plants you cannot name. Its value is cumulative: fifty dated entries become a personal record of flowering times, habitats, and species you would otherwise forget.
How can I create a DIY nature journal?
Take any plain notebook and rule your own fields on the first few pages: entry number, date, time, location, conditions, name, family, distinguishing features, habitat, phenology stage, sketch or photo reference, uses and source, and open questions. Copy that layout onto every page and you have a field notebook that costs almost nothing. Add the three prompts I notice, I wonder, and it reminds me of at the top of each entry to keep observation and curiosity separate from naming.
How do I record a plant you cannot identify?
Describe it instead of naming it. Record growth habit, leaf arrangement, margin and venation, bark, flowers, fruit, habitat, and associates, then number the entry and take five photographs: whole plant in habitat, leaf arrangement, flower or fruit, bark, and stem base. Mark the name field as uncertain or fill in family only. Most entries get resolved months later with a better photo or help from a local botanist, and an honest blank beats a confident guess.
Should I use a paper notebook or a plant identification app?
Use both. Paper works without signal, in rain, and close to the plant, which is the moment you are actually observing. An app is better for the wide shot, for checking a leaf shape later, and for getting your records reviewed and published to iNaturalist or GBIF. The failure mode for beginners is the opposite habit: identifying first from a photo and then looking for confirmation. Describe in the notebook while you are standing there, identify afterwards.
What is the 3-2-1 method for journaling?
It is a way of turning one encounter into a usable entry: three things you notice, two things you wonder about, and one thing you connect it to from memory or another species. The version most plant walkers use comes from John Muir Laws as I notice, I wonder, and it reminds me of. It takes under a minute and forces a description before a name, which is exactly what stops look-alike species from being merged.
Do I need permission to record plants on private land?
Yes, always ask the landowner or manager first, and treat communal and sacred land the same way. Stay off planted and food crops unless someone has invited you, and check whether protected species in your area forbid collection, photography for commercial use, or entry to a reserve. Photographing and sketching is far less intrusive than collecting, but permission is still the correct default. Keep the name of the person who granted access in your notebook.
Conclusion
Start with three fields, not thirty. Write entry number, date with exact location, and distinguishing features on the first page of any notebook you already own, then carry it on your next walk and fill in the observation before you reach for a name. Add the rest of the structure once that habit holds for a month.