Good plant identification photos come down to a repeatable shot list: one frame of the whole plant, close views of leaves from both sides, flowers, fruit, bark and stems, each one in focus, evenly lit and next to something of known size. Most failed identifications trace back to a single blurry picture taken in bright sun. Master how to photograph plants for identification and any expert, app or AI system can work from your images instead of guessing.
A complete set takes five to ten minutes per plant once the routine is in your hands. You need no special camera, a phone does most of the job well, and the biggest gain comes from discipline rather than gear. This guide walks through what to carry, the field sequence, and the failures that quietly ruin otherwise good work.
Ethnobotanical field work raises the stakes on accuracy. Whether you are documenting a plant used traditionally in a community or trying to work out what is growing in a garden bed, a misidentification has practical consequences, and a clear record is what supports a defensible answer later.
Table of Contents
- 1What You Need
- 2Step-by-Step
- 3Step 1: Prepare Before Photographing
- 4Step 2: Photograph the Whole Plant
- 5Step 3: Capture Diagnostic Plant Features
- 6Step 4: Add Scale, Habitat and Context
- 7Step 5: Check the Set and Label the Images
- 8Common Mistakes That Ruin Plant Identification
- 9Frequently Asked Questions
- 10What photos do I need for plant identification?
- 11Is a phone camera good enough for plant ID?
- 12What app lets me take a picture of a plant and identify it?
- 13Does flash ruin plant identification photos?
- 14Can a plant be identified from leaves only, with no flowers?
- 15Why does location and date matter as much as the photos?
- 16Conclusion
What You Need
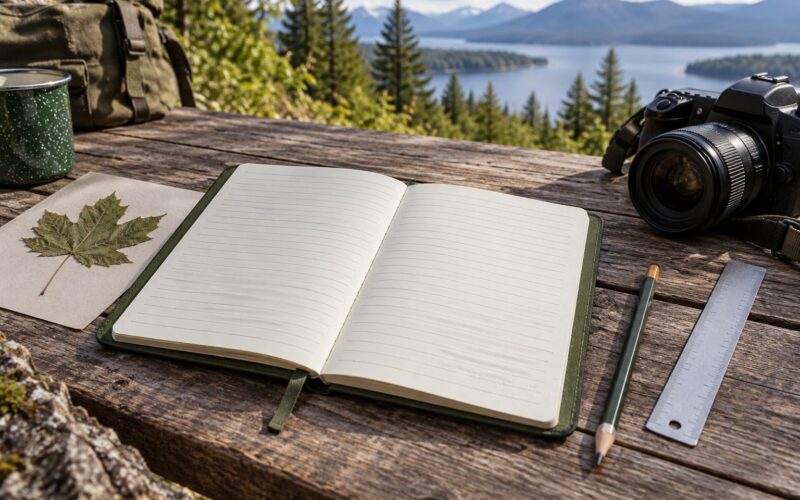
Start with a camera you will actually carry. A recent phone is genuinely enough for most plant work, since close-up focus matters more than sensor size. A compact camera with a macro mode helps when you are working in one place for hours, and a dedicated interchangeable-lens setup only earns its weight if you photograph plants regularly.
- Camera or phone with a working close-focus mode, plus a second charged battery or a power bank if you are out all day.
- A cleaning cloth. A fingerprint on the lens is the most common cause of soft shots, and it is invisible until you zoom in on the file.
- A scale reference. A small ruler, a coin, or a printed scale card that includes both a measurement and a colour block.
- Backdrop material. A sheet of plain white or black card, or a clipboard, to hold behind a plant so tangled stems separate from the background.
- Something to write on. A pocket notebook, or a phone note created before you handle the plant.
- Context tools. A compass, or a phone with location services on, for habitat notes.
- Gloves and a hand lens. Useful for toxic, spiny or stinging species, and for checking hairs and stipules you would otherwise miss.
- Water and sun protection. Ordinary field precautions, since the best images often come from a plant that is awkward to reach.
Skip the flash. It flattens texture, kills colour information in leaves and bark, and puts a hard shadow across anything close to it. Diffuse daylight does the job better every time.
Step-by-Step
The sequence below is designed so each shot answers a different question. Work through it in order and you will rarely come home with a gap.
Step 1: Prepare Before Photographing
Clean the lens, confirm storage, and set the date before you approach anything. Phone cameras default to a naming scheme that tells you nothing later, so change the prefix pattern in your camera settings to something like the date plus a running number.
Write down the basics while the plant is still in front of you: where you are, the date, the habitat, and whether the plant is flowering or fruiting. That last detail is often more useful than any single image, because a plant with no flowers in March and one covered in seed in July may be two very different species to the eye.
If you are contributing records to iNaturalist or a similar project, create the observation before taking photos. It saves hunting through a camera roll later, and the platform prompts you for the views it considers missing.
Step 2: Photograph the Whole Plant
Start several steps back and frame the entire organism, from the base to the top of the growth. A viewer uses this frame to judge growth form: whether the plant is a single stem, a rosette, a clump, a scrambling vine or a small tree.
Stand so the background is as plain as you can manage. A plant photographed against other vegetation is genuinely hard to read, because the eye keeps following the wrong edges. If you cannot move the plant, place card behind it or take the shot from a lower angle that puts sky or bare ground behind the top half.
Do not try to force the whole plant into a close-up. If the plant is a metre tall, take a full frame that includes the base, and then a second frame of the top. Two adequate frames beat one stretched one.
Step 3: Capture Diagnostic Plant Features
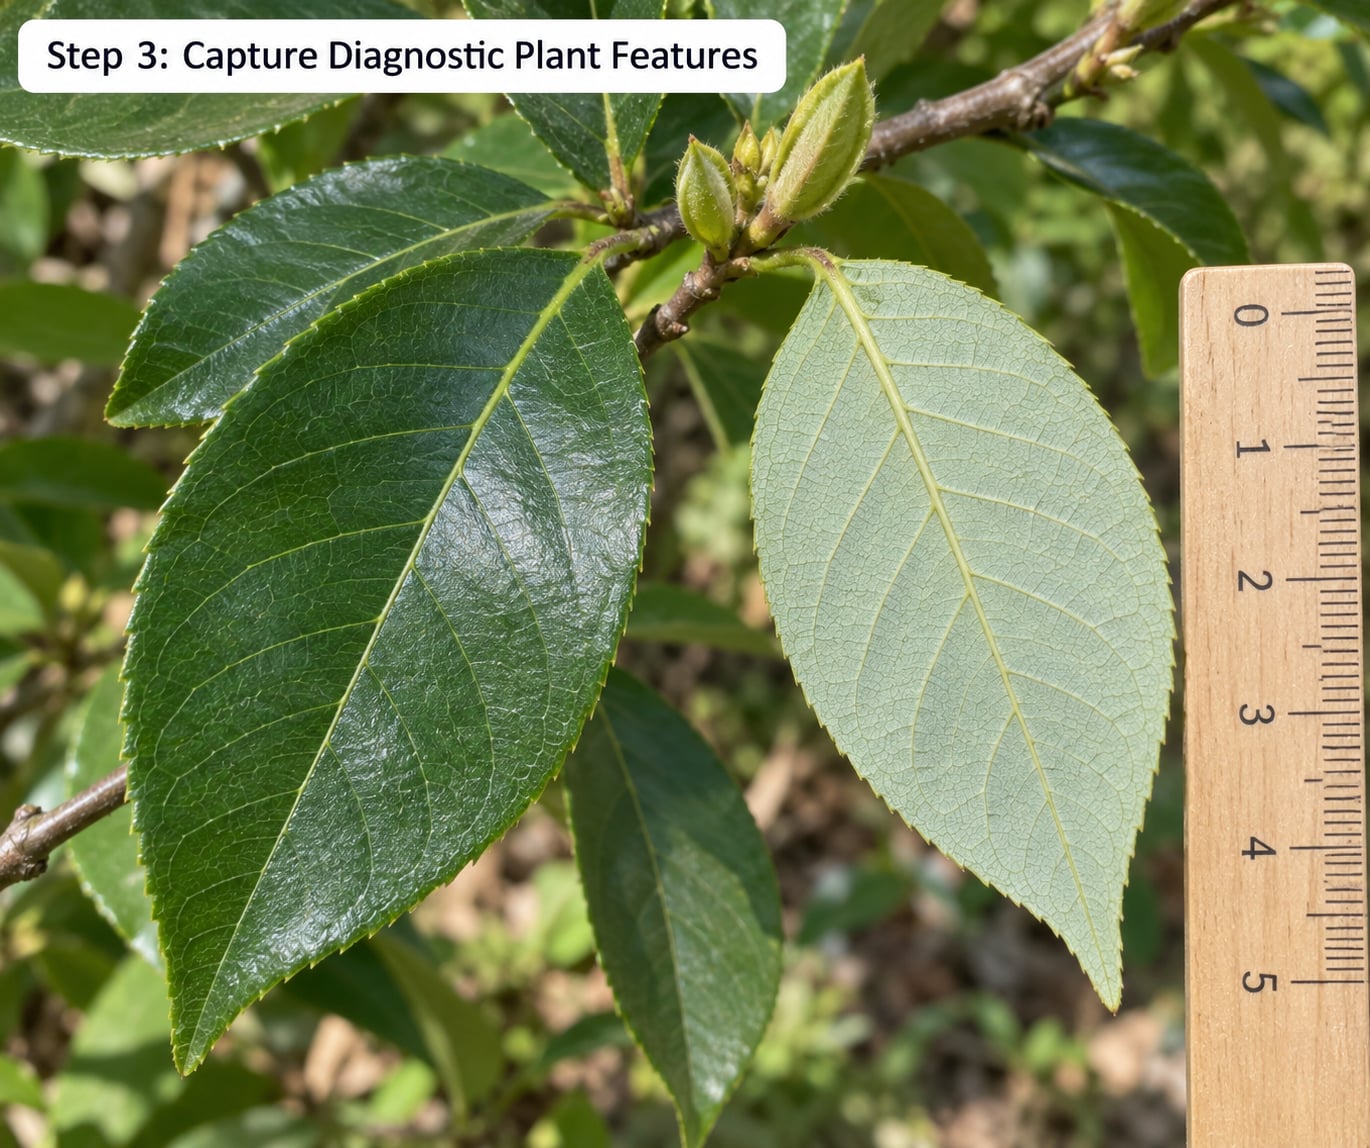
Leaf detail is the workhorse of plant identification, and each view answers a different diagnostic question.
- Leaf arrangement (phyllotaxy). Photograph a node where the leaf meets the stem so the pattern is visible, rather than a loose spray of leaves.
- Venation. Get close enough that the network of veins is sharp. Hold the leaf flat or place it on card so it does not curl.
- Leaf margin and surface. Fill the frame with the edge so serrations, lobes and hairiness read clearly.
- Underside. Turn the leaf over and shoot it. Colour, hairs, raised veins and the presence of stomata-like speckling often differ completely from the top surface.
- Leaf base and stipules. Small appendages at the base of the petiole are decisive in many families, so include them.
- Stems. Capture a cross-section or the shape of the stem, whether square, round, ridged or winged.
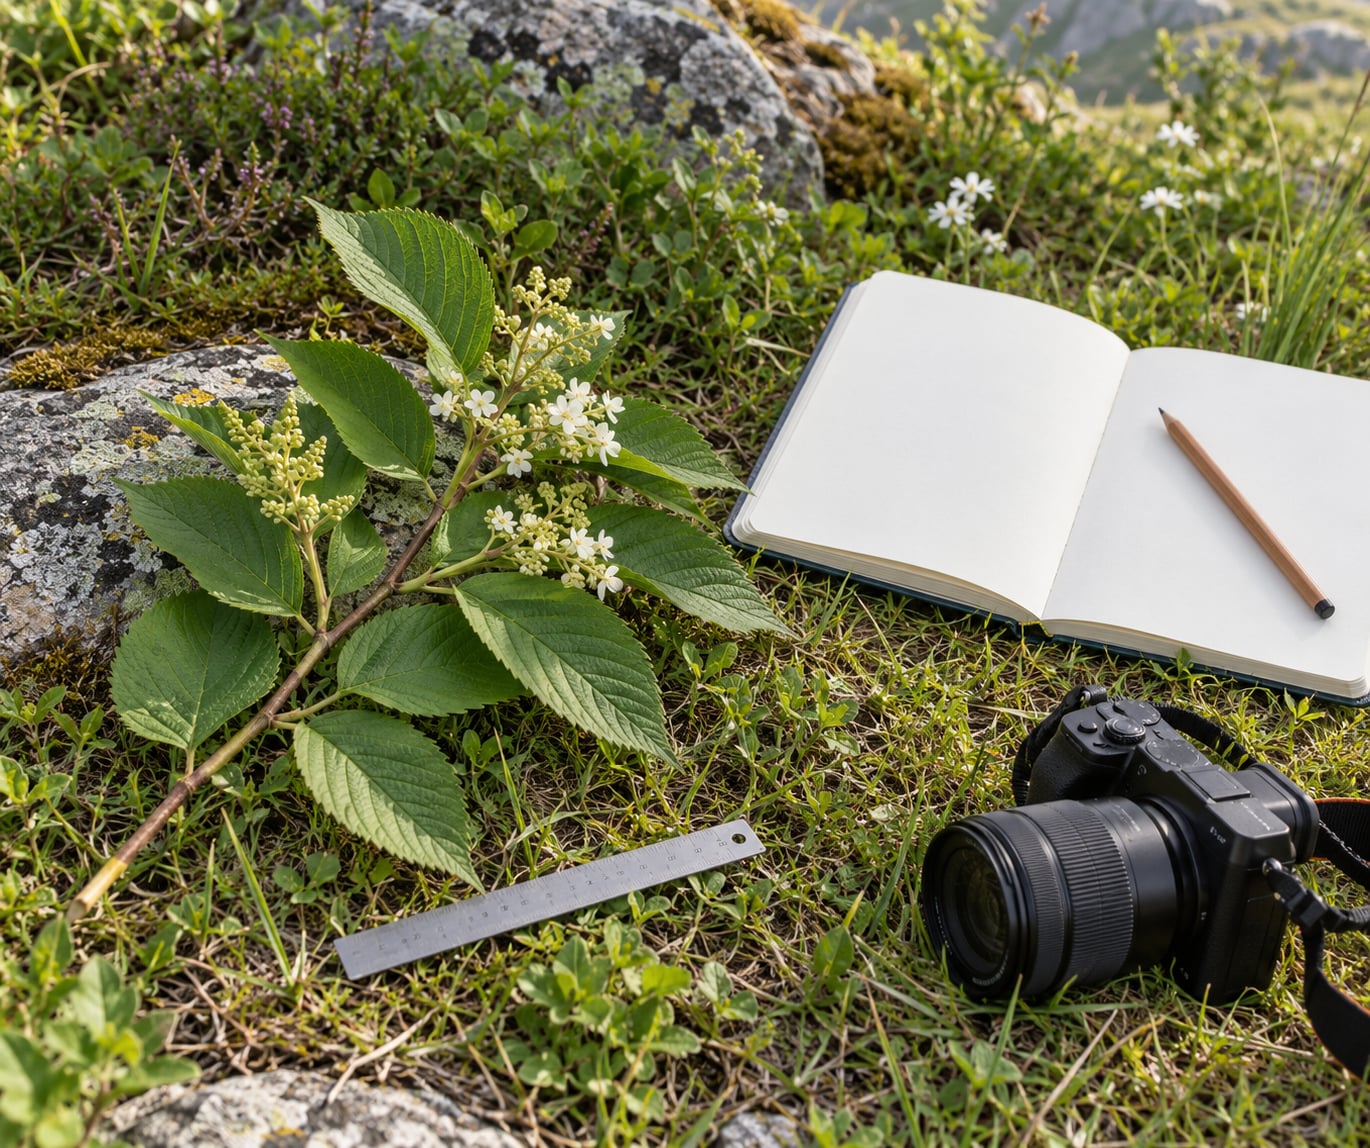
Flowers and fruit need two angles each. A face-on view records the number and arrangement of parts, and a side profile shows the shape of the tube, calyx and ovary underneath. In the daisy family, for instance, the profile view of the flower head and the leaves below it carry most of the identification weight, and forum contributors on iNaturalist ask for exactly that pair.
For trees and shrubs, photograph the bark twice: once close enough to show texture, and once of the whole trunk so the reader knows what surface it came from. Add a bud or twig in leaf, because bud arrangement separates species that look identical once the leaves are gone.
Step 4: Add Scale, Habitat and Context
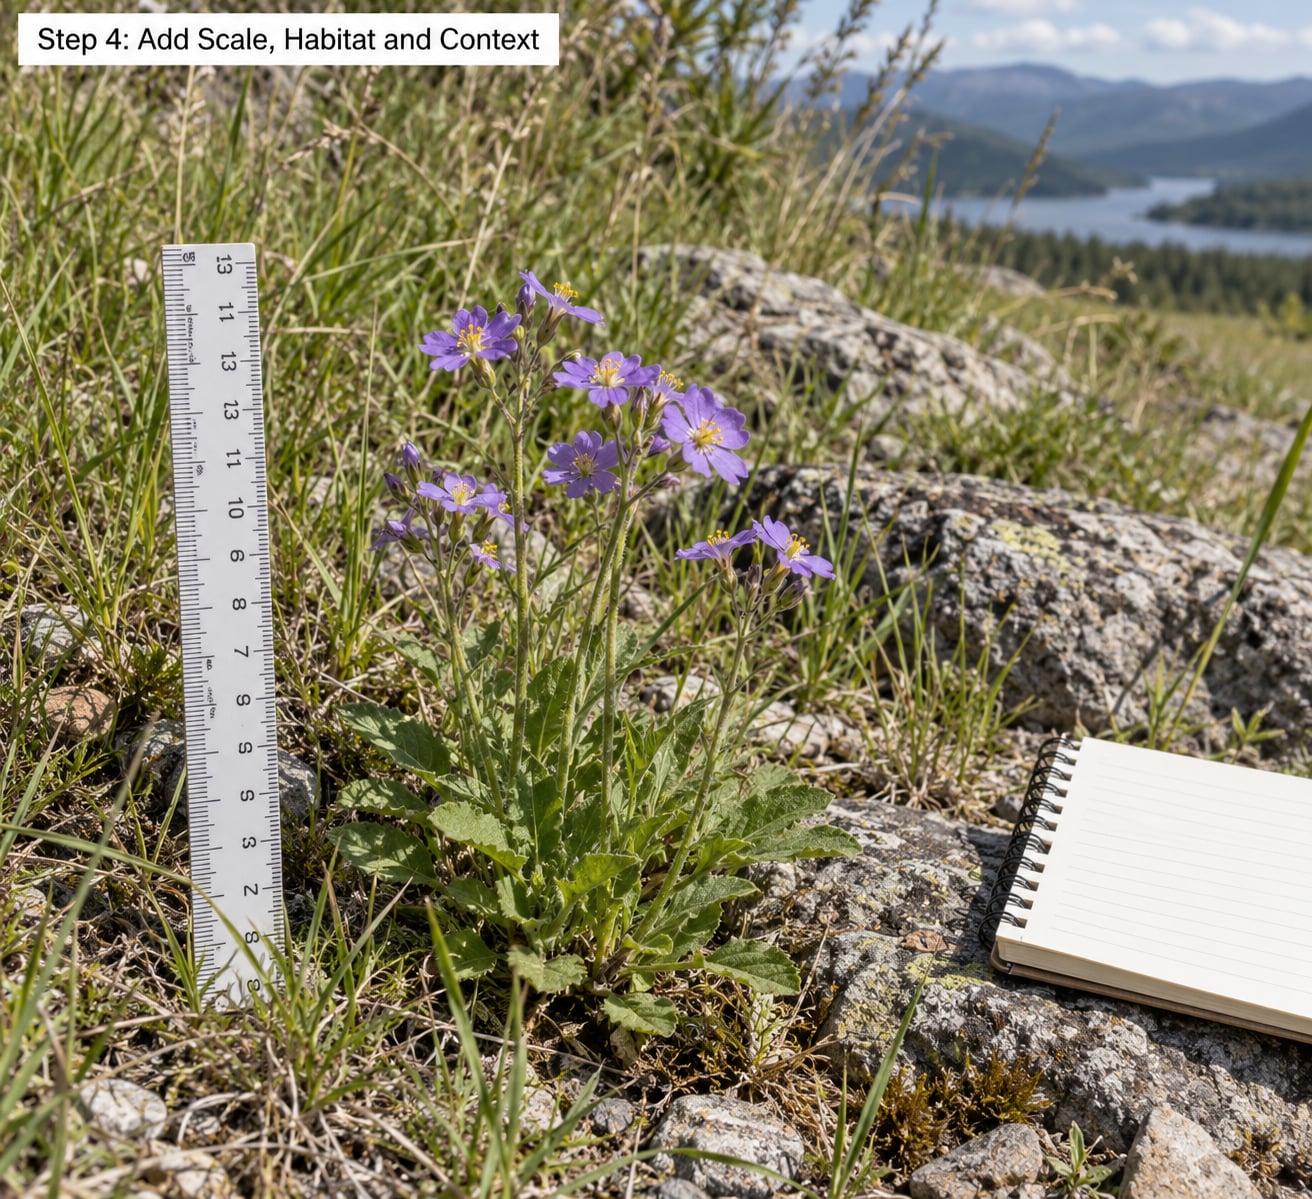
A leaf photographed without a reference can belong to a dandelion or a banana. Place a ruler or coin beside the subject, or rest a hand flat on the ground next to it, and the ambiguity disappears. Scale cards with both a colour block and a ruler are valued for a good reason: colour cast is one of the most common reasons identifications get questioned later.
Then step back and photograph the plant in place, including what grows beside it, what it grows out of, and how much light reaches it. A plant on a wet rocky stream bank, in deep shade under conifers, or in dry open grassland narrows the candidate list faster than a close-up ever will.
Record the substrate and the light as words in your notes, not just as pixels in a frame. Also note anything you can smell or feel, such as the smell of a crushed leaf, sticky sap, or a milky latex, since those details cannot be photographed and often settle a difficult case.
Keep your footprint small around rare or slow-growing plants. Lay the plant down gently rather than lifting it, move litter aside instead of tearing it, and do not move the specimen at all if the population is small. A single careful set of frames is better than a perfect set taken at the cost of the plant.
Step 5: Check the Set and Label the Images
Before you move on, review the frames on the camera screen at full size. Look for the things that are easy to miss in the field: a soft shot where the leaf tip drifted out of the frame, a highlight blown to white, a plant cropped at the base, or a stray label or sign visible in the background.
Check that each diagnostic view is genuinely legible. If you cannot make out the leaf margin at full zoom, you were too far away, so take the shot again while you are still there. Redundant frames are cheap; a return trip is not.
Finally, rename and record the files in a consistent pattern: date, location, species guess if you have one, and the view. Keeping the same pattern across every observation means you can find a plant’s full set months later without opening forty folders.
Common Mistakes That Ruin Plant Identification
Relying on one image. A single close-up of one leaf tells an expert very little. Capture the habit first, then the details, and treat each frame as answering one question rather than trying to make one frame do everything.
Zooming instead of moving closer. Digital zoom crops pixels and softens fine texture such as hairs and veinlets. Walking twenty steps closer to the subject costs nothing and keeps the detail resolvable.
Photographing into harsh midday sun. Overexposure and hard shadows destroy the colour and surface information you need. Overcast daylight is the best light for this work, and open shade under a tree canopy works nearly as well. If you must shoot in sun, aim for a surface lit at a slight angle rather than flat-on.
Omitting scale. Without a reference object, size has to be guessed, and guessed size is where most wrong identifications start. Keep the ruler or coin in your pocket and use it every single time.
Cutting off the base or the top. A habit shot that starts at the first leaf tells you nothing about how the plant attaches to the ground. Frame the whole organism, or take two frames that cover it.
Letting the background swallow the subject. Card behind the plant, or move to a cleaner angle. A cluttered background makes a botanist trace the wrong stem, which costs more time than a retake would have.
Handling unknown plants carelessly. Not every plant is safe to touch, and some cause allergic reactions that are not obvious until they spread. Do not taste anything, use gloves around milky sap, and photograph first before you move a single leaf.
Forgetting habit, smell and season. The photos are part of the record, not all of it. Growth form, habitat, flowering time and texture or scent belong in your notes alongside every image.
Frequently Asked Questions
What photos do I need for plant identification?
A reliable minimum is five frames: the whole plant from base to top, a leaf showing arrangement and venation, the leaf underside, a close view of any flower or fruit, and a habitat shot with a scale object. Add bark or stem detail for woody plants and a twig in leaf for trees. Five minutes of extra work at the plant usually saves a return trip.
Is a phone camera good enough for plant ID?
Yes, for most work. Modern phones focus closer than older models and handle overcast light well. Use the close-up or macro mode rather than digital zoom, clean the lens first, and keep the phone at the shortest distance where the image is still sharp. A phone falls short mainly for tiny features such as pollen grains or hair types on small leaves.
What app lets me take a picture of a plant and identify it?
Several do, and they differ in what they give back. iNaturalist asks for a set of views and adds community and expert identifications, which suits uncertain plants. PlantNet focuses on matching photos to a known species list. Google Lens works from a single frame and is built into Android and accessible on the web for other devices.
Does flash ruin plant identification photos?
Usually it does. Direct flash flattens the surface, flattens colour, and casts a hard shadow across anything near the subject, so bark texture, hairs and leaf colour all read incorrectly. Turn flash off and use open shade or an overcast sky instead, which gives even light across the whole surface you are trying to record.
Can a plant be identified from leaves only, with no flowers?
Sometimes. Leaf arrangement, venation, margin, surface and shape narrow a plant to a genus or family in many cases, and for some groups that is enough. Where flowers or fruit are present, they carry the finer distinctions, so record the plant again when it blooms and link the two sets of images to the same location.
Why does location and date matter as much as the photos?
Because species ranges and flowering times differ between regions and seasons. A well-photographed plant photographed nowhere in particular is much harder to place than a slightly less sharp one with a clear location, habitat description and date. Those details are often the difference between a confident identification and a list of four possible candidates.
Conclusion
The first thing to do when you reach a plant is step back and photograph the whole organism before you touch anything. From there, work down the list: leaves from both sides with a node and a scale in frame, flowers and fruit in profile, bark or stem texture, then a habitat shot with your notes beside it. That is how to photograph plants for identification in a way that gives an expert, an app or a community something solid to work from, and it turns one blurred guess into a record that holds up later.