Recording an oral history respectfully means capturing someone’s spoken memory in a way that protects their dignity, their ownership of the story, and their control over how it is used afterwards. In practice that means clear informed consent, open-ended questions, careful audio quality, labelled backups, and an archive plan you agree on before you press record. A full interview takes two to three hours including preparation, and the skill that matters most is listening rather than gear.
This guide walks through the whole process, from deciding what the recording is for to deciding who may hear it. It is written for students, family historians, librarians, community organizations, and anyone documenting elders or holders of traditional knowledge. Plan for roughly two to three hours per interview, plus another hour for transcription and labelling afterwards.
Table of Contents
- 1What You Need
- 2Step-by-Step: How to Record Oral Histories Respectfully
- 3Step 1: Define the purpose and scope
- 4Step 2: Build trust before recording
- 5Step 3: Explain consent and recording
- 6Step 4: Prepare an open, respectful question guide
- 7Step 5: Set up reliable recording equipment
- 8Step 6: Begin with context and storytelling
- 9Step 7: Ask follow-up questions without extracting details
- 10Step 8: Close, explain next steps, and check consent again
- 11Step 9: Transcribe, edit, and preserve context
- 12Step 10: Share the story with care
- 13Common Mistakes
- 14Recording before consent is settled
- 15Treating the guide as a script
- 16Pushing for detail the narrator has not offered
- 17Editing until the voice disappears
- 18Keeping two copies on one drive
- 19Publishing past the consent
- 20Forgetting the story outlives the project
- 21Frequently Asked Questions
- 22What is the best way to record oral history?
- 23How long should an oral history interview be?
- 24Do I need consent to record an interview?
- 25How do I transcribe an oral history?
- 26How do I reference an oral history in my writing?
- 27What if the narrator wants something removed from the recording?
- 28Conclusion
What You Need
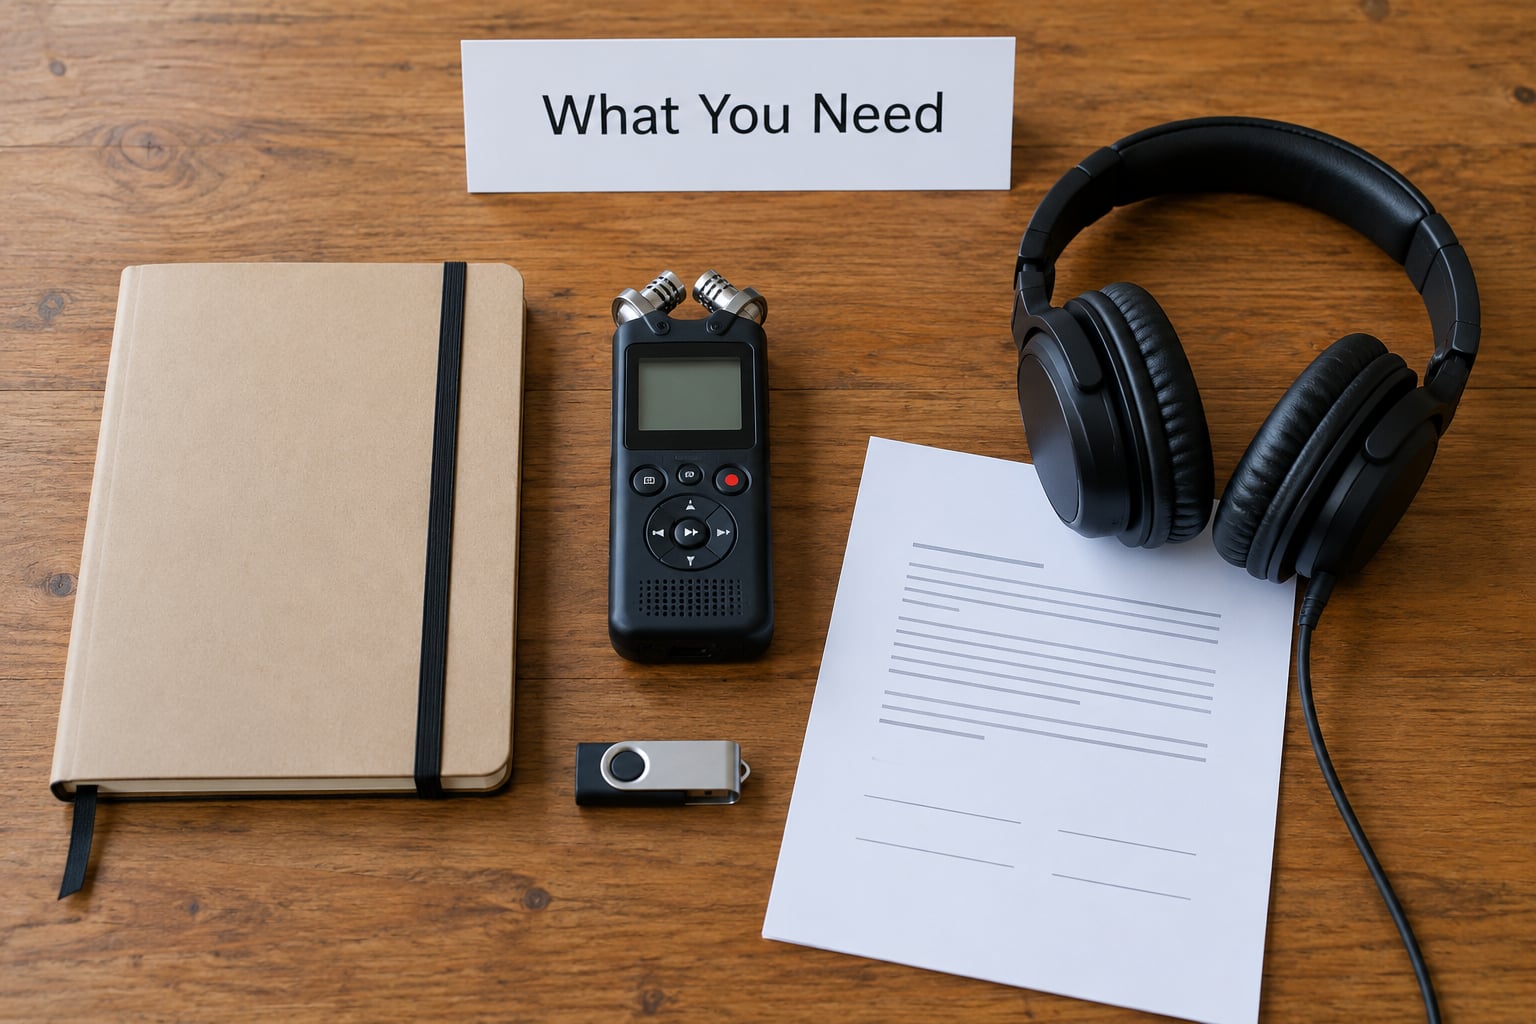
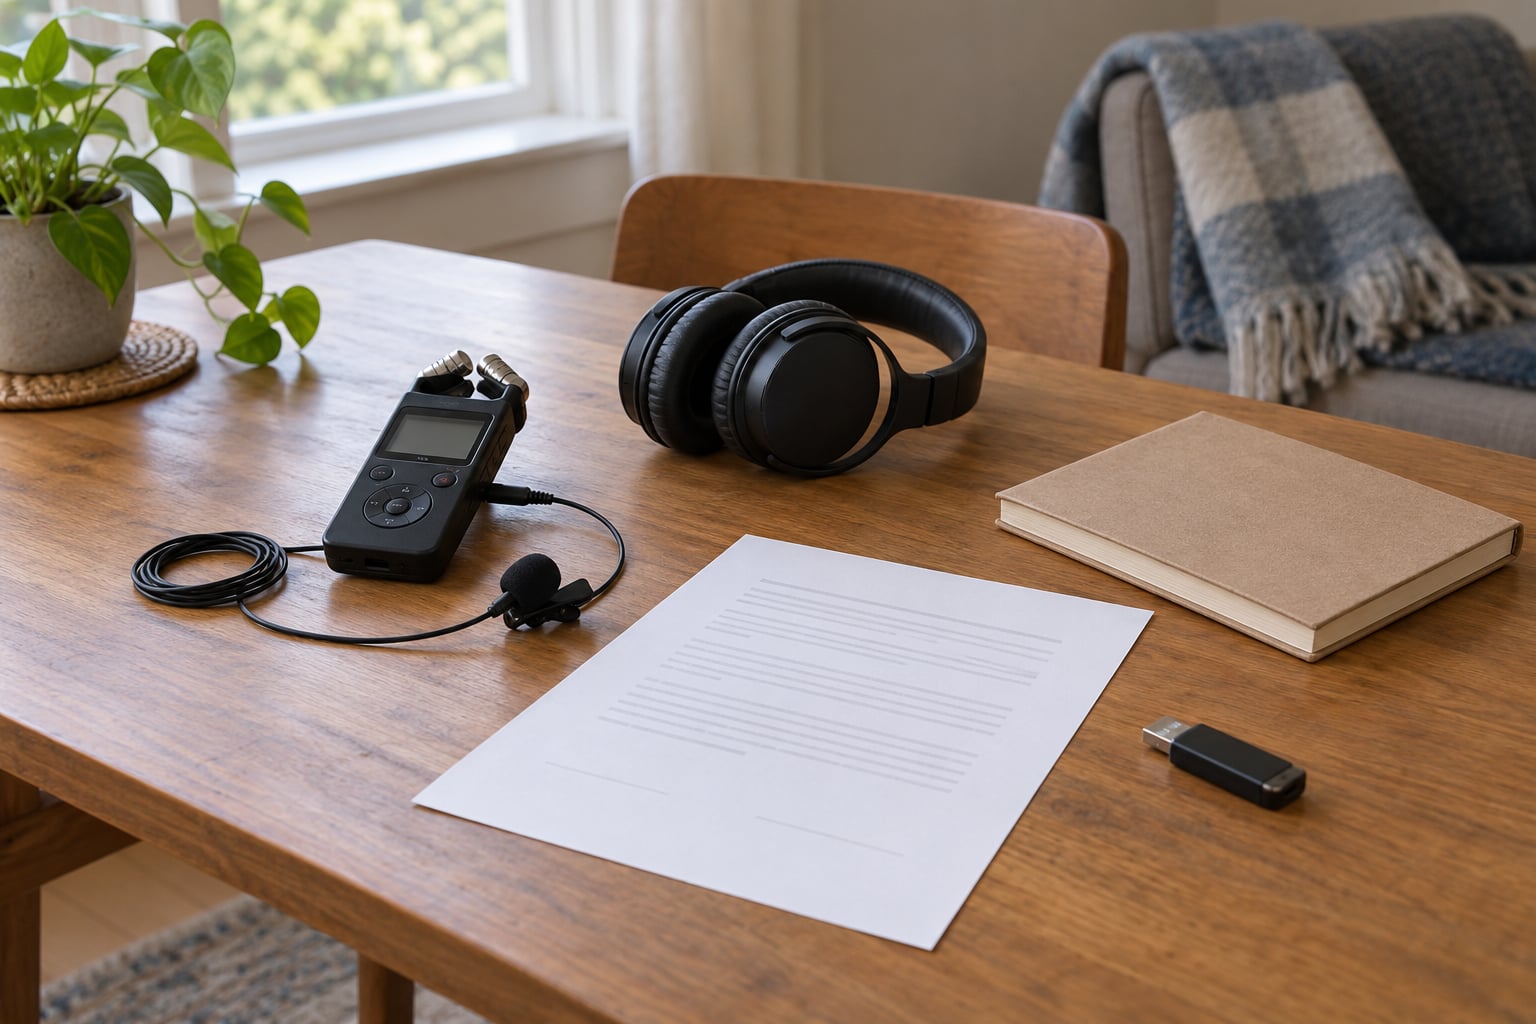
Before you arrange the meeting, gather five things: a consent plan, a recorder, a way to back it up, a question guide, and a place to store the files. Each one solves a specific failure that ends up being hard to repair later.
A consent plan covers more than a signature. Decide in advance who may listen to the recording, whether the narrator can change their mind after the interview, and what happens to the file if they do. Write these terms on one page in plain language. The Oral History Association publishes guidance on consent and releases that works as a solid starting template for most projects.
For recording, any solid-state recorder with an external microphone input will do. A phone works in a genuinely quiet room with the microphone close to the speaker, but a dedicated recorder handles background hum far better and gives you a physical level meter to watch. Headphones are the most useful piece of equipment most beginners skip: they let you hear problems in real time instead of discovering them in the transcript.
Storage needs three copies in different places. Keep one on the recorder, one on a laptop or external drive that you physically take home, and one uploaded to a cloud account you control. Two copies on the same drive are one copy, and that is the most common way interviews get lost.
Finally, prepare a question guide on paper, plus a quiet room with soft furnishings and no clock ticking, no refrigerator hum, and no open window. A closet full of clothes in a small room often beats an empty living room.
Step-by-Step: How to Record Oral Histories Respectfully
Step 1: Define the purpose and scope
Write down your research question in one sentence before you contact anyone. Something like “how did weaving cooperatives in this region change between 1970 and 1995” tells you what to ask and, just as importantly, what is out of scope.
Then name your intended audience. A family album, a university thesis, a community archive, and a published book have completely different consequences for the narrator. If you plan to publish, say so now. If you do not know yet, say that too, and explain that you will come back before anything is shared.
Be honest about what one recording can and cannot claim. A single life history is a first-person account, not proof of what happened to a whole community or movement. Interview more than one person before drawing conclusions about anything larger than one life.
Step 2: Build trust before recording
Approach people through channels they already use. A church group, a village association, a family member, or a community organization carries far more weight than a cold message from an unfamiliar institution.
Explain the project in plain terms in your first message: what you are recording, roughly how long it takes, what happens to the file, and how they can say no. People often say yes to a conversation and no to a recording, and both answers are fine.
If you are documenting someone who holds community knowledge, such as a traditional healer, a midwife, or a keeper of plant knowledge, slow this step down further. Ask through their community whether approaching them directly is welcome, and whether certain topics are off limits to outsiders. Being welcome as a guest is not the same as being welcome to publish. We once watched a well-meaning project stall for months because nobody checked whether a family wanted their elder’s ceremonial knowledge on a public website.
Step 3: Explain consent and recording
Informed consent means the narrator agrees after understanding what will happen to the material. It is not a form taped to the last page of a transcript.
Ask consent at the start and again at the end. Practically, you need permission to record, to transcribe, to quote, to archive, and to deposit the recording in a collection that other people may access. Some narrators give full permission for family use and none for public use. Others will share a story but not their name.
Spell out the withdrawal option. Tell the narrator they can ask you to delete a passage or hand back the recording within a defined window, and put that window in writing. A release form is the document that transfers specified rights in the recording to you or an archive; it is separate from the consent conversation, and one does not replace the other.
Keep the signed forms with the recording. An archive that holds audio with no consent paperwork on file creates real problems for everyone downstream.
Step 4: Prepare an open, respectful question guide
Plan ten to twelve open-ended questions for a 60-to-90-minute interview. A rule of thumb that works well is ten questions per hour, because a real answer takes time and follow-ups eat into the clock.
Open-ended questions invite a story; closed questions collect a fact. “Walk me through the morning the shop opened” gives you a scene. “What time did the shop open” gives you one word and no context. Keep both kinds, but weight the guide toward the first.
A workable starting set: ask the narrator to describe a place they remember clearly, a person who shaped them, a piece of work they did with their hands, and something they would do differently today. Follow with questions about how they learned what they know, what part of it is theirs to share, and what should stay with the family.
Write the guide loosely. Bring plenty of open prompts and rely on listening for the rest. And decide in advance which topics you will not ask, then let them go.
Step 5: Set up reliable recording equipment
Get the recorder running before the narrator arrives and record thirty seconds of the room. Play it back and listen for hum, air conditioning, traffic, and voices. Fix the noise now; no amount of editing recovers a room with a fridge cycle running through it.
Place the microphone about a hand’s width from the narrator’s mouth, slightly to the side rather than directly in front, so plosives and breath stay controlled. Sit on the same side yourself. Watch the level meter during the first minute of speech and adjust before you start the real interview.
Check battery or power, confirm the time is correct on the device, and start a second recorder on the table as insurance if the narrator seems worth the extra effort. Recorders fail quietly, and a dead battery at minute forty is a lost story.
Ask for a name, the date, and the project title out loud before the conversation starts. That ten-second slate saves an hour later.
Step 6: Begin with context and storytelling
Confirm the narrator’s name and how they want to be identified only if they have agreed to it. Use their stated preference in the recording itself, not just in your notes, because the two tend to drift apart.
Give them room to set the scene. Narrators who are used to being interviewed will tell you how they like to be asked; ones who are not will need a slow start. Let silence sit for a few seconds after a question. It is where the useful detail usually arrives.
Follow the narrative rather than the script. If the answer to question four turns into a ten-minute account of a market day, let it run. You can always come back to the guide afterward, and you cannot recreate a lost train of thought.
Keep water and tissues within reach. Elders and family narrators often become emotional partway through, and having what they need in arm’s reach is a small thing that keeps the interview from ending early.
Step 7: Ask follow-up questions without extracting details
A good follow-up asks for context rather than content. “What was the house like” and “who else was in the room” deepen a story. “Did the herb grow near your home” pushes toward a fact the narrator may be guarding.
When you do not know a word, ask what it means rather than guessing at it. Unfamiliar terminology, plant names, kinship terms, and ceremonial terms should be recorded with the narrator’s own definition, and you should note when a definition was paraphrased.
If someone shares something you think should not be recorded, say so plainly and turn the recorder off before they continue. “I’d like to leave that part out unless you tell me otherwise” is a sentence worth memorizing. You can still write a note afterwards if it matters for context.
Watch for fatigue as well as emotion. Most people give their best material in the first sixty minutes, and the last twenty minutes of a long interview tend to produce repetition rather than new content.
Step 8: Close, explain next steps, and check consent again
Save one reflective closing question for the final ten to fifteen minutes. Return to something the narrator mentioned early and ask what they would want a younger person to know about it, or what they hope people remember. It is a widely used technique because it gives narrators a graceful ending rather than a cut-off.
Stop the recording, then talk. Tell the narrator what happens next: when you will transcribe, when you will send them a copy, where the file will live, and what name it will carry. This conversation is where a narrator tells you, happily, that a passage should stay off the record.
Confirm the withdrawal window again in writing. Then offer to return the finished recording and transcript, and treat that as a commitment rather than a courtesy, because the copy is often the version of the story a family keeps.
Step 9: Transcribe, edit, and preserve context
Transcribe verbatim first. Fillers, pauses, and sentence fragments belong in the first pass because they carry the narrator’s rhythm and often the meaning. Do your light editing in a separate document so the original transcript stays intact.
Mark anything you cannot hear as [inaudible] rather than guessing. When you translate, keep the original language in the transcript and record who translated, when, and which passages were uncertain. Untranslated or silently tidied speech misrepresents a narrator.
Save the recording as an uncompressed WAV master, and keep a smaller MP3 or M4A for easy listening and upload. Three copies: recorder, external drive, cloud. Check them within a week, not just on the day you upload.
Label the files before you forget. A workable convention is year, narrator surname, project, and version, for example 2026_Okonkwo_ethnobotany_master.wav. Write a short metadata sheet covering narrator name, preferred citation name, interviewer, dates, place, language, equipment used, and any restrictions the narrator placed on use.
If you plan to deposit the collection in an archive, contact them before recording. Some repositories have specific file formats, naming rules, and consent documentation requirements, and it is much cheaper to meet those up front.
Step 10: Share the story with care
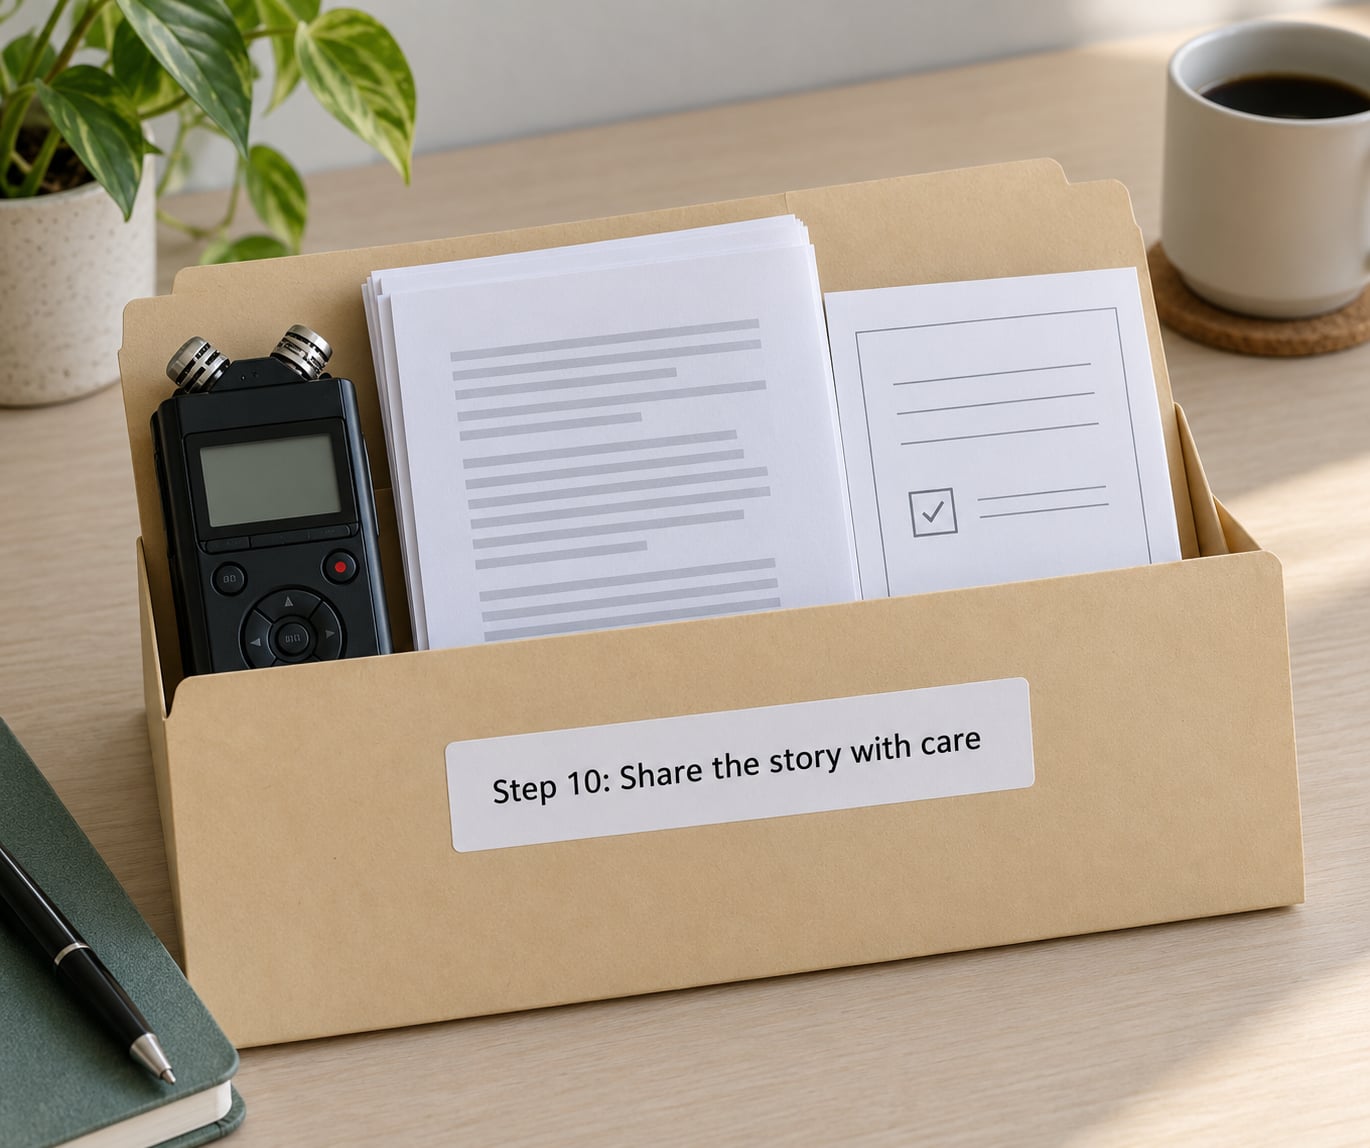
Decide what to publish, and say no to more than feels comfortable. A two-hour recording rarely needs to appear in full. Select the passages that carry the story, keep the narrator’s context around them, and drop the housekeeping chatter.
Use the narrator’s chosen name in the recording, caption, and citation. If they asked for anonymity, remove identifying details from the transcript, the metadata, and the audio itself, including background voices and location clues.
Send the draft to the narrator, and to the community when the material is community-held. Their review is not fact-checking in the academic sense. It is a question about whether the story has been placed correctly, whether the context is accurate, and whether they still want it attached to their name.
On this site, the parallel problem comes up often with traditional healing knowledge recorded for ethnobotanical research. A remedy described as belonging to one healer is not the same as public material, and a plant name shared in confidence is not a free entry for a database. Ask who owns the knowledge before you ask what the knowledge is, and treat benefit-sharing as part of the project rather than a courtesy at the end.
Archive the audio, transcript, consent forms, and metadata together, in one folder, as a single unit. A recording separated from its permissions is a liability. A recording with its permissions and its storyteller’s returned copy is a record.
Common Mistakes
Most failures in oral history are not technical. They are decisions made in the first ten minutes of a conversation that cannot be walked back after the recording is published.
Recording before consent is settled
People will say things they would not say if they knew the microphone was running. It feels awkward to ask, so interviewers ask once at the start, rush it, and never check again. Ask at the start, ask at the end, and write the withdrawal terms down both times.
Treating the guide as a script
Working down a numbered list turns an interview into a questionnaire. Narrators notice, and they start giving you the short answer to each item instead of the story. Use the guide as a map and follow the conversation where it goes.
Pushing for detail the narrator has not offered
Pressing on a topic someone closed off does not produce better material, it produces a worse relationship and often a lost interview. When a subject is refused, accept it without commentary and move on. Write down that it was not discussed only if the omission itself is relevant.
Editing until the voice disappears
Cutting every hesitation and colloquial phrase makes the transcript unusable as evidence of how someone actually spoke. Keep the verbatim version, do any tidying in a separate file, and never overwrite the original audio.
Keeping two copies on one drive
Laptops fail, phones get dropped in water, and cloud sync silently stops at the last file. Three copies, three places, and check them within a week.
Publishing past the consent
The narrator agreed to a recording for the family, and the piece ends up on a public site with a search engine indexing it. Read the signed form before publication, not after a complaint. This is the mistake that damages trust most permanently, because it is the one the narrator cannot undo.
Forgetting the story outlives the project
Recording an elder while rushing to finish before they pass is how you end up with hundreds of hours of unusable audio and no consent paperwork. Slow down. Three backups, metadata, and a consent form take an hour and are what make the recording usable in twenty years.
Frequently Asked Questions
What is the best way to record oral history?
The best way to record oral history is to agree on purpose, consent, and boundaries first, then record with a solid-state recorder and a microphone placed about a hand’s width from the narrator. Use open-ended questions, follow the storyteller’s lead instead of a script, and keep water and tissues nearby. Afterwards, keep three labelled copies, transcribe verbatim, and send the narrator a copy of the finished recording.
How long should an oral history interview be?
Plan for 60 to 90 minutes of recorded conversation, and prepare ten to twelve open-ended questions for that window. Most narrators give their strongest material in the first hour, so avoid scheduling a three-hour session. Budget extra time around it for setting up, explaining consent, and the closing conversation, which is often where the narrator tells you what should stay off the record.
Do I need consent to record an interview?
Yes, and it needs to be ongoing rather than a signature collected once. Ask permission to record, to transcribe, to quote, to archive, and to share, because a narrator may allow family use and refuse public use. Say out loud that the recording can be deleted or a passage removed within a stated window, then keep the signed consent form with the audio file.
How do I transcribe an oral history?
Listen to the whole recording once before typing anything, then transcribe verbatim in a plain document, keeping fillers, pauses, and sentence fragments. Mark anything unclear as [inaudible] rather than guessing. Do any tidying in a separate file so the verbatim version stays intact, and when translating, keep the original language alongside the translation and record who translated it and when.
How do I reference an oral history in my writing?
Cite the narrator by the name they chose to be known by, not necessarily their legal name. A typical reference gives that name, the title of the interview or project, the interview date, the interviewer, and the repository or collection holding the recording. Note any restrictions the narrator placed on quotation or access, and include the interview length and transcript availability where your style guide allows it.
What if the narrator wants something removed from the recording?
Remove it, and keep a written record of the request and the action you took. Some narrators will want a section removed, others the whole recording returned or deleted. Tell them at the start of the interview that this is possible and confirm the request again at the end, since limits often become clearer once someone hears their own voice. Also remove the passage from any transcript and published version.
Conclusion
The workflow is not complicated, and the order matters more than the equipment. Decide what the recording is for, agree consent and boundaries with the narrator, record with open questions and a quiet room, then preserve the audio, transcript, consent forms, and metadata together in three labelled places.
If you take one first step, make it this: before you arrange anything else, write down the purpose and the usage terms and read them aloud to a narrator you trust. Everything downstream gets easier when that conversation is done well, and the people you are recording will feel the difference in the first ten minutes.