iNaturalist for beginners is easier than it looks: take a photo of one organism, let the app guess what it is, and people who know their plants and birds will confirm or correct the guess for free. The record stays online, gets a date and place attached, and feeds real biodiversity data. You never have to know a species name to start.
What follows is the plain-English walkthrough I wish someone had handed me on day one, covering the actual buttons, the photos that make a difference, and the mistakes that quietly ruin a record.
Table of Contents
- 1What Is iNaturalist and What Can You Record?
- 2How Does iNaturalist for Beginners Get Started?
- 3What you actually need first
- 4How to Make Your First Useful Observation
- 5What Should You Photograph?
- 6Protecting the location of sensitive plants
- 7How Do Species Suggestions and Community Identifications Work?
- 8Why an observation sits at casual, needs ID or research grade
- 9iNaturalist or Seek: Which App Fits Your Goal?
- 10How Can You Use iNaturalist for Plants and Traditional Medicine Research?
- 11What Can You Do After Submitting an Observation?
- 12Common Beginner Mistakes and How to Avoid Them
- 13Frequently Asked Questions
- 14Do I need to know the species name before posting on iNaturalist?
- 15Can I use iNaturalist without a mobile-data or internet connection?
- 16How accurate are iNaturalist’s automatic species suggestions?
- 17Should I post a medicinal plant I photographed in the wild?
- 18Why is my observation listed as casual instead of research grade?
- 19Can I hide the exact location of a rare or sensitive organism?
- 20Start With One Clear Observation
What Is iNaturalist and What Can You Record?
iNaturalist is a free mobile app and website where anyone can record an observation of a plant, animal, fungus, or other living thing. The app offers a first guess at what you saw, and a worldwide community of naturalists then confirms or corrects that guess. Confirmed records become open biodiversity data that researchers use.
It is run by the California Academy of Sciences, with support from partner networks around the world. There is no paid tier and no subscription.
The basic unit is the observation: one organism, in one place, at one time, with media attached. That last part trips up most newcomers, so it is worth sitting with. If you photograph a plant, a beetle on it and a spider in the web next to it, that is three observations, not one.
What can you record? Far more than people expect.
- Plants of every kind, from roadside weeds to forest canopy trees
- Insects, spiders, snails, millipedes and other invertebrates
- Birds, reptiles, amphibians, mammals and fish
- Fungi, lichens, mosses, algae and seaweeds
- Anything with a skeleton that has been preserved or cleaned
Media can be photographs, sound recordings, or both. Audio is a legitimate observation medium for frogs, crickets and birds, and a quiet caller with a good recording can beat a blurry photo.
Long-time users describe it best as a personal field notebook of living nature observations, shared interactively with the world. One forum regular put it more bluntly: it is Pokemon snap, but in real life. Both descriptions are fair.
How Does iNaturalist for Beginners Get Started?
You need a phone or a computer, a free account, and roughly two minutes per observation. That is genuinely the whole list.
What you actually need first
Download the iNaturalist app from the iOS or Google Play store, or work on the website at iNaturalist.org. Sign up with an email address. Many beginners then abandon the process because they assume they need training first, so let me be blunt: you do not.
The first account decision that matters is whether you want your exact coordinates public. The app asks about geolocation privacy, and the answer affects every record you make. If you plan to photograph rare, protected or commercially valuable plants, say yes to geoprivacy. You can change this setting later, but doing it once up front is easier.
Beginners often cannot find one beginner guide because the official Getting Started page was retired and now redirects to a help centre. The rest is scattered across forum threads. This section is meant to close that gap.
How to Make Your First Useful Observation
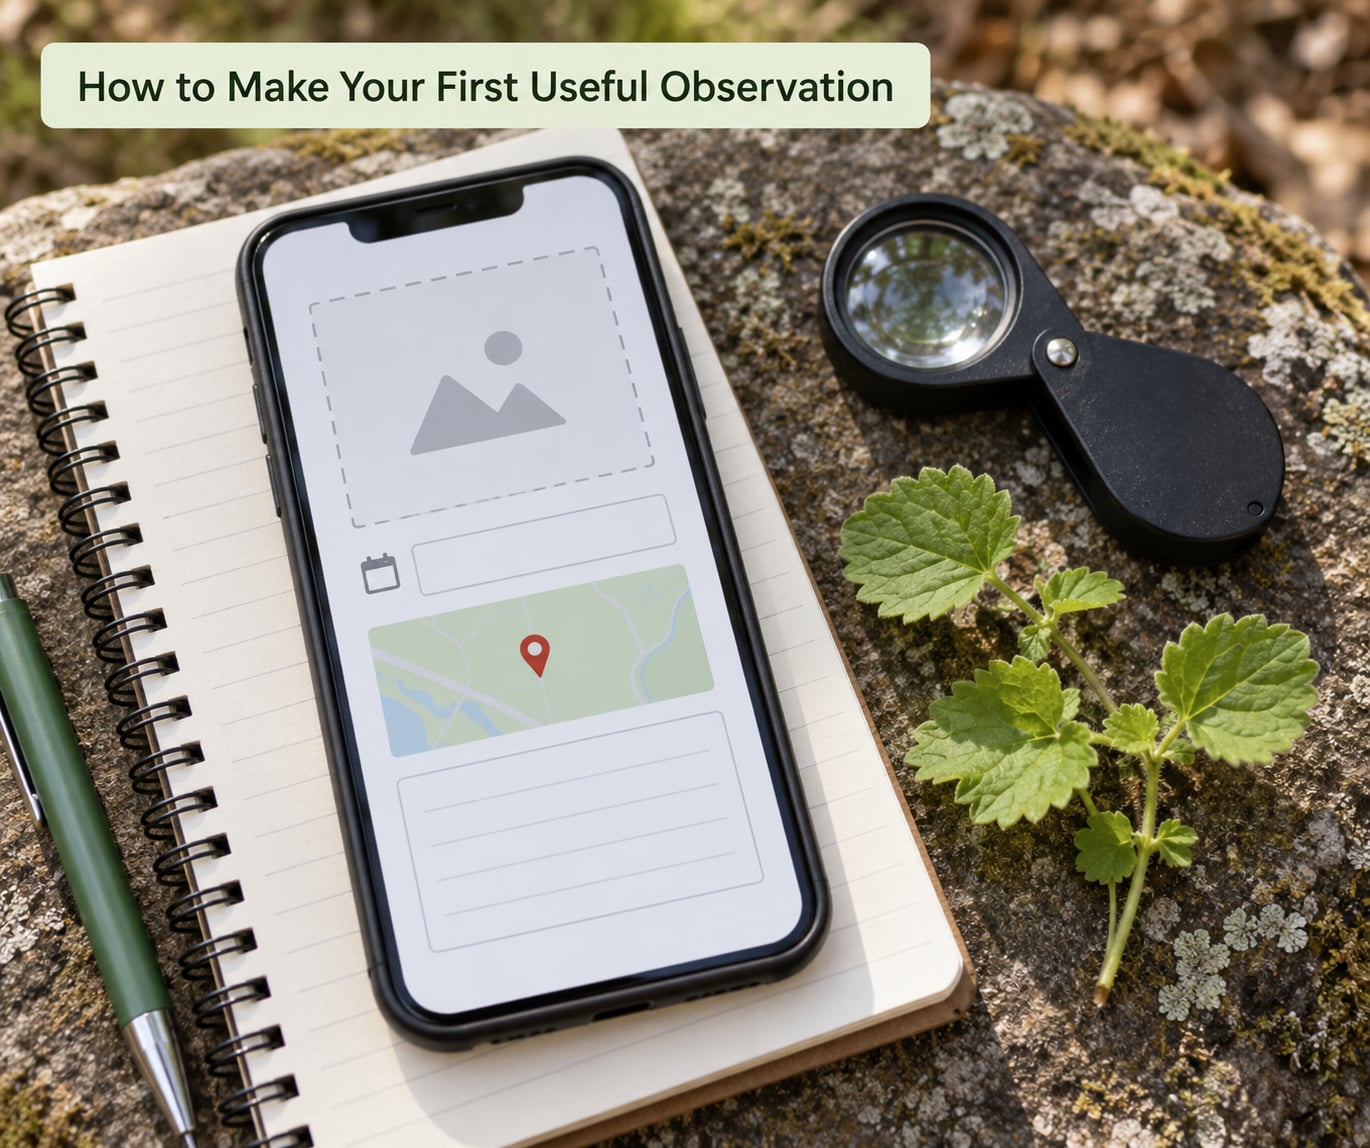
The controls are named differently on iOS and Android and they move between app versions, so match these to what you see on your own screen rather than hunting for exact words.
- Install the app and sign in. Email confirmation is quick, but do it before you are standing in the field.
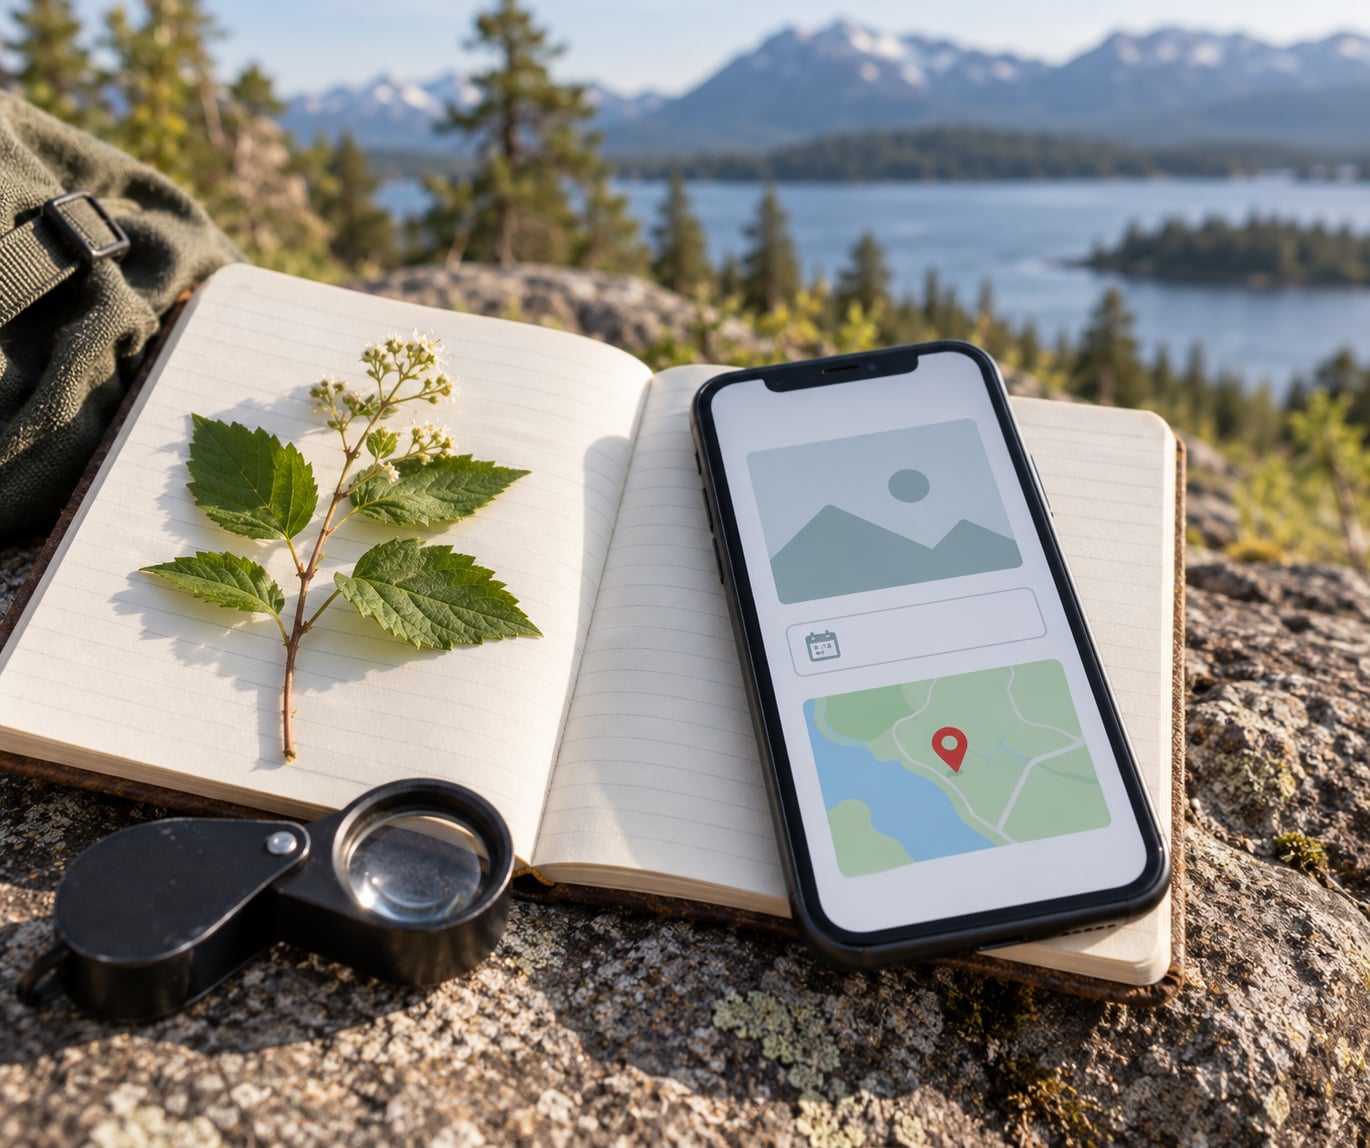
- Open the observation screen. On most phones this is the large plus button or camera icon in the middle of the bottom bar. It runs right from the home screen, so you can start while the organism is still in front of you.
- Photograph the organism. One shot of the whole plant or animal, then close-ups of whatever detail helps. You can add up to a handful of images per observation.
- Add a sound recording if it makes sense. For a frog, a night bird or a grasshopper, record first and the audio becomes part of the record.
- Check the date. The app stamps the time automatically. Correct it only if you are uploading something you found earlier.
- Drop the map pin. Accuracy here matters more than almost anything else, because the suggestion engine filters by location. Drag the pin onto your actual spot rather than trusting the default.
- Pick from the suggestions. The app offers likely taxa. Select one by tapping it so it registers, then move up or down the list to the level you are confident about. You can always leave it blank.
- Upload and wait for the sync. Tap the upload arrow, then watch the item move from your local list to your account. A record that has not synced yet is not really saved.
Add a line of description while you are there. Habit, smell, what it was doing, what the surrounding vegetation looked like. Free text is where a researcher reading your record in ten years gets the context a photo cannot carry.
What Should You Photograph?
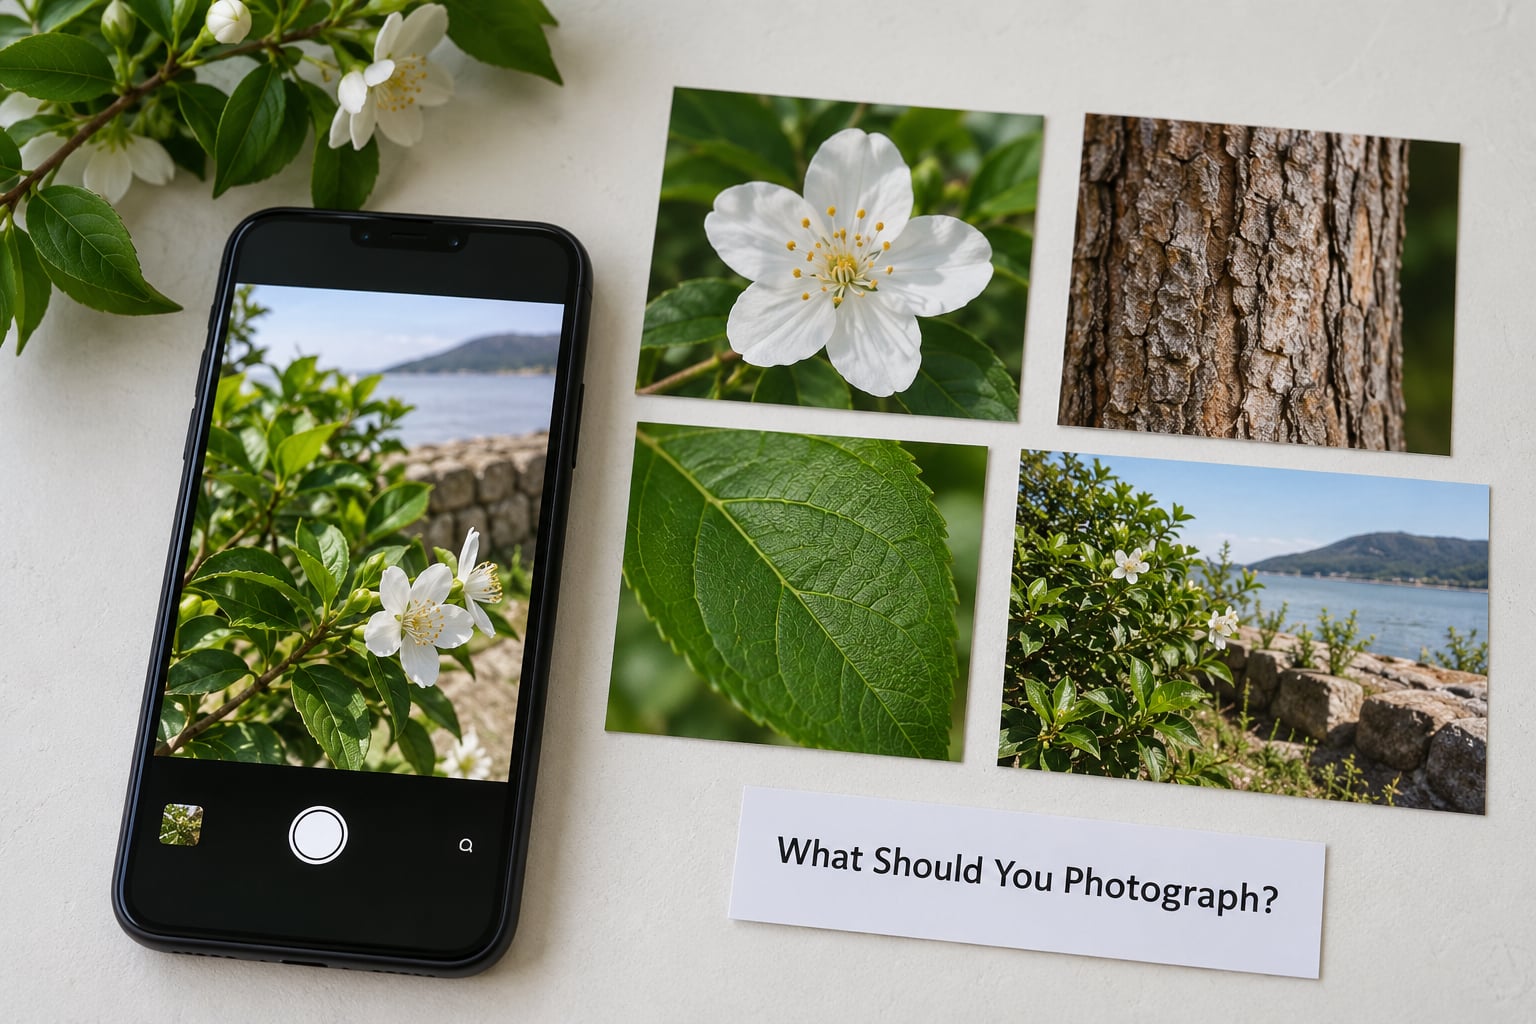
Most weak records fail because the organism fills the frame with no context, or because the one feature that identifies it is cut off.
Take these views when they apply:
- Whole organism so people can see overall size and shape
- The identifying feature — flower, fruit, bark, gills, wing pattern, antennae
- Underside for insects, leaves and fungi, where venation and spore surfaces live
- Habitat — the ground it grows on, the tree it sits in, the water it swims in
- Something for scale — a coin, a finger, a leaf you already know
Three good photos of the same individual beat ten mediocre ones. Focus matters more than resolution, so tap the subject on screen and check the edges are sharp before you shoot.
Light is the other half. Overcast daylight and shade are better than direct sun, which blows out pale petals and washes out leaf colour. Photograph early or late rather than at midday.
Protecting the location of sensitive plants
Many medicinal and traditionally used plants are harvested commercially, and some protected species suffer from collectors who read open records. If you geoprivate an observation, the app shows the location as a blurred region rather than a point, and the map zoom is limited. The record is still useful to science; the precise spot is simply not published.
Use it for anything rare, protected, or commercially valuable. Do not post coordinates of such plants in social posts either, even with a nice photograph attached.
How Do Species Suggestions and Community Identifications Work?
Two different systems produce the name on your record, and beginners confuse them constantly.
The first is the in-app suggestion. A machine learning model compares your photo against images of taxa it was trained on and returns a ranked list. It is a starting point, not a verdict. It is constrained by three things: the location you set, the features visible in your photo, and the regions the model has seen enough pictures of.
That third constraint is the one that bites hardest outside North America and Europe. Regional coordinators on the forum have warned beginners to check whether a suggested species actually occurs where they are standing. A model that has mostly seen European photographs will happily offer you something European.
The second system is the community. Anyone can add an identification, and each one carries a level: species, genus, family, order, and so on upward to organism. When people agree on a level, that becomes the community taxon, and it shows as the identification on the record. You are not required to accept it, and you can explain why you disagree. Discussion on a wrong ID is where a lot of the actual learning happens.
A practical note for anyone documenting plants here: naming at a higher group is safer than accepting a confident wrong species. Plant is a fine answer when you are not sure. A wrong species name is worse than an honest broad one, because downstream records inherit it.
Why an observation sits at casual, needs ID or research grade
Every observation carries a status, and beginners often read it as a mark against their work. It is not.
| Status | What it means | What it takes | Why it matters |
|---|---|---|---|
| Needs ID | Someone still has to put a name on it | An identification exists but has not been improved on or agreed with | The record exists but is not usable as a confirmed data point |
| Casual | Published, but not treated as a confirmed record | Usually captive, cultivated, planted, or otherwise flagged as not wild | Casual records stay off the research-grade map because they do not describe wild populations |
| Research Grade | The community has settled the identification | Media, a wild status, a community taxon, and community agreement | These are the records that feed the maps, models and papers |
You do not need a minimum number of identifications or a minimum number of photos to reach research grade. You need a usable record and agreement.
One hard rule for this site’s readership: never use an iNaturalist identification to decide whether to ingest, apply or treat with a plant. Community agreement raises confidence that the specimen is the right species. It says nothing about safety, dosage, efficacy or traditional use, and it is not a substitute for a clinician, a pharmacist or a properly documented ethnobotanical voucher specimen.
iNaturalist or Seek: Which App Fits Your Goal?
Choose iNaturalist if you want a permanent record and a community. Choose Seek if you want a quick answer with no account and no stored location.
| iNaturalist | Seek by iNaturalist | |
|---|---|---|
| Account needed | Yes, free | No |
| Exact location | Stored, with optional geoprivacy | Deliberately coarse |
| Community identifications | Yes, the core of the system | Minimal |
| Records persist | Yes, permanently and publicly | No research record |
| Contributes to science | Yes, research-grade records feed open biodiversity data | No |
| Best for | Learning, documenting, classes, fieldwork | Curiosity, kids, quick checks |
Seek identifies by scanning and hides where you are. That privacy is the point, and it is a good reason to use Seek for a plant you would rather nobody pinpointed. But nothing you do in Seek becomes a record anyone can cite, which is why it is the wrong tool for fieldwork.
How Can You Use iNaturalist for Plants and Traditional Medicine Research?
For people documenting medicinal and traditionally used plants, the platform solves a specific problem: linking a name to a place, a season and a use, in a way other researchers can check later.
What a good record carries: photographs of flower, leaf, bark and fruit where present; habit and habitat; growth habit such as tree, shrub or climber; locality at the level you are comfortable publishing; the date; and in the description field, the local name and the locally reported use.
Keep the traditional-use information in the description as reported knowledge. Phrase it as what people told you, not as an established effect. An observation documents that a plant grows somewhere and that a community uses it; it does not establish what the plant is chemically, whether it is safe, or at what dose it might be used.
If a project needs identity established beyond doubt, an observation is not enough on its own. Take a voucher specimen to a recognised herbarium or work with a taxonomic specialist. Photos and locality records are a strong first layer of documentation, not a substitute for a pressed and labelled sheet.
One more practical point. Geoprivacy and traditional use belong together. A record that names a species and attaches a use to a place can carry real consequences for that species if collectors read it. Blur the location, and keep the detail in a record you control.
What Can You Do After Submitting an Observation?
Watch the record for a while. Identifications arrive at different speeds depending on how common the organism is and how active the local community is, from minutes to a few days. When someone improves or corrects the name, the community taxon updates and the status may change.
You can add more photos and notes later, which is often enough to move a record from casual or needs ID to research grade. If two records should be one, you can combine them. If one record should be two, you can split them.
Beyond your own records, projects gather observations around a theme or a place, umbrella projects cover whole taxa, and a life list collects everything you have personally identified. Export tools let you take your data into other software, and accepted records flow onward to open biodiversity databases such as GBIF, which is where much of the serious science consumes them.
Now the honest part, since people ask about downsides more than anything else on this platform. The quality bar is real, and newcomers who post blurry photos with no context get ignored, which feels like judgement even though it is just noise reduction. The activity feed has the same pull as any social feed. Suggestions shift as models are retrained, so an identification that was right last year can look wrong today. Your images are public and can be reused, including commercially, and precise coordinates can expose rare species. None of that is a reason to avoid the app, but all of it is a reason to record thoughtfully.
Common Beginner Mistakes and How to Avoid Them
Most of these come straight from iNaturalist’s own tips post and from forum threads where newcomers ask the same questions.
- One observation holds one species. A plant, an insect on it and a second plant are three records.
- Keep one sighting in one record. Splitting a single sighting across several records confuses everyone reading it.
- Leaving the name blank makes the record get lost. If you have no idea, pick a broad level such as plant or insect. That is not an empty field; that is a legitimate answer.
- Typing a name instead of tapping it does not register. You have to select from the dropdown list. This is the single most common upload error.
- Ignoring the sync. An observation still on your phone has not been saved. Wait for it to appear on your profile.
- Trusting a suggestion from the wrong continent. Check that the proposed species occurs where you are before you accept it.
- Leaving the pin in the default position. Bad location means bad suggestions, because the model filters by where it thinks you are.
- Not marking captive or cultivated status. Zoo, garden, planted and road-sourced organisms should be casual, and saying so protects wild records.
- Posting an exact location for a rare or valuable plant. Turn on geoprivacy before you upload.
A tenth worth knowing: batches of hundreds at once often fail. Upload in groups of ten or twenty and let each finish syncing.
Frequently Asked Questions
Do I need to know the species name before posting on iNaturalist?
No. That is the single most common misunderstanding among newcomers. You can leave the name blank and pick a broad level like plant, insect or bird, or choose the top suggestion from the dropdown. The record is still valid and still visible to people who can identify it. Leaving the field completely empty is the only version that gets lost.
Can I use iNaturalist without a mobile-data or internet connection?
Yes. The app queues observations on your phone while you are offline and uploads them once you reconnect. Capturing the observation works normally offline, including photos and sound. Only the automatic suggestion and community identifications need a connection. In under-recorded regions, sync your records before you lose signal or travel back to town.
How accurate are iNaturalist’s automatic species suggestions?
Treat the in-app suggestion as a first guess rather than a verdict. It depends on the location you set, the features visible in your photo and the regions the model was trained on, so it is less reliable outside well-recorded areas. The community identifications are the real check. An observation only becomes research grade once enough people agree on a name.
Should I post a medicinal plant I photographed in the wild?
You can post it, and it is useful, but treat the record as documentation only. An identification says what the plant is, not whether it is safe, what dose is appropriate or whether any traditional use is supported. Never prepare or ingest a plant based on an app record. If you are documenting traditional use, write it in the description as what local people reported, and geoprivate the location of anything rare or commercially valuable.
Why is my observation listed as casual instead of research grade?
Casual usually means the record was flagged as captive, cultivated or planted, or that it has not yet gathered the agreement it needs. An organism from a garden, a zoo, a nursery or a roadside transplant will sit at casual by design. To move a genuine wild record up, make sure it has usable media, a wild status, and enough community identification to reach agreement.
Can I hide the exact location of a rare or sensitive organism?
Yes, and you should. Geoprivacy replaces the precise point with a blurred region and limits how far the map can be zoomed. The record still counts toward science and still receives identifications, but the exact spot is not published. Apply it to rare plants, protected species, nesting sites and anything harvested commercially, and avoid repeating the coordinates in social posts.
Start With One Clear Observation
Pick the single organism nearest to you right now. Photograph the whole thing, then the detail that identifies it, and one shot that shows where it is growing.
Drop the pin in the right place, choose a name from the dropdown or leave it broad, upload, and wait for the sync to finish. Then leave it alone and see what the community says.
Do that a dozen times before you worry about accuracy. The learning curve is real, and it flattens out sooner than you expect once you stop trying to name things on your own and start reading what other people say.