Dried herbs fade for four reasons: oxygen, light, heat and moisture. To learn how to store dried herbs so they keep potency, seal completely dry material in airtight containers, fill them as full as you can, label the batch, and keep them in a cool dark cupboard below 60% relative humidity. The routine takes a few minutes per batch, and the step that decides the outcome happens before the jar ever closes.
That last point is where most home stashes go wrong. Herbs sealed while even slightly damp will mold inside the jar, and no lid or label will bring them back. Everything below assumes you dried the material yourself or bought it already dry and airtight.
Table of Contents
- 1What You Need
- 2Step-by-Step
- 3How to Store Dried Herbs So They Keep Potency
- 4Step 1: Make Sure the Herbs Are Completely Dry
- 5Step 2: Choose the Right Container
- 6Step 3: Protect Herbs From Heat, Light, and Moisture
- 7Step 4: Label Each Herb Clearly
- 8Step 5: Check Stored Herbs Periodically
- 9Common Mistakes
- 10Frequently Asked Questions
- 11Do dried herbs need to be refrigerated to keep their quality?
- 12How long can dried herbs be stored at room temperature?
- 13How can I tell whether dried herbs have absorbed moisture?
- 14Is it safe to store dried herbs in a plastic container?
- 15Can dried herbs be frozen to extend their storage life?
- 16What should I do if I find mold or insects in dried herbs?
- 17Conclusion
What You Need
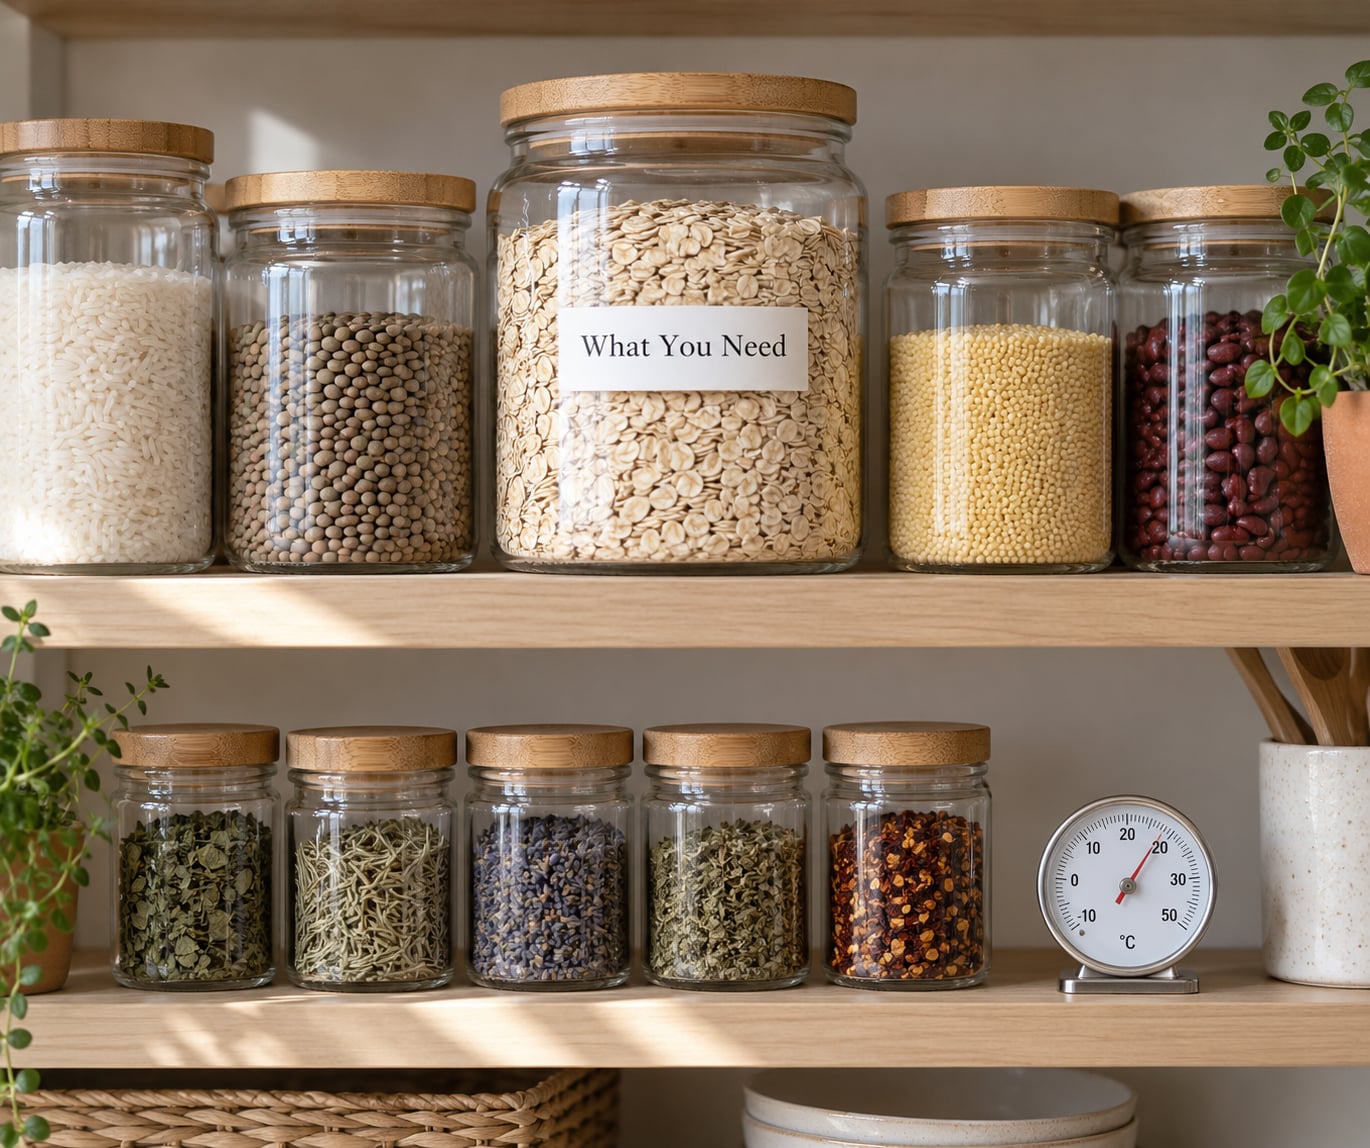
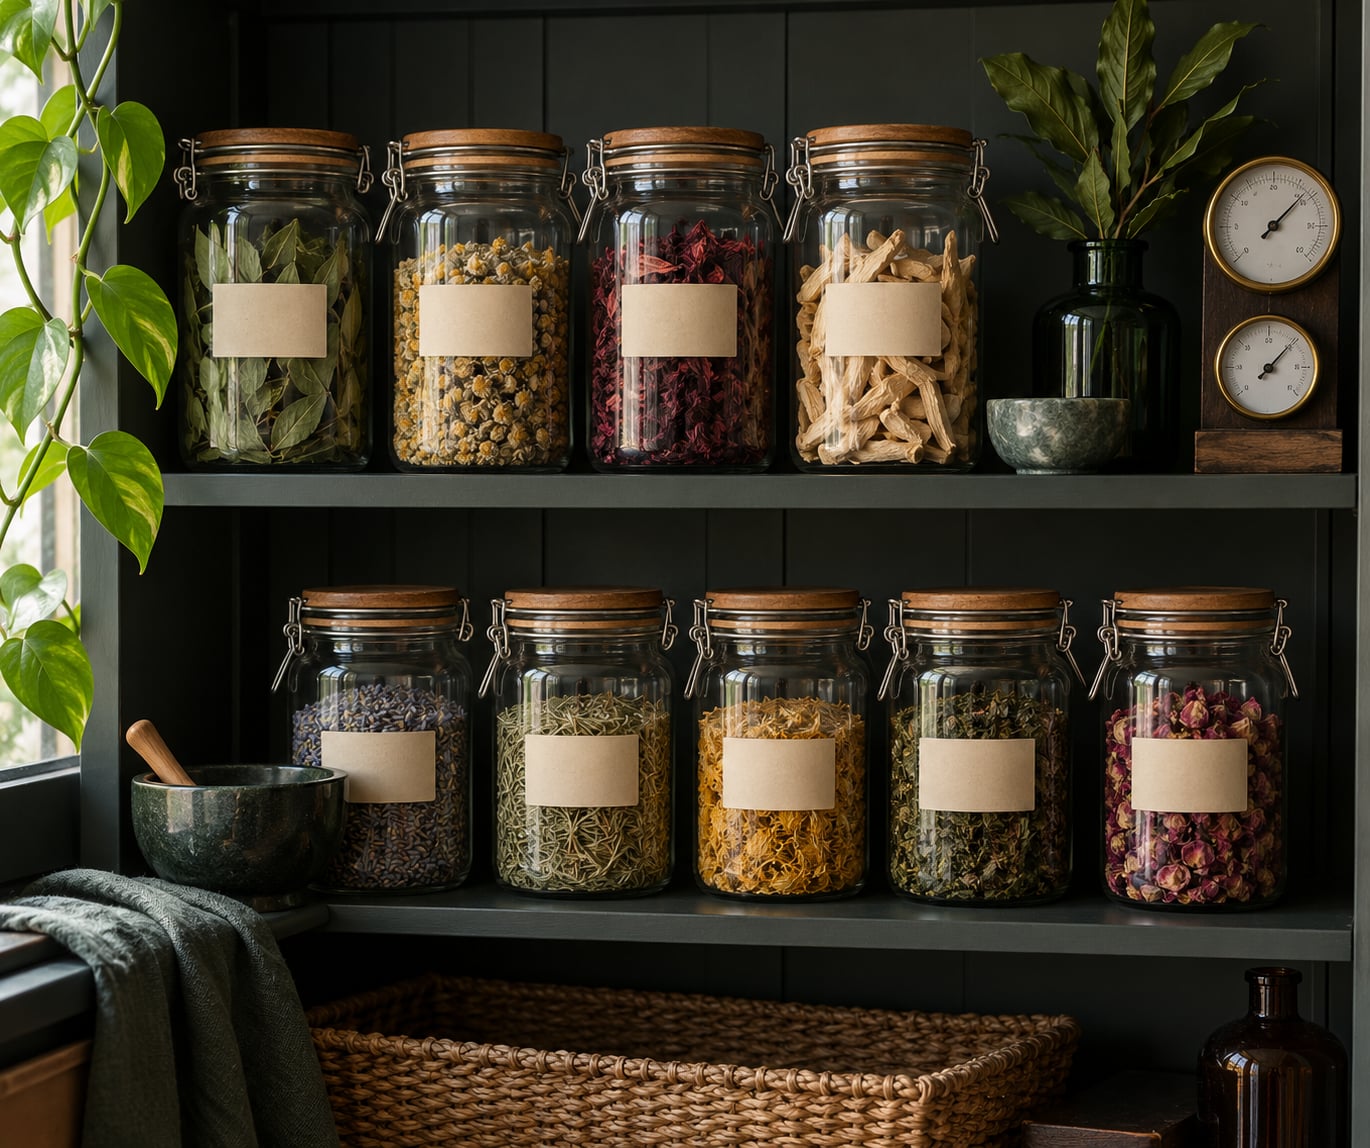
- Airtight glass jars in the size you will actually use. Mason or apothecary jars with a gasket seal are ideal, and amber glass adds a second layer of light protection in a bright room.
- Food-safe plastic containers as a backup. Clear PET or HDPE tubs with snap lids work well and are lighter to carry, though they let more light through than glass.
- A desiccant packet for humid rooms or large jars. Silica gel or food-grade desiccant placed in the jar lid area draws residual humidity out. Do not let loose desiccant touch the herb material.
- Paper labels and a permanent marker. Water-soluble or removable labels fall off on a damp cupboard shelf.
- A small thermometer and, ideally, a hygrometer. A cheap hygrometer on the storage shelf tells you whether you are living with the humidity that ruins herbs.
- Clean, dry spoons and a small funnel. Moisture on a scoop transfers straight into the batch.
- A cool dark cupboard, pantry or cellar. Somewhere steady at roughly 15-21C / 60-70F, out of sunlight and away from any damp wall.
Step-by-Step
How to Store Dried Herbs So They Keep Potency
Dried plant material keeps its useful aromatic and volatile oils, its pigments and its other active constituents. Oxygen oxidizes those compounds slowly, ultraviolet light breaks pigments down, heat speeds up every reaction and drives off the lightest fractions, and moisture reintroduces the conditions that mold and insects need. Airtight sealing, darkness, cool temperature and low humidity slow all four at once.
How long that buys you depends on the plant part and how finely it is cut. Whole material keeps far longer than powdered material, because grinding multiplies the surface area exposed to the air inside the jar.
- Leaves: about 1 to 2 years in a cool, dark, airtight cupboard.
- Flowers and petals: about 1 year.
- Roots: about 2 to 3 years.
- Barks: about 2 to 3 years.
- Seeds: about 1 to 2 years.
- Any part, powdered: months rather than years.
Those are quality windows, not safety dates. Properly dried and stored herbs rarely turn dangerous; they fade and stop delivering the effect you dried them for.
Step 1: Make Sure the Herbs Are Completely Dry
Test each plant part before it goes anywhere near a lid. Leaves and thin stems should crumble when rolled between your fingers rather than bend. A stem should snap cleanly instead of flexing. Flowers should feel papery and break apart. Seeds should be hard and dry, with no soft or oily surface. Roots and barks should feel heavy but not cool against the cheek, and should snap or chip rather than bend.
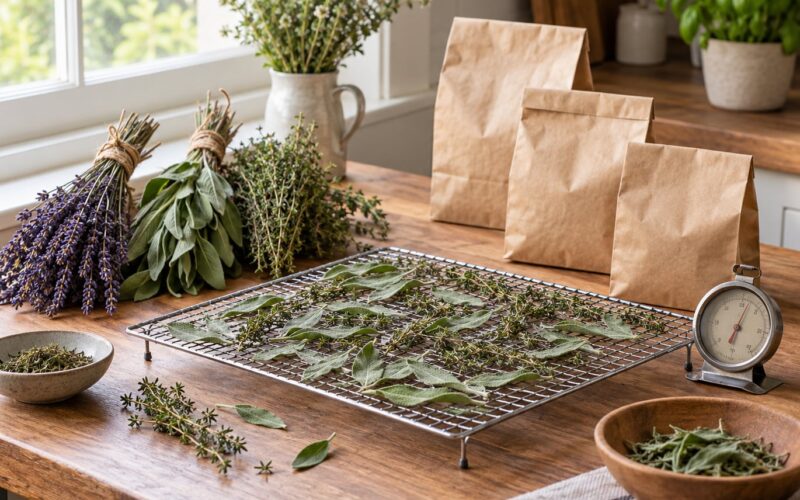
If any of that fails, spread the material on a clean screen in a dry, shaded, ventilated room and keep turning it. Do not seal damp herbs and hope. Cool trapped moisture under a lid is the fastest route to mold, and mold means the whole jar goes.
Success check: seal a small sample in a jar, leave it overnight, and open it. No condensation on the lid, no cool damp feeling, no musty note.
Step 2: Choose the Right Container
Match the container to the herb and to how quickly you will use it.
- Airtight glass jars block light, hold odors, and let you see the material. Fill them as full as you can, because empty headspace gives oxygen more room to work.
- Food-safe plastic containers are fine for kitchen quantities and for material you use within the year. Keep them out of direct light and replace any container that has become stained or brittle.
- Opaque metal tins work well in bright kitchens, though avoid long storage for acidic material such as many fruit peels, where metal can interact with the oils.
- Paper bags suit short-term holding only. Breathable packaging is right for transporting field material, not for keeping potency at home.
- Freezer-safe bags are worth considering for a large batch you will not touch for a year. Double-bag them and press the air out before sealing.
Success check: fill a jar to the shoulder with dried material, close the lid firmly, and test the seal by tipping it over a dry plate. If nothing escapes, the seal works.
Step 3: Protect Herbs From Heat, Light, and Moisture
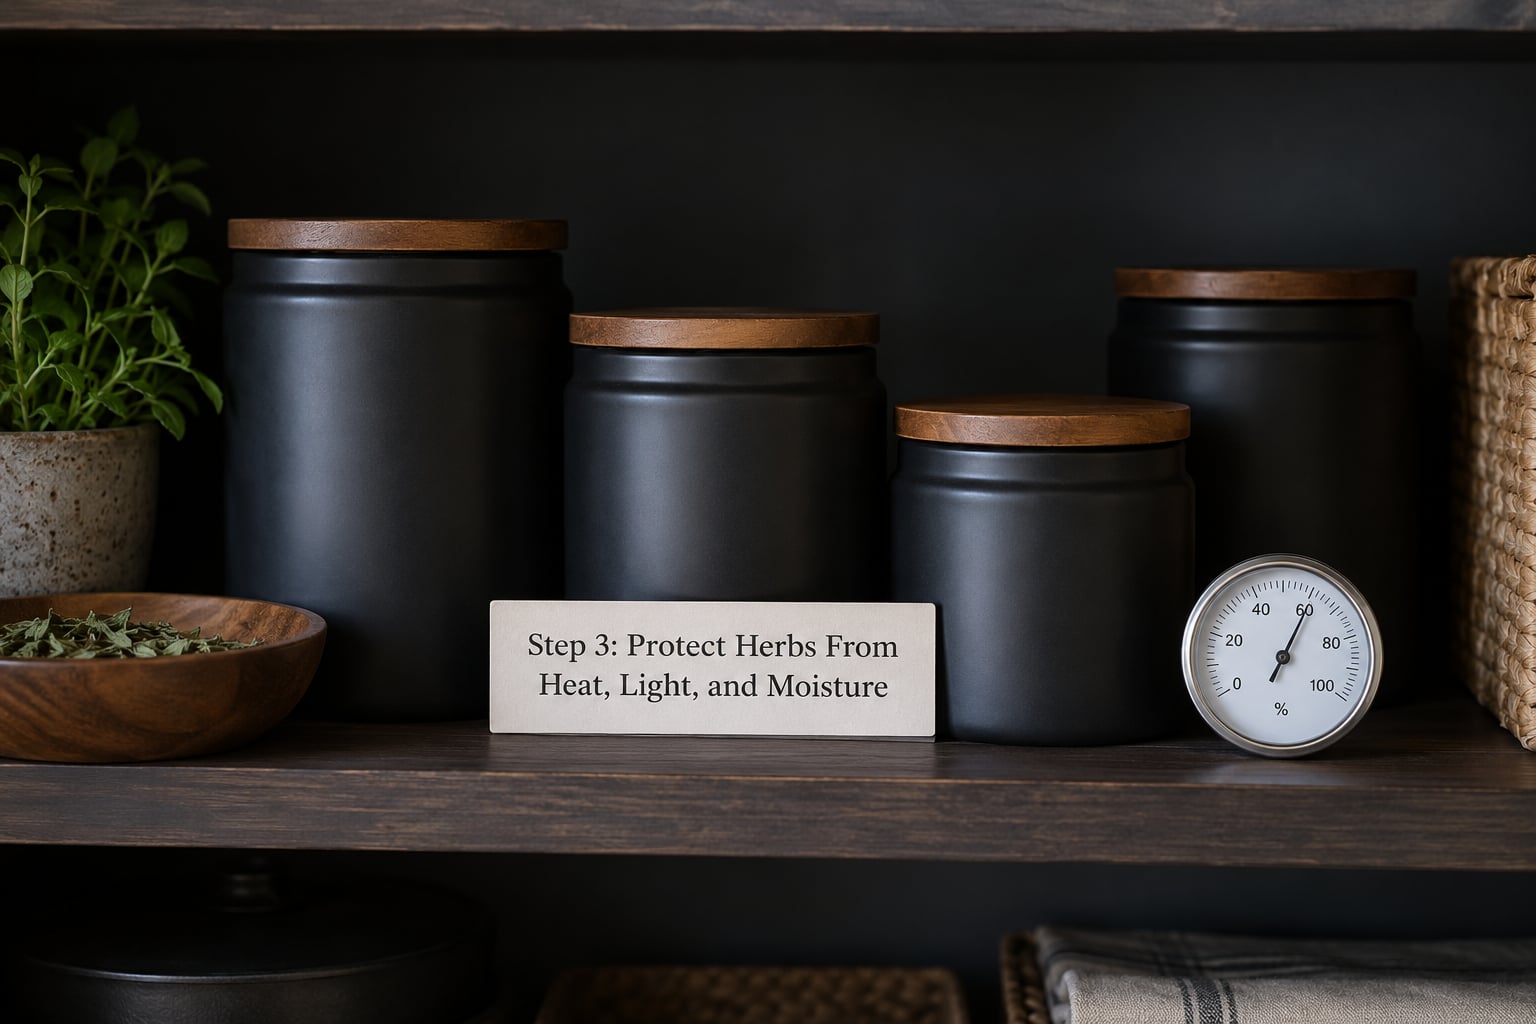
Aim for a stable 15-21C / 60-70F, low light and relative humidity under 60%. Under that humidity the material does not take up enough water for insects or fungi to work. Fluctuating temperature matters as much as high temperature, because every swing pushes moisture in and out of the leaves.
Places that consistently cause problems: above the stove or kettle, next to the oven, on a windowsill, in a bathroom, near a sink or dishwasher, on a shelf behind a fridge where the motor warms the air, in a garage or vehicle, and in an attic. Outbuildings can swing through large temperature and humidity ranges within a single day.
If your house runs humid, put the desiccant packet in the jar lid area, tighten the seal, and check the hygrometer monthly. Moving the jars to the coolest, driest room you have does more than any container upgrade.
Success check: your hygrometer on that shelf reads below 60%, and no jar sits in a sunbeam or next to a heat source.
Step 4: Label Each Herb Clearly
A label that only says the common name leaves you guessing six months later, when two jars hold the same herb from different harvests. Record the common name, the Latin botanical name, the plant part used, the drying or harvest date, the source or supplier, a batch number, and where the jar is stored.
Use the oldest batch first and move newer material to the back of the shelf. That simple rotation, known as FIFO, keeps a small home collection from quietly turning into a shelf of old material you avoid opening.
For anything intended for medicinal use, follow the guidance of a qualified professional such as a doctor, pharmacist or trained herbal practitioner on identity, dose and storage. This article covers storage only.
Success check: you can name every jar in the dark, by touch, without lifting it.
Step 5: Check Stored Herbs Periodically
Once a month, and again whenever the season turns, take each jar down and look properly. Open it, tip a little into your palm and rub it between thumb and fingers to release the aroma. Watch for condensation or fogging inside the lid, dark speckling, webbing, small insects, a clumped or hardened mass, a damp or musty smell, color that has faded from what you remember, and leaves that crumble to dust instead of bending.
Faded color and weak aroma mean lost potency. Visible mold, insects, webbing, or a damp sour smell mean you discard the batch without tasting it. Do not try to rescue moldy material by drying it again, and do not rinse it and keep using it.
Success check: every jar opened, smelled and closed, with the oldest batch moved to the front.
Common Mistakes
- Sealing herbs that are not fully dry. The most common cause of mold and the one thing storage cannot fix. Spread it out and test again first.
- Storing in a humid room. A bathroom or a kitchen corner by the sink puts back the moisture you removed.
- Using containers that were never meant for food. Paint, solvent and off-gassing residues transfer into dried material. Stick to food-safe glass, plastic or metal.
- Grinding the whole batch for convenience. Powder multiplies exposed surface area and shortens the window sharply. Grind small amounts at the time of use instead.
- Mixing several harvests in one jar. You lose track of the oldest material and cannot separate a problem batch. Keep batches apart and numbered.
- Judging quality by color alone. Some herbs darken naturally. Smell first, then look, then touch, and treat mold or insects as an automatic discard.
- Reaching into jars with damp utensils or fingers. Scoop with a clean dry spoon and close the jar straight away.
- Filling jars half full. Headspace is wasted oxidation capacity. Store less in more jars instead.
Frequently Asked Questions
Do dried herbs need to be refrigerated to keep their quality?
Usually not, and for most herbs the fridge makes things worse. Refrigerators are lit whenever the door opens, hold a lot of warm humidity, and their temperature cycles, which moves moisture in and out of dried leaves. Store dried herbs sealed in a dark cupboard between 15-21C instead. A fridge only helps if your room stays above 70% relative humidity all year and you use a gasketed container.
How long can dried herbs be stored at room temperature?
Whole leaves, flowers, seeds and roots kept sealed in a dark cupboard between 15-21C and below 60% relative humidity usually stay useful for one to three years, depending on the plant part. Barks and roots outlast leaves and flowers. Powdered material fades much faster. Once aroma, color and taste weaken, the material has lost potency but is usually not dangerous.
How can I tell whether dried herbs have absorbed moisture?
Open the jar and look for condensation or fogging on the lid, clumps that have hardened into a brick, dark speckling or a damp sour note. Rub a few pieces between your fingers: fresh material bruises and feels slightly cool, while well-stored material stays brittle. If you notice any of this, spread the herbs on a screen in a dry shaded room to dry fully again, then reseal in a clean jar.
Is it safe to store dried herbs in a plastic container?
Yes, provided the container is food-safe and meant for food, with a lid that closes properly. Food-safe PET and HDPE tubs are fine for kitchen quantities you will use within a year. Skip containers that held paint, chemicals or solvents, and replace any plastic that has become brittle, stained or sticky. Glass or metal is a better choice for long-term and bulk storage.
Can dried herbs be frozen to extend their storage life?
They can, but condensation is the problem to manage. Portion the dried herbs into small freezer-safe bags, press the air out, seal, double-bag and label with the date. Move the sealed bags directly to the freezer without sitting out. When you need material, take one bag out, let it come to room temperature still sealed, then open it. Never return a thawed portion to the freezer.
What should I do if I find mold or insects in dried herbs?
Discard the batch. Do not smell it closely, taste it, dry it again or rinse it. Visible mold, webbing, live insects or a damp musty smell means moisture got in, and the fungi or insects will have spread through the jar. Clean the jar with hot soapy water and a thorough rinse before reusing it, and check neighboring jars for the same problem.
Conclusion
Start with the part that cannot be undone: get the herbs properly dry, then seal them in an airtight food-safe container, fill it, label the batch with the date, and keep it cool, dark and dry. Add a monthly five-minute check and your collection holds its quality far longer than one you forget about.
For anything you intend to use medicinally, ask a doctor, pharmacist or qualified herbal practitioner about the plant, the dose and how to store it. And when mold, insects or a damp smell appear, discard the batch rather than testing your luck.