An herbal syrup is a concentrated extract of plant material kept in a liquid that resists spoilage, usually vinegar for a refrigerated preparation or a sweetener such as honey for a simmered one. Learning how to make an herbal syrup with dried fruit, dried herbs, and culinary vinegar takes about 30 minutes of active work plus three to six weeks of waiting, which makes it a forgiving first project for anyone building a home apothecary.
This guide covers the vinegar method, because it needs no thermometer, no heat, and no canning equipment. The vinegar lowers the pH of the liquid, which slows the growth of many bacteria and molds, and the finished syrup stays in the refrigerator. That refrigerated requirement matters: a diluted homemade preparation is not the same thing as a tested, shelf-stable recipe, and the difference is where most kitchen accidents happen.
You will also see the simmered honey-and-water method described in older cookbooks and online. It works differently, because heat and sugar do the preserving there instead of acid. Use the method you can follow consistently, and follow tested food-safety guidance for that method rather than mixing techniques from two different systems.
What follows is general preparation information, not medical advice, and nothing here should replace care from a doctor, pharmacist, or qualified herbal clinician for your own situation.
Table of Contents
- 1What You Need
- 2Equipment
- 3Ingredients
- 4Step-by-Step: How to Make an Herbal Syrup
- 5Step 1: Choose and Prepare the Ingredients
- 6Step 2: Combine the Fruit, Herb, and Vinegar to Make an Herbal Syrup Base
- 7Step 3: Infuse the Mixture
- 8Step 4: Strain and Sweeten the Syrup
- 9Step 5: Bottle, Label, and Refrigerate
- 10A note on infusions, decoctions, and alcohol preservation
- 11Common Mistakes
- 121. Using unidentified or wild-harvested plants
- 132. Starting with damp or moldy ingredients
- 143. Measuring by eye
- 154. Using too little vinegar or thinning it later
- 165. Skipping container sanitation
- 176. Assuming a diluted syrup is shelf-stable
- 187. Delaying the label
- 198. Using a batch after spoilage signs appear
- 209. Storing in a warm or sunny spot
- 2110. Sweetening by guesswork
- 22Frequently Asked Questions
- 23How long does a homemade herbal syrup keep in the refrigerator?
- 24Can children or pregnant people drink homemade herbal syrups?
- 25Can an herbal syrup replace prescribed medicine or treatment?
- 26Is sugar or honey necessary when making an herbal syrup?
- 27What is the safest way to prepare herbs for a syrup?
- 28What to Do First on Your Next Batch
What You Need
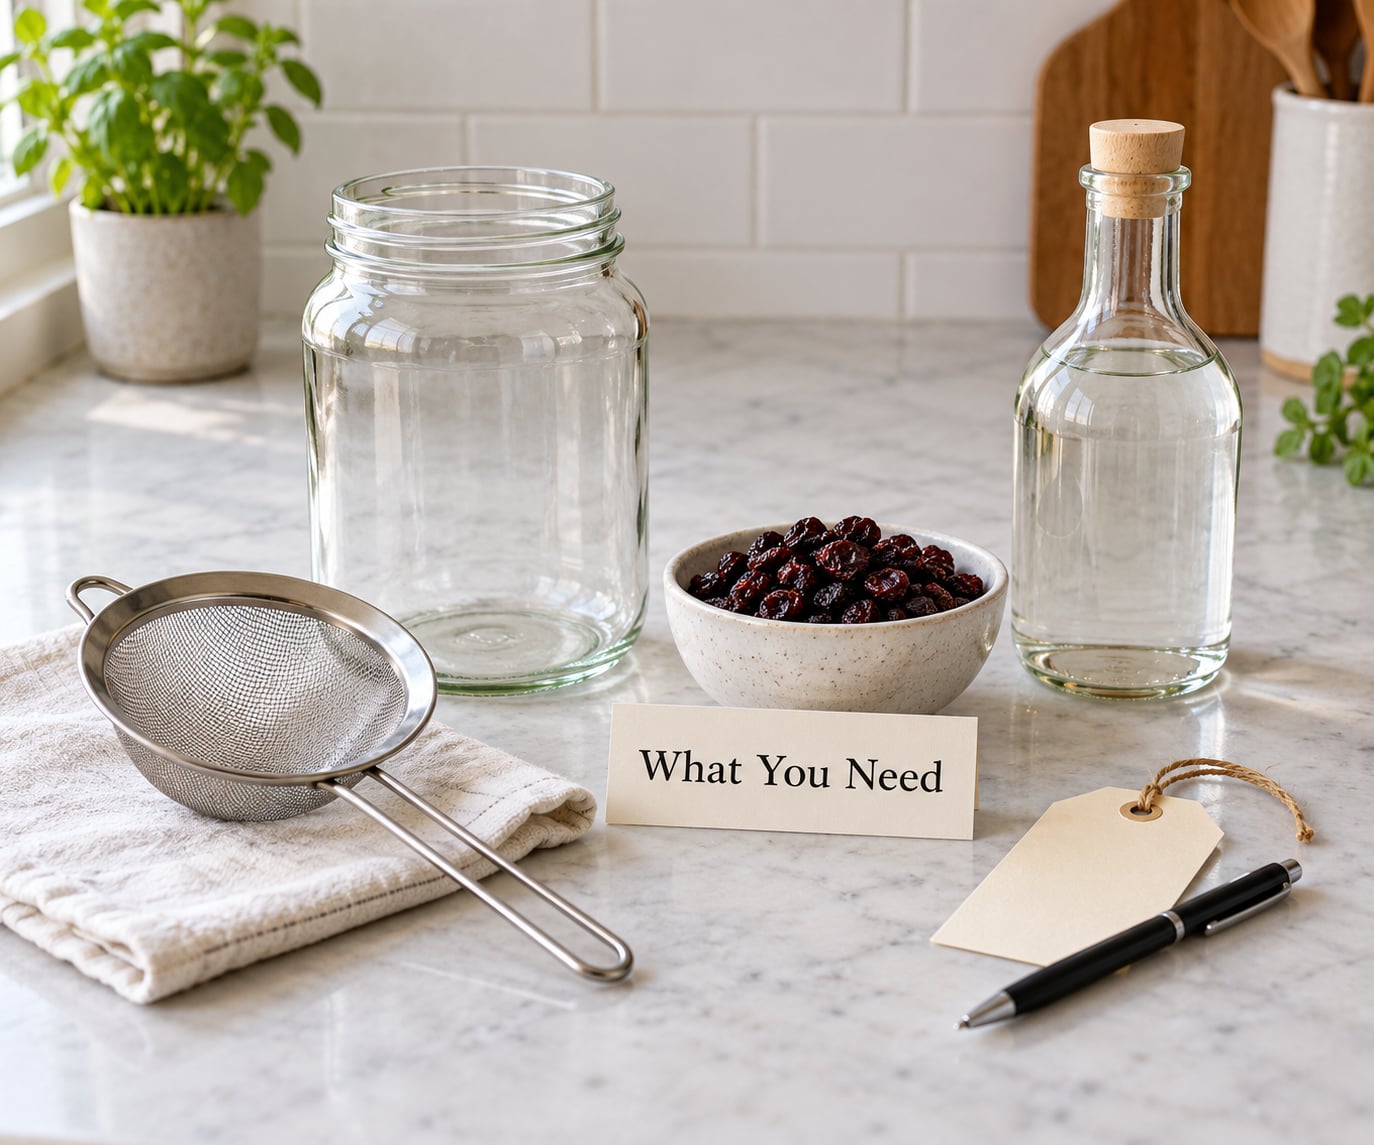
The equipment list is short, and most of it you already own. The ingredients are three: dried plant material, vinegar, and a container. Everything else is about handling and storage hygiene.
Equipment
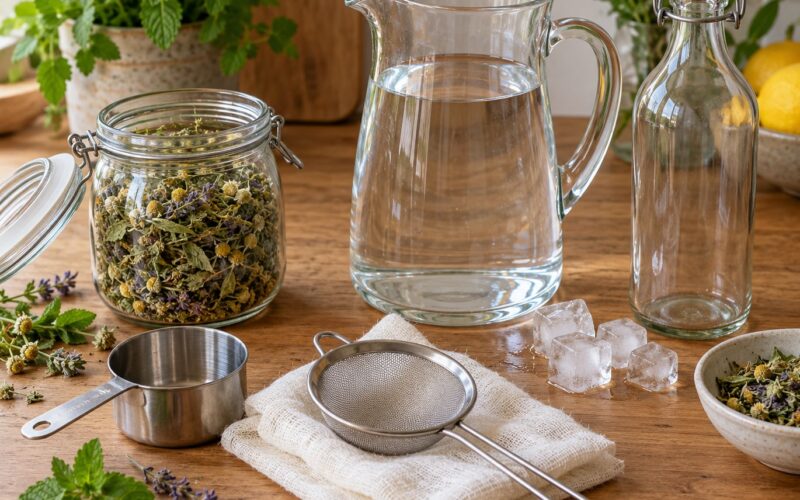
- Wide-mouth glass jars with tight-fitting lids, washed and sanitized
- A kitchen scale that reads in grams or ounces, for reproducible batches
- A fine-mesh strainer and a piece of cheesecloth or muslin for double-straining
- A funnel, clean towels, and rubber or nitrile gloves
- Waterproof labels or a masking-tape roll, plus a permanent marker
- A refrigerator with a working thermometer kept at or below 40 F (4 C)
Ingredients
- Dried fruit and/or dried herbs, correctly identified and bought from a reputable supplier
- Culinary vinegar at standard 5 percent acidity, enough to cover the plant material completely
- A sweetener only if your tested recipe calls for one
- Filtered or boiled-and-cooled water if a tested method requires dilution
Two preparations get confused constantly, so keep them separate in your notes. A vinegar-based syrup is refrigerated and uses acid for preservation, with sugar optional and added at the end. A water-and-honey syrup is simmered, sweetened, and relies on sugar concentration plus heat for its keeping quality.
Neither one is shelf-stable on a pantry shelf unless a tested formulation and tested processing method say so. Extension services and food-preservation research groups publish tested vinegar syrup and acidified syrup recipes, and those tested ratios are the ones to follow.
Step-by-Step: How to Make an Herbal Syrup
Five stages, in this order. The pace is slow on purpose, because the waiting period is where the extraction actually happens.
Step 1: Choose and Prepare the Ingredients
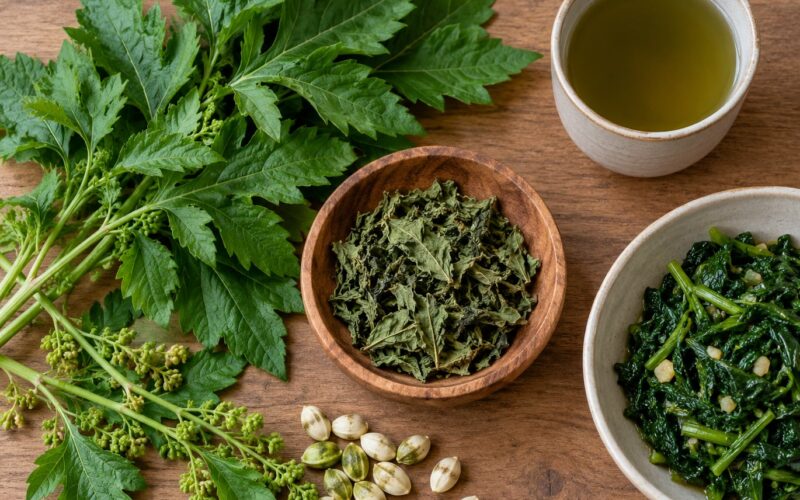
Start with plant material you can name without guessing. Dried fruit and dried herbs bought from a reputable supplier arrive labeled, and the label tells you the species and the part used, which is the information you need later.
Do not use wild-harvested plants for a syrup unless you are certain about identification and about how that species should be prepared. Look-alike species exist, and some plants that are harmless in one form are not in another.
Inspect everything before it goes near a jar. Discard fruit with any soft spots, fuzzy white or green growth, a fermented or boozy smell, or a coating that wipes off. Herbs with webbing, insects, mustiness, or damp clumps go in the bin too. Once moisture gets into dried material, it rarely recovers.
Weigh rather than guess. A kitchen scale turns a batch you liked into a batch you can repeat, and repeatability is the whole point of keeping notes.
As a rough starting conversion, three parts fresh material by weight often becomes one part dried, though dense roots and seeds lose less water than leaves and blossoms. Treat that as a starting point, not a rule, and adjust after tasting your first batch.
Then sanitize the work area. Wash your hands with soap, wipe the counter, and put on gloves if the material is dusty or you are handling anything questionable. Gloves cost less than a ruined jar.
Step 2: Combine the Fruit, Herb, and Vinegar to Make an Herbal Syrup Base
Layer the dried fruit and dried herb loosely in a clean, sanitized jar. Loose layering gives the liquid more surface to work with than a packed jar does.
Pour in the vinegar until every piece of material is submerged, ideally with a couple of centimeters of liquid above the top. Any plant material sitting above the liquid line will mold instead of extracting, and exposed plant material is the most common reason a homemade syrup goes bad.
Use enough vinegar to cover the solids fully, and use the acidity your tested formulation specifies. Vinegar is what lowers the pH here, so diluting the mixture later with water or thinning it during straining weakens the main thing protecting the syrup.
Seal the jar and wipe the rim clean. Label it right away with the date, the plant material, and the vinegar used, before the jar goes into the cabinet and out of your head.
Step 3: Infuse the Mixture
Store the sealed jar somewhere cool, dark, and out of sunlight. A pantry shelf away from the stove works. A car does not, and neither does a windowsill in summer.
Gently agitate the jar once a day for the first week, then a few times a week after that. Swirling keeps the material moving through the liquid so the extraction stays even instead of settling into a dead layer at the bottom.
Plan on three to six weeks for dried fruit, two to four weeks for dried leaves and blossoms, and longer for dense roots and bark. Dense material gives up its constituents slowly, so rushing it produces a thin, weak syrup.
A change in color and a stronger aroma are normal as extraction progresses. Spoilage looks different: fuzzy growth on the liquid surface or on the plant material, repeated bubbling after the jar has been sitting still, a film forming at the top, or an odor that smells musty or rotten rather than sharp and vinegary.
If you see any of those signs, discard the batch. Do not skim it and keep going, and do not taste it to test.
Step 4: Strain and Sweeten the Syrup
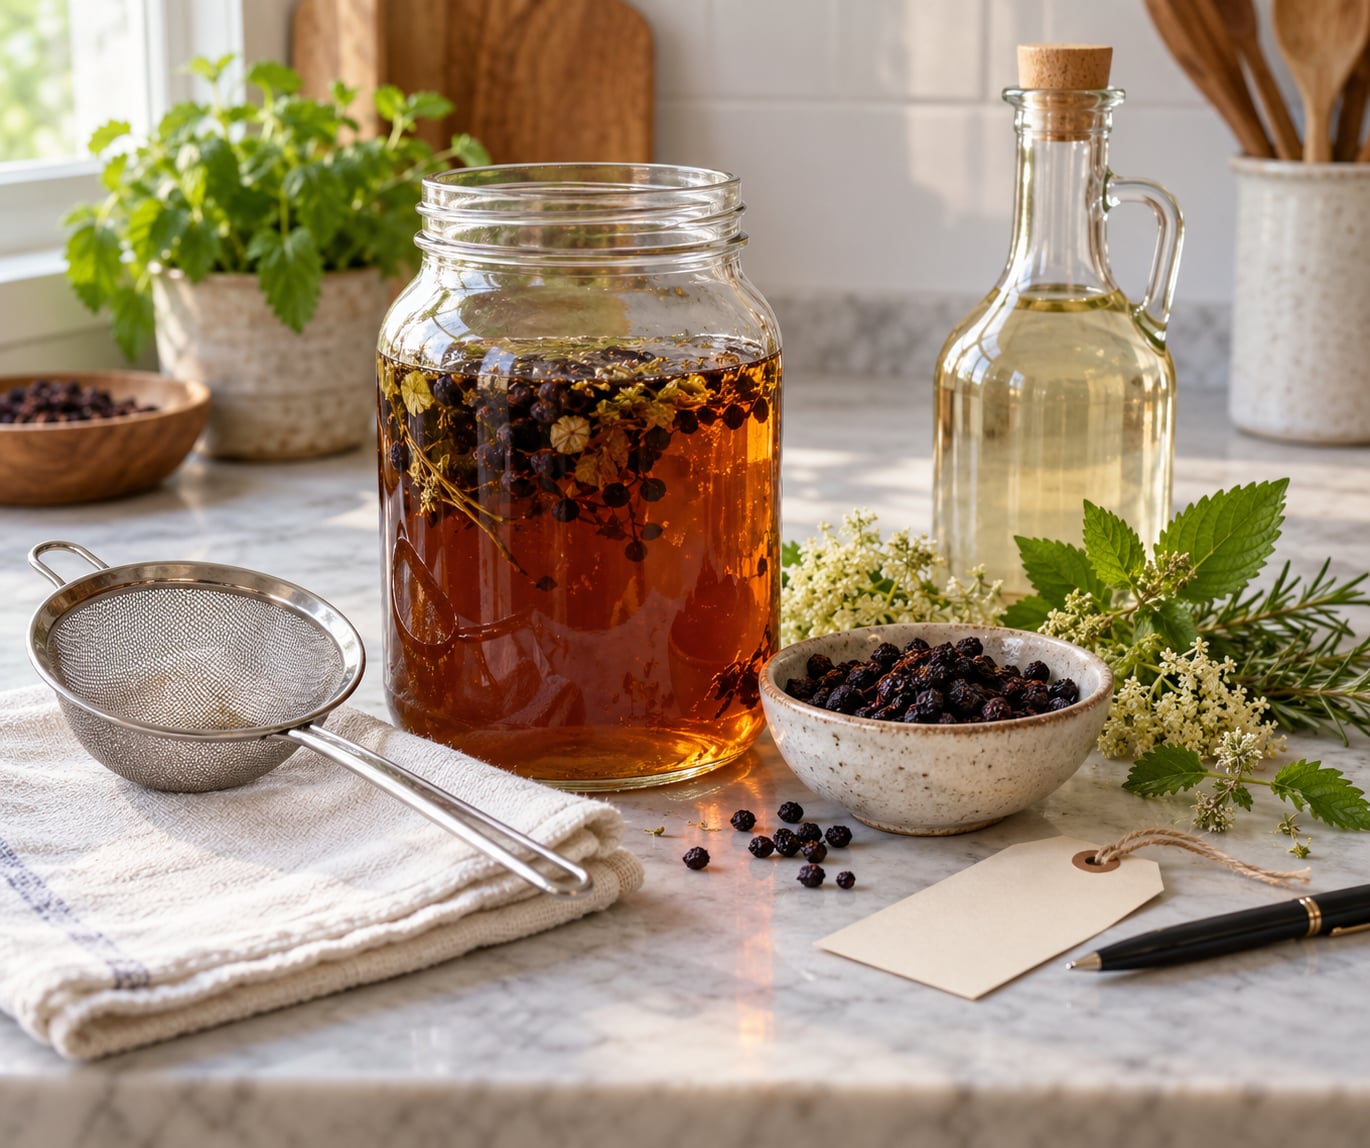
Set a fine-mesh strainer over a clean container, line it with cheesecloth, and pour the mixture through. Press the solids gently to recover what is left, then let the strained liquid drip rather than squeezing hard, since forcing liquid through the solids can push fine sediment through the cloth.
Check the result. You should have a clear to slightly cloudy liquid that coats the spoon. Very thin means the infusion had more solids than liquid, and very dark and bitter usually means the material sat too long or the jar was warm.
Add a sweetener only when the tested recipe you are following calls for one. Sugar, honey, maple, agave, date syrup, and alcohol all change the finished product in different ways, including how it keeps and who can use it.
Honey, for instance, is not appropriate for vegan households, for people avoiding added sugars, or for anyone following a low-FODMAP diet, since honey is high in fructose. Alcohol-based preservation works well for many preparations but rules the syrup out for children, for people avoiding alcohol, and for anyone with a reason to avoid it entirely.
Keep the sweeteners at the amounts your source specifies. Extra sugar does not fix a weak extraction, it just makes the batch harder to drink and easier to ferment.
Be clear about what this product is. It is a food preparation made from plants, not a measured medicine, and determining an appropriate amount to take is a job for a qualified clinician who knows your history and your other medicines.
Step 5: Bottle, Label, and Refrigerate
Sanitize the storage containers before the syrup goes in. Boiling containers for ten minutes and letting them dry works, and so does a dishwasher sanitize cycle on heat-safe glass. Dry containers matter, because water left behind encourages growth.
Fill the containers leaving the headspace your tested recipe specifies, then seal them. Wipe each rim before screwing the lid down, since a sticky rim is how a good batch picks up contamination later.
Refrigerate promptly and keep the temperature at or below 40 F (4 C). Treat refrigeration as the preservation method for this guide unless a tested formulation specifically supports shelf storage, in which case follow that formulation’s processing and storage directions exactly.
Label every container with the syrup name, the ingredients, the preparation date, the batch number if you keep more than one, and the storage instructions. Six weeks from now you will not remember which jar was the thyme one.
Discard a batch when you see cloudiness that keeps returning after stirring, repeated bubbling, any mold on the surface or on the plant material, a bad odor, or a seal that has lifted or leaked. When in doubt about a preparation you cannot test, throw it out.
A note on infusions, decoctions, and alcohol preservation
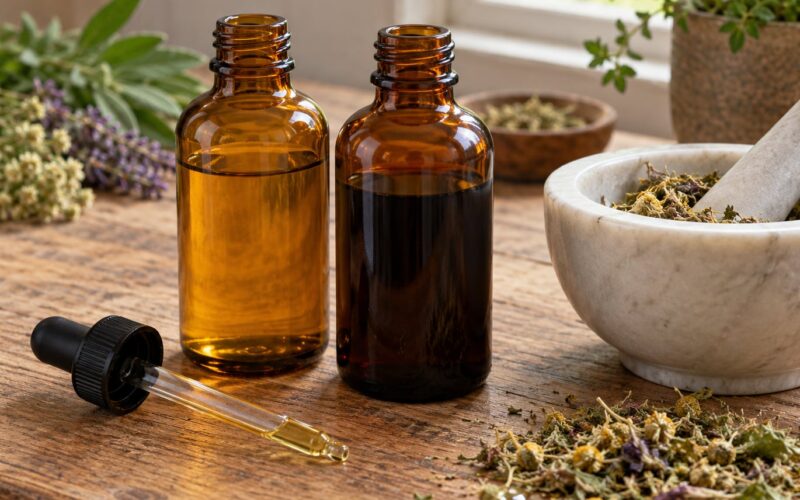
Three words get mixed up in kitchen conversations, and they describe different methods rather than three names for one process. An infusion steeps plant material in hot water without boiling, typically for dried leaves, flowers, and soft stems. A decoction simmers tougher material such as roots, bark, and seeds to draw out constituents that need heat and time. A tincture extracts plant material into alcohol, and a glycerite extracts into vegetable glycerin.
Across many African and other traditional systems, syrups are one practical delivery form among several. Depending on the plant and the community, the same remedy may also appear as a decoction, a poultice, a powder, or a chew, so the syrup is not always the right vehicle for a given plant or a given person.
Common Mistakes
Nearly every failed homemade syrup I have seen traced back to one of the same handful of errors. Each has a straightforward correction.
1. Using unidentified or wild-harvested plants
Look-alike species and wrong plant parts cause both safety problems and a useless extract. Correct it by buying correctly labeled dried material from a reputable supplier and keeping the label with your batch notes.
2. Starting with damp or moldy ingredients
Dried fruit that has already been wet can carry mold into the jar, and the vinegar will not rescue it. Inspect and discard anything with fuzz, softness, or a fermented smell before it goes anywhere near a jar.
3. Measuring by eye
A handful is not a measurement. Weigh the material, record the weights, and note that repeatability is what turns a pleasant accident into a formula you can use again.
4. Using too little vinegar or thinning it later
Under-covered plant material molds, and diluting a finished syrup weakens the acidity that was protecting it. Correct it by keeping every solid fully submerged, and by not adding water unless a tested formulation calls for it.
5. Skipping container sanitation
Clean is not the same as sanitized, and home syrup makers often reuse bottles without treating them. Sanitize containers and lids before filling, and let them dry fully.
6. Assuming a diluted syrup is shelf-stable
Many kitchen preparations are perishable and need cold storage. Refrigerate unless a tested formulation and tested processing method specifically support shelf storage, and follow that method’s directions rather than improvising.
7. Delaying the label
Unlabeled jars lead to guessing about age, which is the information that matters most. Label at the moment you seal the jar, every time.
8. Using a batch after spoilage signs appear
Fuzzy growth, persistent bubbling after settling, a film, a bad odor, or a lifted seal all mean discard. Skimming and continuing risks ingesting whatever produced them.
9. Storing in a warm or sunny spot
Heat and light work against a preparation you meant to keep cold. Use a pantry shelf away from the stove, and refrigerate on arrival.
10. Sweetening by guesswork
Unmeasured sugar or honey makes the syrup hard to drink and can encourage fermentation. Follow the amounts in your tested source and adjust only after you have a baseline you like.
Frequently Asked Questions
How long does a homemade herbal syrup keep in the refrigerator?
A vinegar-based herbal syrup made with correctly identified material, enough vinegar to cover every solid, sanitized containers, and continuous storage at or below 40 F (4 C) generally keeps for several weeks to a few months. Treat that as a starting estimate, not a guarantee. Write the preparation date on the jar, and discard the batch at the first sign of mold, persistent bubbling, cloudiness that returns after stirring, an off odor, or a lifted seal. If your source specifies a shorter window, follow the shorter one.
Can children or pregnant people drink homemade herbal syrups?
Ask a doctor or pharmacist before giving any homemade preparation to a child, and before using one during pregnancy, breastfeeding, or while taking other medicines. Plant safety is not the same as dose safety, and some common syrup ingredients are unsuitable for infants or for particular stages of pregnancy. A preparation you made in your kitchen has also not been tested for contaminants or for how strongly it is dosed. Treat homemade syrups as food, not as a substitute for care.
Can an herbal syrup replace prescribed medicine or treatment?
No. A homemade syrup is a food preparation from plant material, not a regulated medicine, and it has no established dose, no verified strength, and no quality testing. If a clinician has prescribed or recommended a treatment, keep taking it and raise any interest in herbal preparations with them first, because some plants interact with prescription medicines. Seek medical care for warning signs rather than treating them with syrup, and use a syrup at most as a food alongside your care.
Is sugar or honey necessary when making an herbal syrup?
It depends on the method. In a simmered water-and-honey syrup, the sweetener is part of what preserves the finished product and thickens it, so omitting it changes the storage requirements completely. In a refrigerated vinegar-based syrup, the vinegar does the preserving and a sweetener is optional, added only if your tested formula includes it. Honey also rules the syrup out for vegan, low-FODMAP, honey-allergic, and under-one-year-old users, which is why vinegar-based versions are popular with those groups.
What is the safest way to prepare herbs for a syrup?
Start with plant material you can positively identify, bought from a reputable supplier, and skip wild-harvested plants unless you are certain of both the identification and the correct preparation for that species. Inspect every piece and discard anything damp, moldy, or oddly scented. Sanitize your work area, jars, and lids, keep all material submerged, seal and label the jar immediately, and refrigerate the finished syrup continuously at or below 40 F (4 C).
What to Do First on Your Next Batch
Pick one tested formulation and follow it start to finish, rather than combining instructions from two or three different methods. Then keep the basics straight: correctly identified material, clean equipment, a full vinegar covering, an immediate label with the preparation date, and continuous refrigeration.
Take notes as you go, especially the weights and the wait time. Your second batch will be better than your first, and your notes are the reason why.
For anything touching your own health, your children, or any prescription medicine, talk to a qualified clinician before you start pouring.